
Mynt Core & Enterprise – How to Customize Kiosk Menu Visual
This Is a step-by-step guide on how to change the Kiosk menu visuals in Mynt.
- Navigate to the Kiosk Menu Editor.
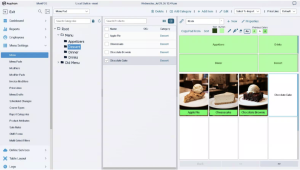
- Images are very important for the overall look and feel of a Kiosk menu. Begin by opening an item.
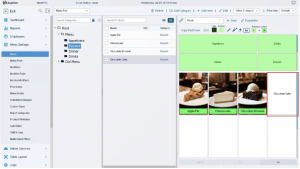
- “Chocolate Cake” will be used as an example for this guide.
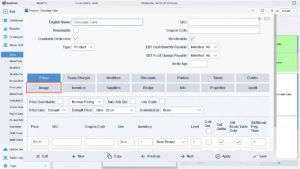
-
Select the “Image” tab.
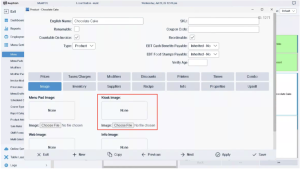
- Press “Choose File” under “Kiosk Image:”
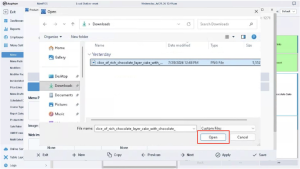
- Navigate to the location of the image in question in your File Explorer, and press “Open” with it selected.
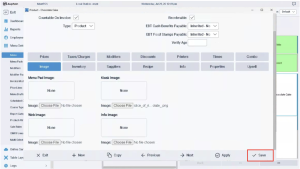
- With the image now loaded, press “Save”.
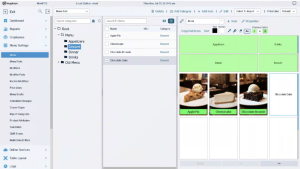
- The Menu will need to be refreshed for the image to show. Navigate to a different area in Management, or Exit, and then return for the updated Images.
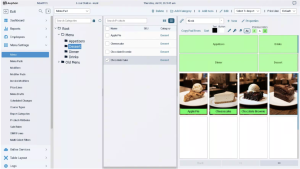
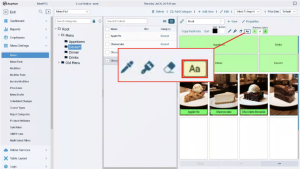
- The image is now added, but the text is very difficult to read, giving an unprofessional look. Select the “Aa” box above the Menu Pad, and press the item that needs to be updated.
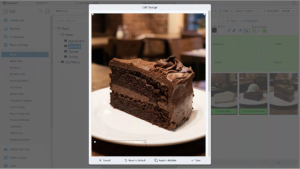
- This will open the Icon Editor for the item. The textbox is selected on-screen but is very difficult to see due to the color. Scroll down in order to edit this.
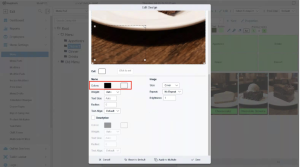
- The color box on the left is the color of the Text. The color box on the right is the color of the background. For this demonstration, select the background color box and update this color.
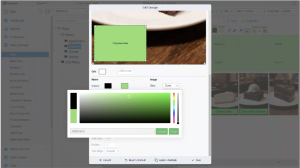
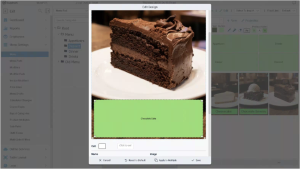
- Position and resize the text box to the appropriate space on the Icon.
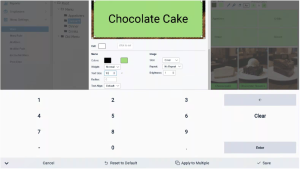
- Whenever you are done with the table map, you need to press “Save” in the top right. This will save any changes you have made and make them live immediately.
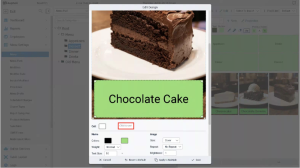
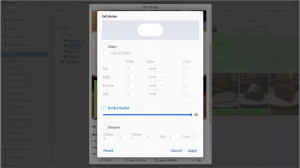
- If you would like more of a rounded edge for the icon, press the “Click to set” button to the right of Cell.
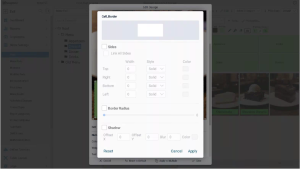
-
Here, you can edit the icon in multiple ways. For this demonstration, check the “Border Radius” box, and move the slider all the way to the right for more of a rounded edge.
-
Apply the Cell changes.
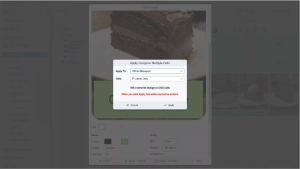
IMPORTANT NOTE: All steps shown can also be applied to Category icons. Experiment around until you find the perfect theming for your business, but do note that all changes are permanent and cannot be undone.

