Setting up Groups
In Mynt groups are another way to classify items for reporting. Groups are made up of sub-groups, which contain menu items. Reports can be run on either groups or sub-groups. A single sub-group can contain items from multiple departments, and a single item can be a member of multiple groups.
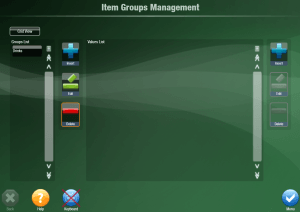
To create a Group start by opening up the Item Groups Management window (Setup > Advanced Setup > Groups).
From here you will need to create a group, and then create a few sub-groups to use for reports. To create a new group, click on the Insert button from the column on the left.
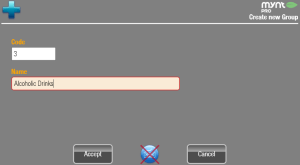
Enter the name for the group and then click Accept.
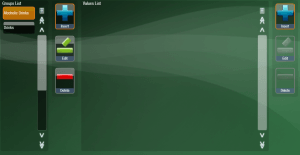
Now you see the group in the list of created groups.
With the new group selected, click on the Insert button from the right to create a sub-group.
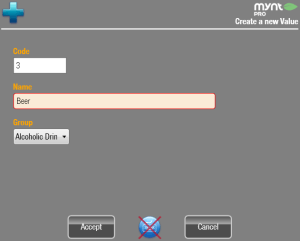
Type in the name for the sub-group, and then click Accept. You can use the drop down list if you would like to create this sub-group within a different group. Continue to use the Insert button to create all of the groups that you need, when you are finished click the Menu button to return to the setup menu.
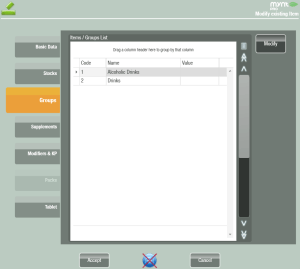
Now you will need to place items into the groups that you have just created. You can do that through Departments & Items Management. To place an item in a group, open up the Departments & Items Management window (Setup > Items > Departments & Items Management) and navigate to the item and click Edit, from the column on the right. In the window that opens, click on the Groups tab.
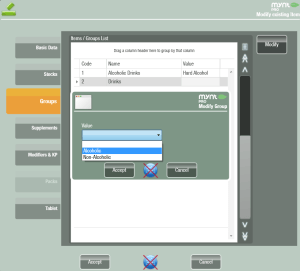
From this window you are able to view all of the groups that you have created. To include an item in a group, click on the group and then click on Modify in the top right corner.
Use the drop down to select the sub-group that them item will belong to and then click Accept to save the change, followed by Accept again to save the item.
You can view reports on groups in the Advanced Statistics section of Mynt’s reporting. See this page for more information on running reports in Mynt.

