
Mynt Core & Enterprise – Adding Categories and Items
This is a step-by-step guide for creating categories and items in Mynt.
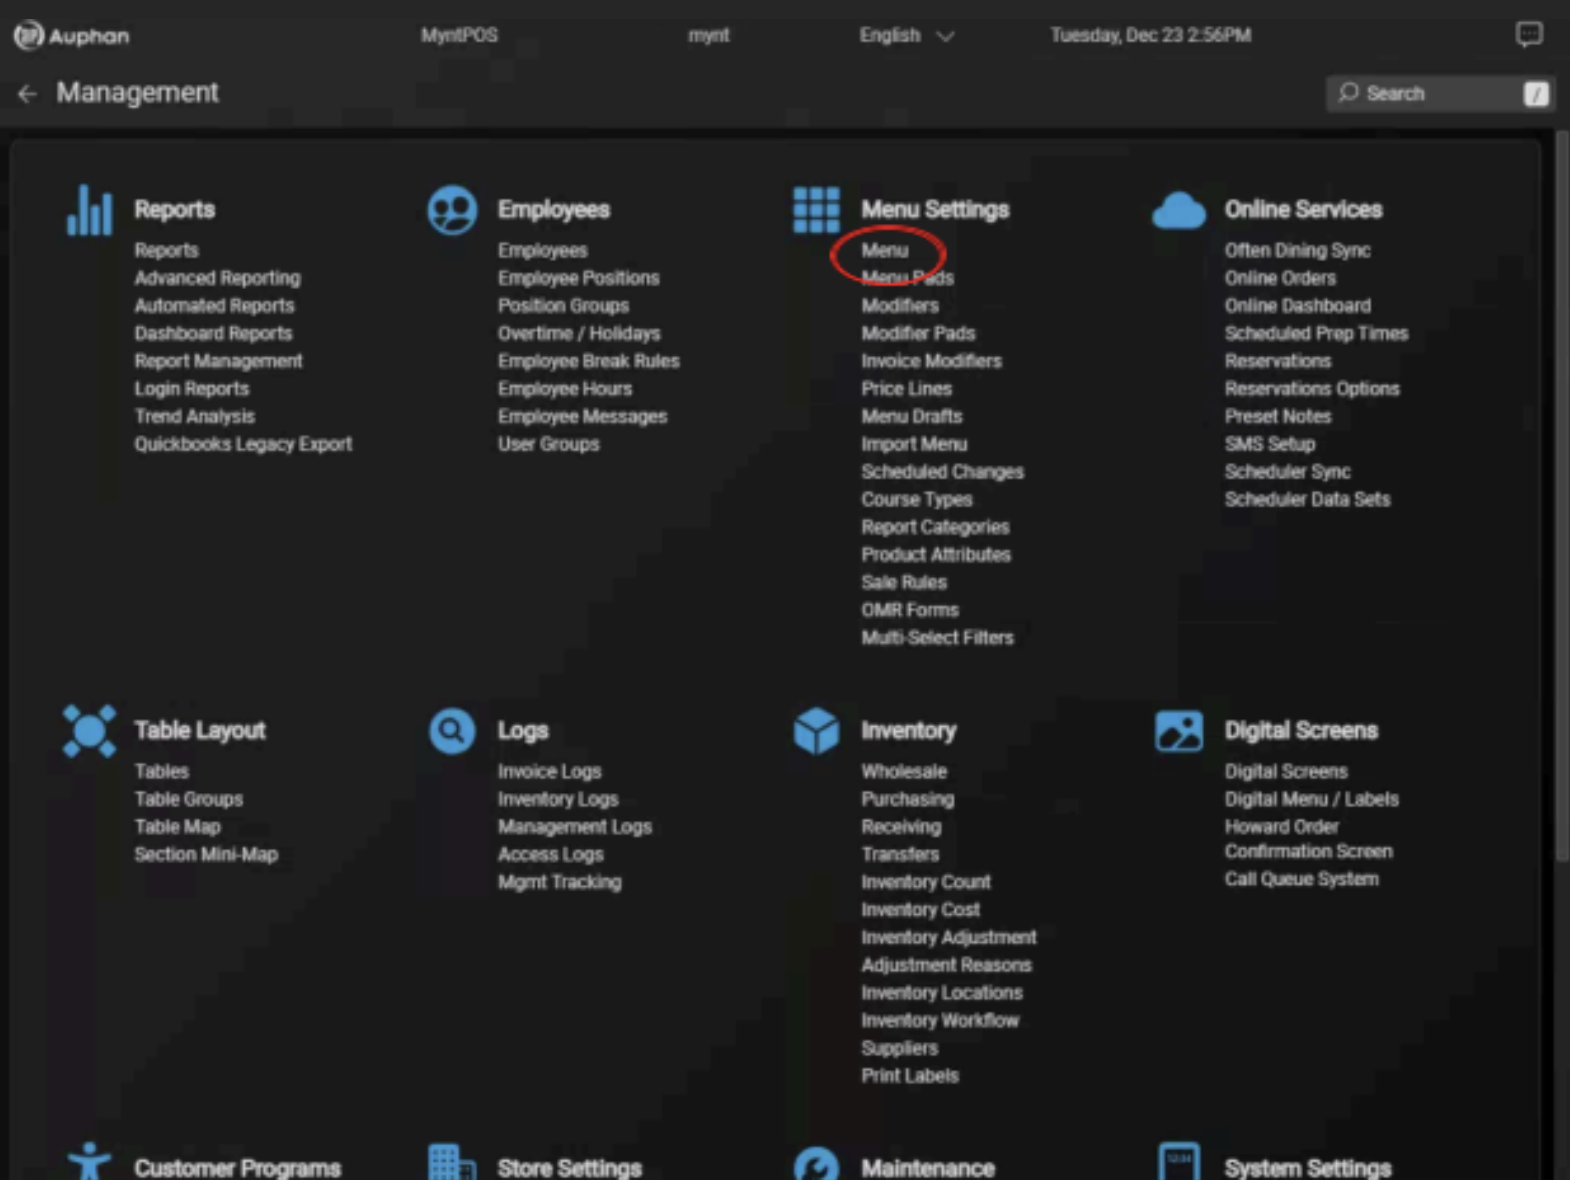
- Navigate to “Menu” under “Menu Settings” in Management.
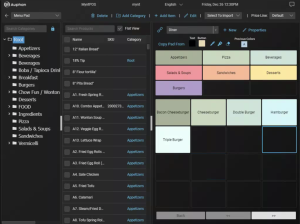
- This is the menu pad. You can think of the left side as your database: where the categories and items are stored. You can think of the right side as the menu pad: what will be on your POS, what you and your employees will see.
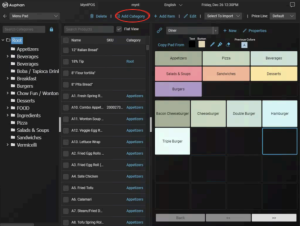
- To add a new category, you can press the “Add Category” button at the top. Note, this will create the category inside the currently selected category in the database.
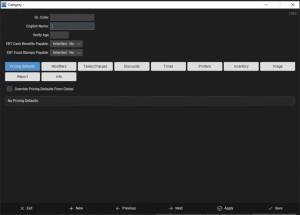
You can then name the category, apply modifiers to it, set specific times it can be available, and more. Whatever items that are later stored in this category will inherit any properties the category has (i.e., if the entire category has a meat temp mod where you need to choose the temperature of the meat, then any item you create in this category will have that modifier). After you are content with the name and settings for the category, you can press “Save” at the bottom.
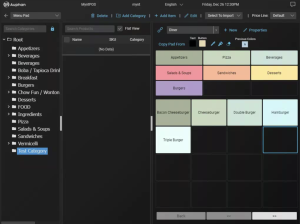
- “Test Category”, is now created and stored under the main “Root” category. Also note, there are no items stored in this category yet.
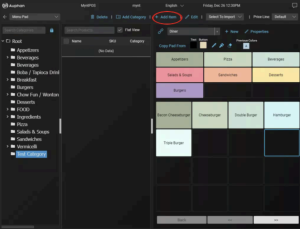
- You can add an item to a category by first highlighting the category from the inventory tree, then pressing “Add Item”. Whatever category is highlighted is where the item will be stored. If no category is selected, it will go under the main “Root” category.
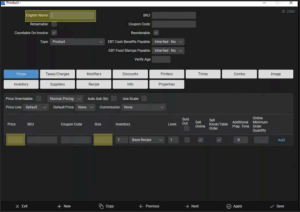
- When you go to create an item, the most important fields are the name and the price. If you have multiple sizes (i.e., if you have a soda that has 12 oz., 16 oz., and 20 oz.) you can set those up here, all with different prices. You can use the “Add” button to add the price line / size for the item. Pressing “Save” will save the item and exit you back to the menu screen, and “Apply” will save it and leave you on that item’s settings. We will create a test item with some price lines in the test category.
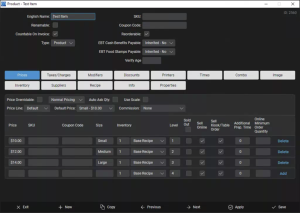
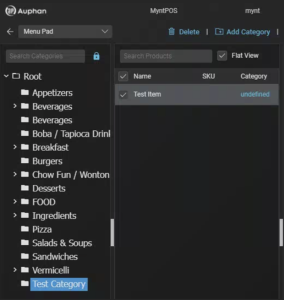
- There is now an item inside the Test Category.
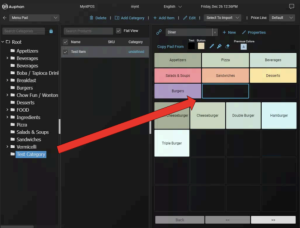
- To add these categories and items to the menu pad, it is as simple as dragging and dropping. Please note you need a mouse to perform the drag and drop to the menu.
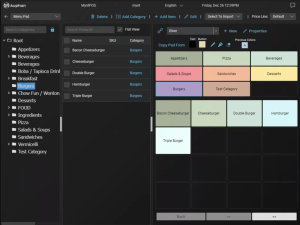
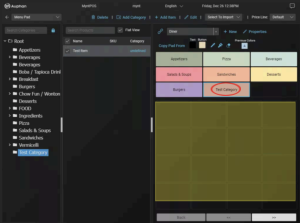
- Now, to add the test item below the test category, double-click the test category box on the right, this allows us to enter the test category to put items in that category. You will note the selected category has a blue border, indicating it has been selected. There are now more boxes below where we can drag and drop the items.
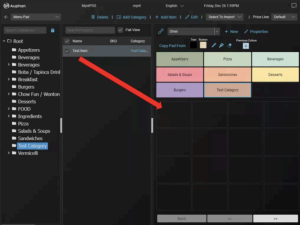
- Drag and drop the test item into the first box of the test category.
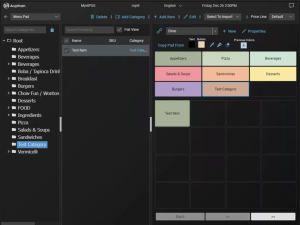
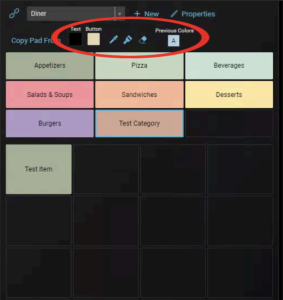
- If you want to customize and color the buttons, this can be done using the color selector and paint brush tool at the top of the menu settings. We can color the text and the buttons, simply by pressing the colored box and selecting a color. Once we are happy with our color, we can press the middle paint brush, then click on the item or category we would like to color.
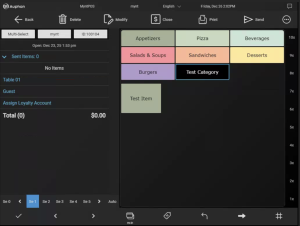
- Now, the items are in place and on the live menu via the normal login to the POS.

