Mynt Core & Enterprise – Creating and Applying Modifiers
This Is a step-by-step guide on the basic functions for creating and applying modifiers in Mynt.
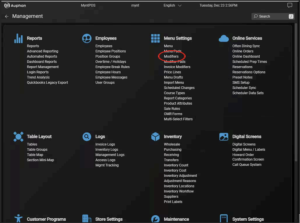
- Navigate to “Modifiers” under “Menu Settings” in Management.
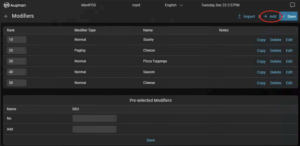
- This is the modifier screen. You can edit pre-existing modifiers, add new ones, or copy existing ones. To “Edit” a pre-existing modifier, simply use the “Edit” button next to the modifier. To add a new one, you can use the “Add” button on the top right. In this example, a new modifier will be created using “Add”.
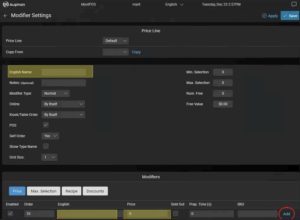
- This is the Modifier Edit screen. From here, you can name the modifier, change the modifier type, set min / max selections, set free values, add the actual modifier choices, and more. To keep things simple, we will add a “Burger Toppings” modifier. Some of our choices will have prices, and some will not.
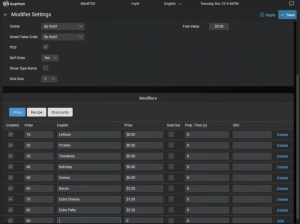
- After we have filled out our list of modifier choices like above, make sure to save your work at the top right.
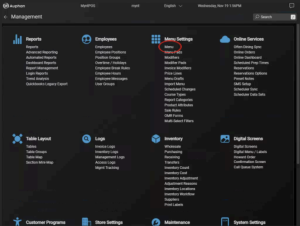
- Navigate to “Menu” under Menu Settings” in Management.
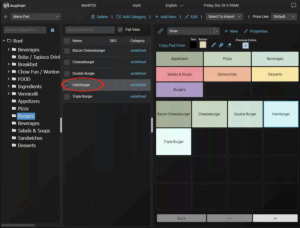
- Modifiers can be assigned at a category level, or an item level. Open the item or category you want to add the modifier(s) to.
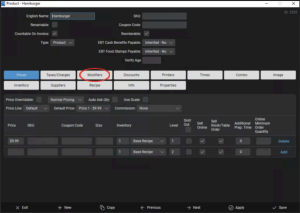
- Open the “Modifier” tab on the selected item / category.
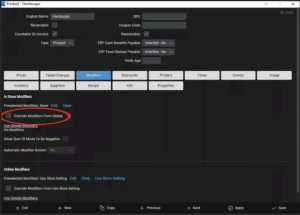
- To set modifiers, we need to check off the “Override modifiers from Global” check box. This just means we will overwrite whatever modifiers are set on the parent category (i.e., if “Burger” was in a “Food” category, we would be overriding any modifiers that are set on the “Food” category).
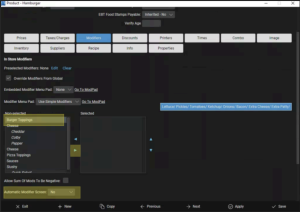
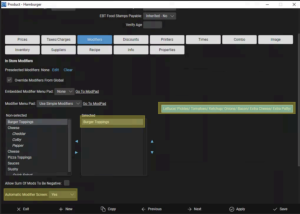
- After that box is checked off, two boxes will appear with “Non selected” and “Selected” modifiers. The “Non selected” modifiers on the left displays all modifiers in the system that are not actively on the selected item / category. Modifiers can be activated on an item / category by selecting them in the “Non selected” list, and pressing the arrow in the middle pointing to the “Selected” box.
-
After it is selected, you will see a slight preview of the modifier contents.
The order of the “Selected” modifiers can also be adjusted using the up and down arrows on the right of the “Selected” box.
Once you are done you can hit “Save”.
IMPORTANT NOTE: The “Automatic Modifier Screen” dropdown box will need to be set to “Yes” if you want the modifier screen to pop-up immediately after adding the item to an invoice, rather than needing to be pulled up manually through the “Modify” button.