Auphan Core & Enterprise – Create Tables and a Table Map
This is a customer guide on how to create tables and a table map for Auphan.
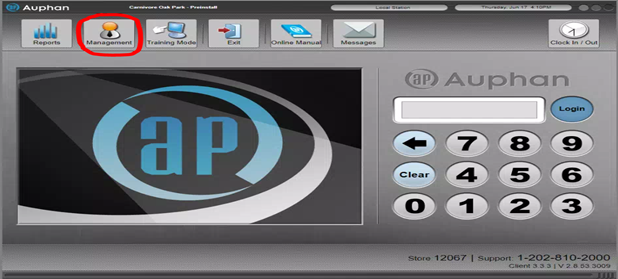
- Go into the “Management” screen.
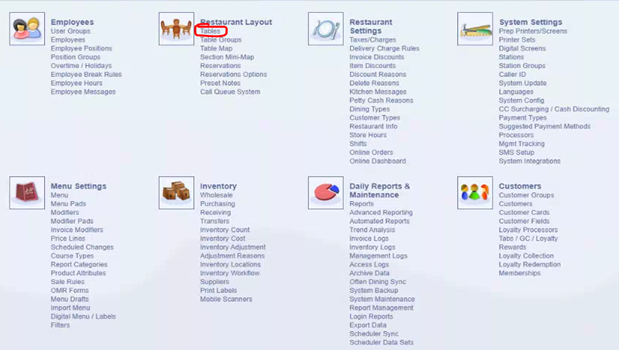
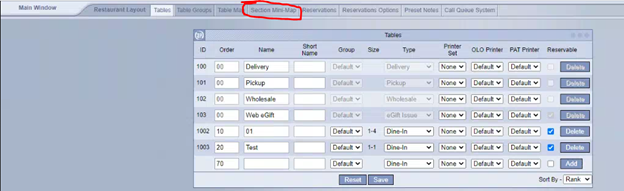
- First, you need to add tables to the database. This can be done by selecting the “Tables” tab under “Restaurant Layout.”
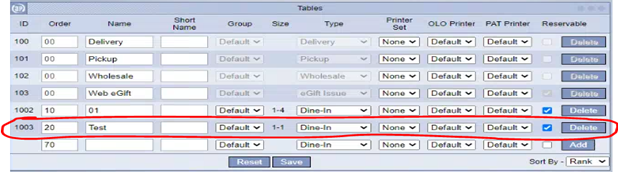
- Here, you can see the tables that you have set up. By default, you will have the options in the screen shot.
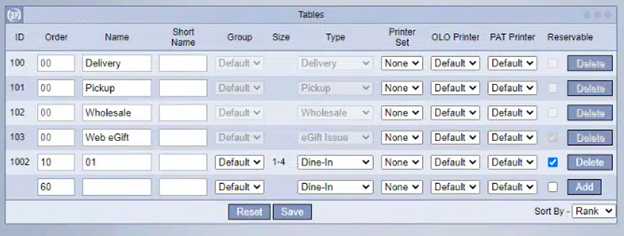
- To add or adjust any table names, you can simply type the table name in the “Name” box, then press “Add” on the right. Table names can be words or numbers, however you like to have your restaurant set up.
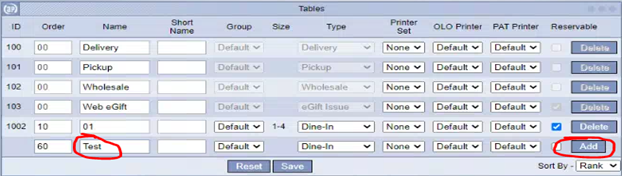
- When done correctly, the table is now added. We can press “Save”.
- Now, you have setup the table itself, we can add it to the table map. If you have multiple sections or want to rename the main section, we can go to the “Section Mini-Map” tab.
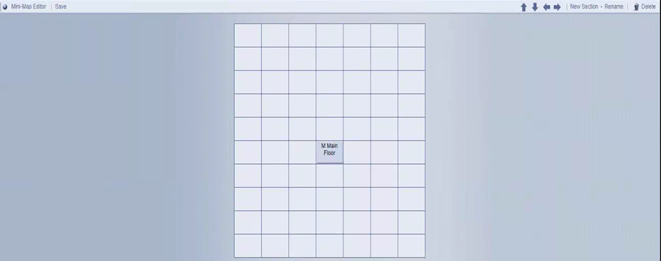
- This is the mini map screen. You can add a new section by using the “New Section” button in the top right, then use the arrows to move it around based on how your restaurant is set up. You can also rename current sections by selecting the section and pressing “Rename” in the top right. For this example, we will leave the Main floor section as it is.
- To add tables to the different sections, you can use the “Table Map” tab.
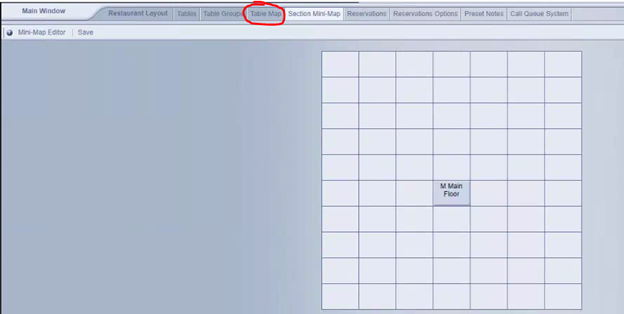
- This is the table map screen. This is where we can customize our table map, create different tables, separate our sections, and link the tables to icons. Any sections you have set up will appear in the bottom of the toolbox. Clicking these sections will move you to that section.
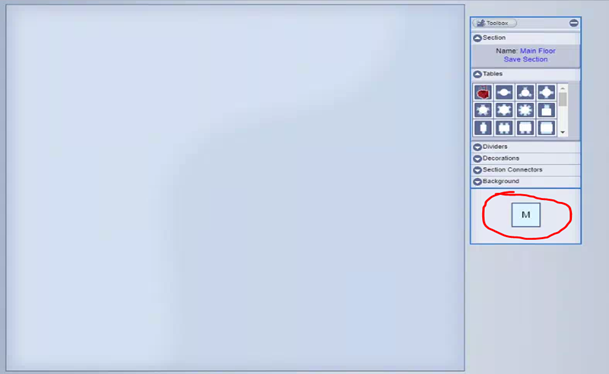
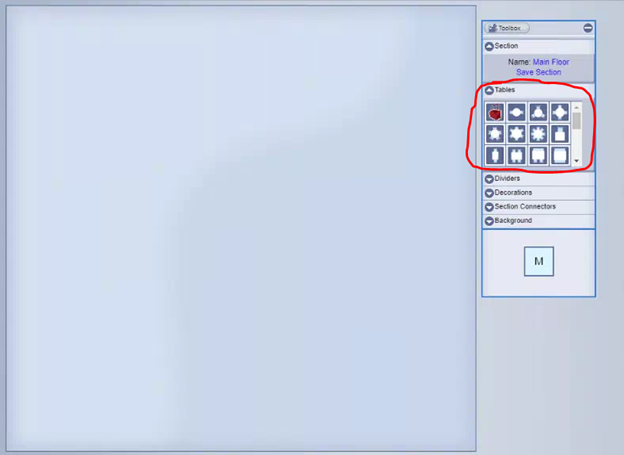
- To add a new table, we can go under the “Tables” dropdown in the toolbox. You can see the different table icons: some 2 top circle tables, some 4 top square tables, some booths, etc. Keep in mind, these are only icons and have no effect on the number of seats. They are simply for display. Let’s select the 4 seat round table in the top right.
- After we select an icon, it will be added to the table map, right in the middle. We can drag it around as we please. We can also resize, rotate, delete, or link the table.
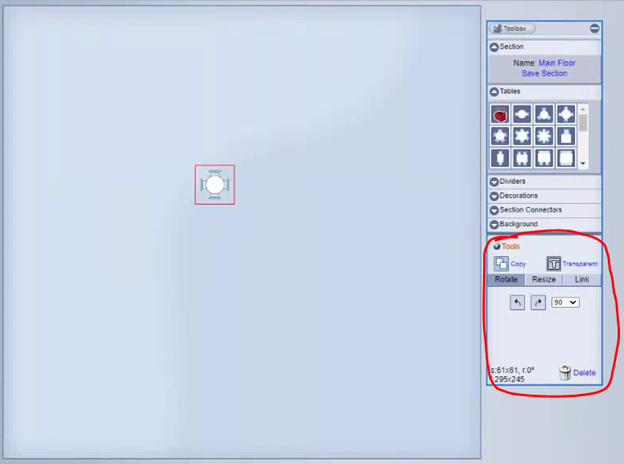
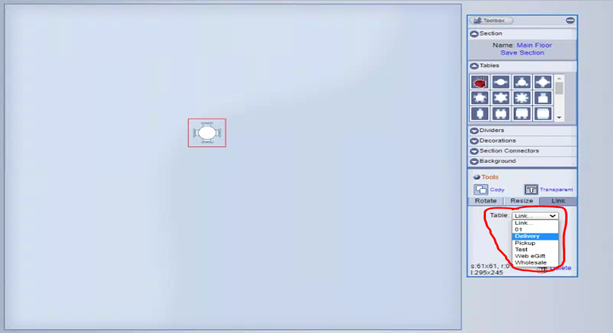
- After rotating, resizing, and moving the table to your liking, we can then link the table icon to a table we set up in the first step. To do so, you can click the “Link” tab under the Tools.
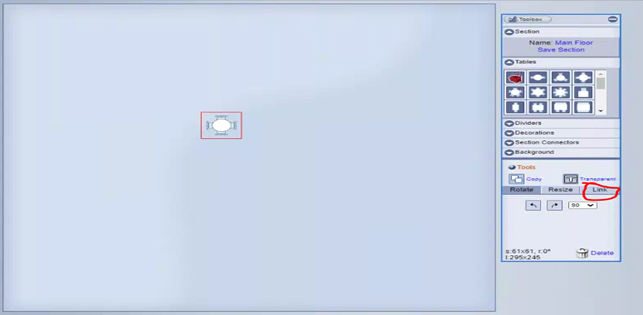
- Once selected, you can access the drop-down list for tables. This is a list of tables that have been set up in the first couple steps through the “Tables” tab. Here, you can match up what table you want the icon to be linked to. Simply select the table you want from the list.
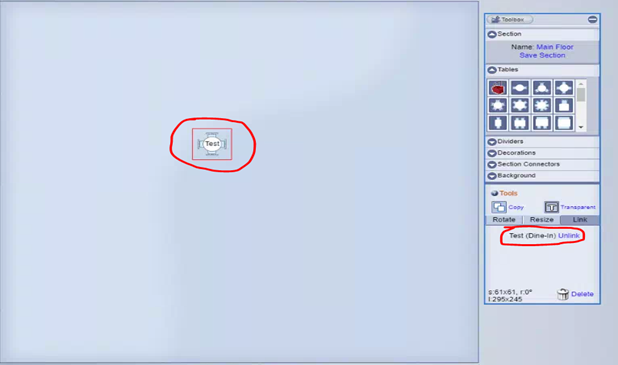
- When done properly, you will see under the “Link” tab which table it is linked to. You will also see the table name on the table icon.
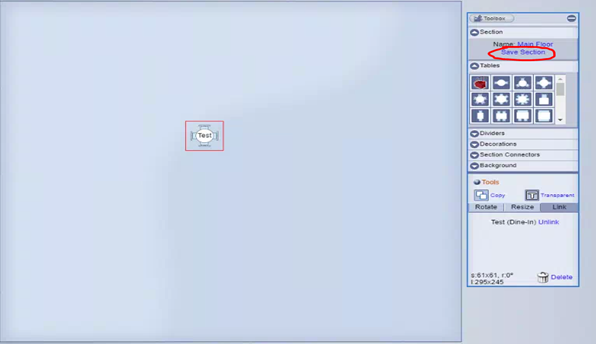
- Whenever you are done with the table map, you need to press “Save Section” in the top right. This will save any changes you have made and make them live immediately.
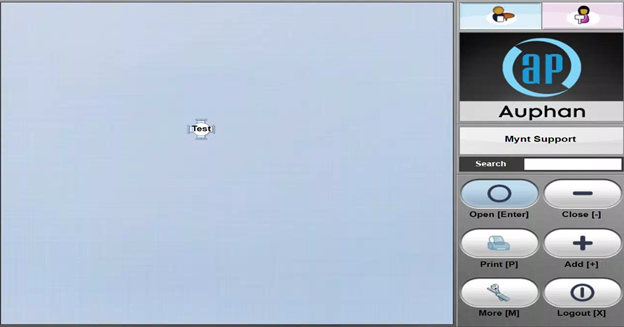
- After that, when you now go to login, the table map will have taken effect. Please note tables must be linked to be used and clicked on to place orders through and store invoices.
Congratulations! You can now create tables and build a table map!

