
Customer Management
Mynt Retail
This Is a step-by-step guide on how to manage customers in Mynt Retail.
Adding a Customer from the Backend Portal
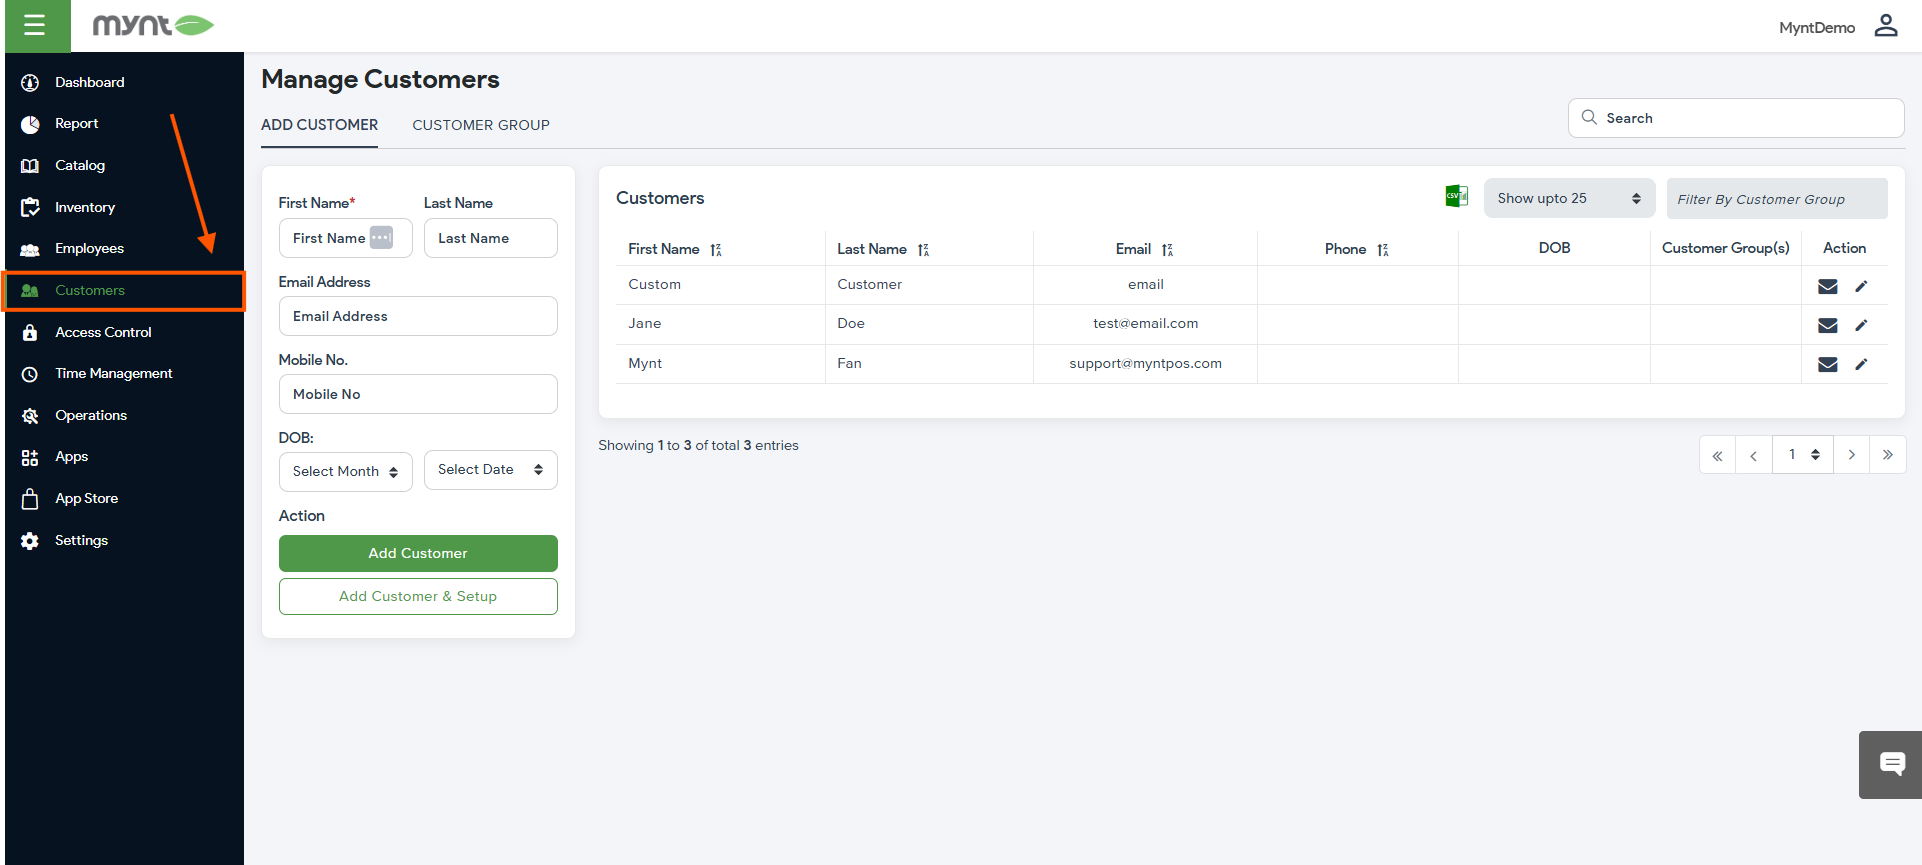
Navigate to the “Customers” tab in the Backend Portal.
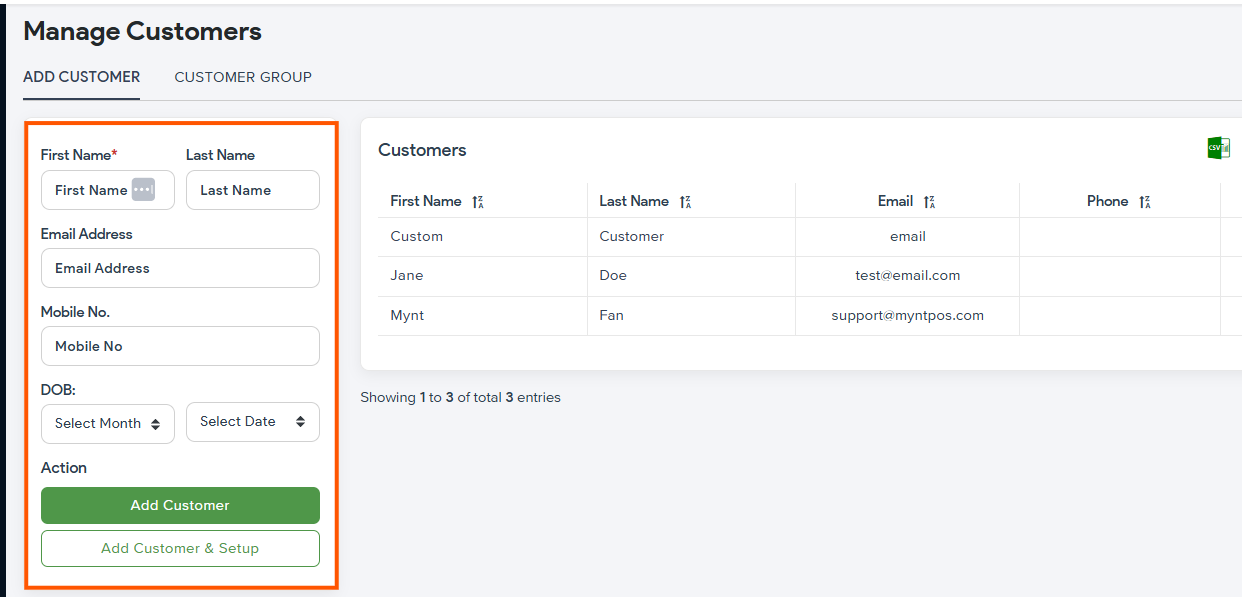
To add new Customers to your system, fill out the information in the screenshot above, and press either “Add Customer” or “Add Customer & Setup” for further configurations.
The only requirements for adding a customer are the first name and email, you may fill out the other fields as needed.
Adding a Customer from the POS
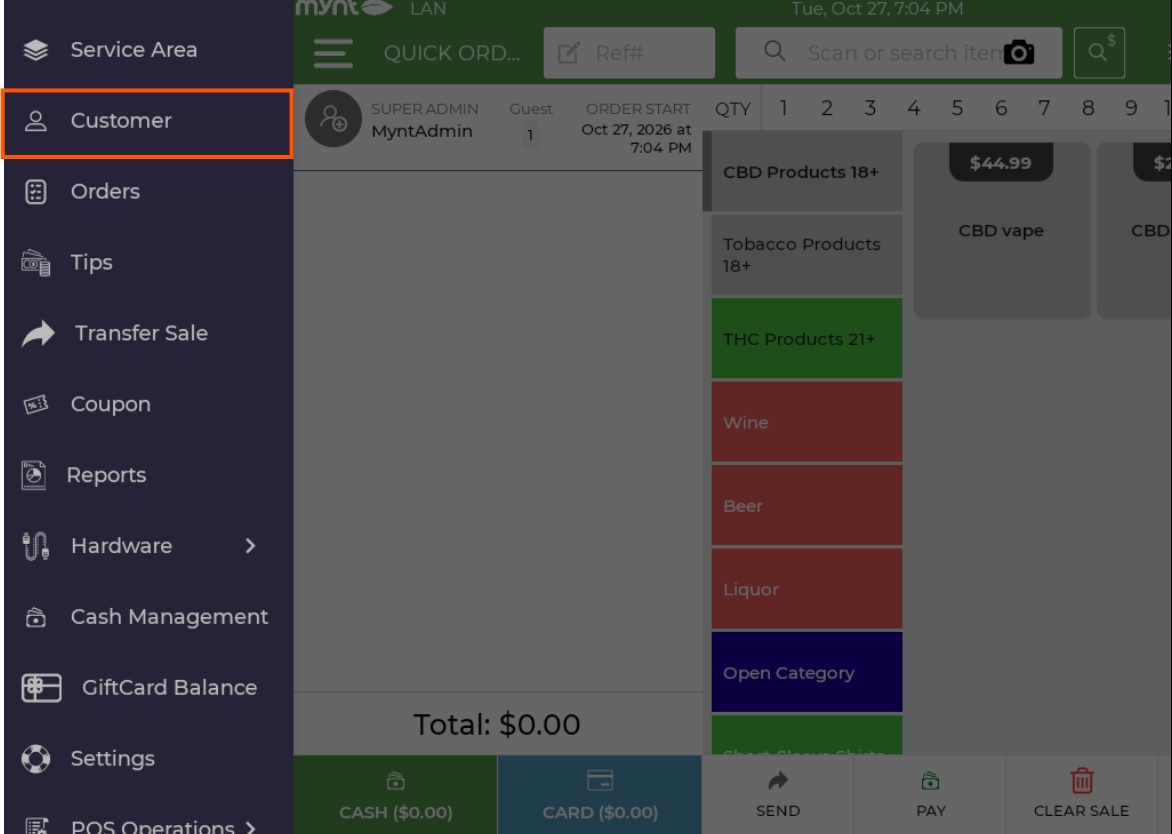
Open the navigation bar on the top left (Three Lines) and press “Customer”.
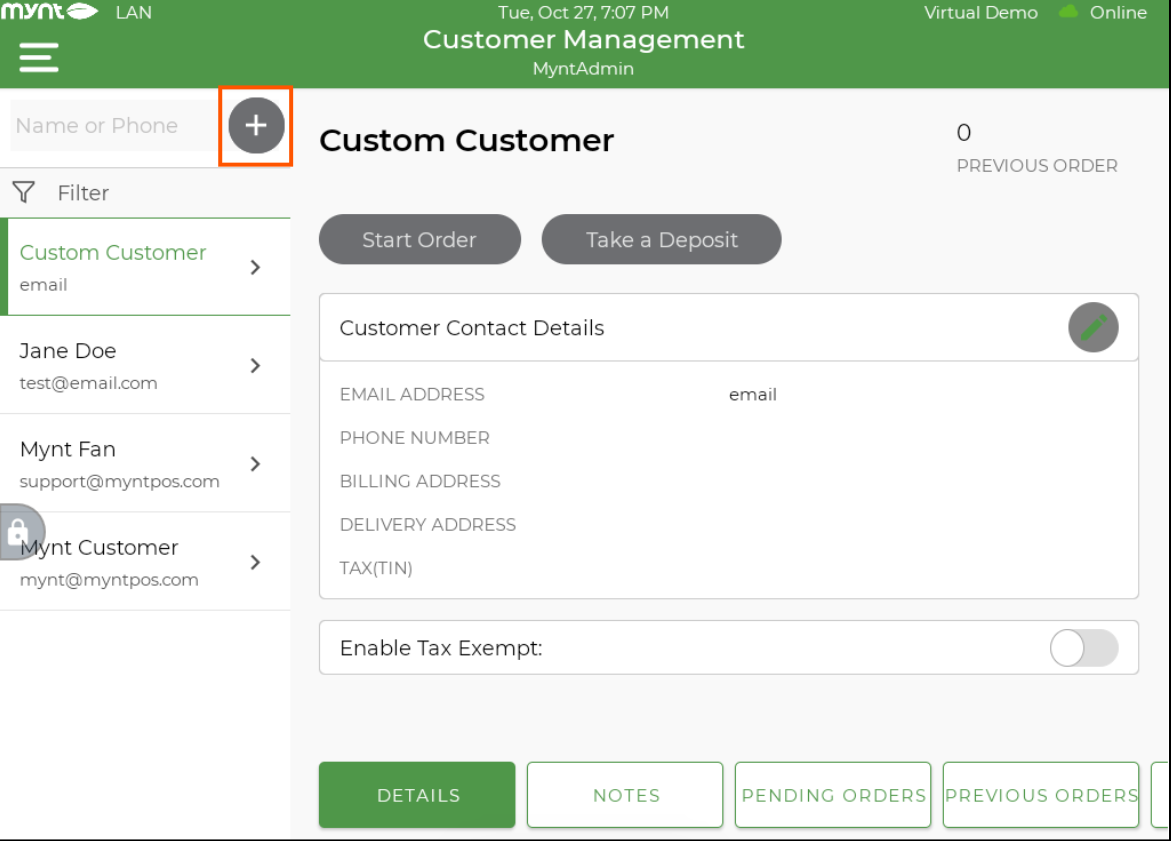
You can edit existing customers, or add new ones by pressing the plus icon at the top of the screen.
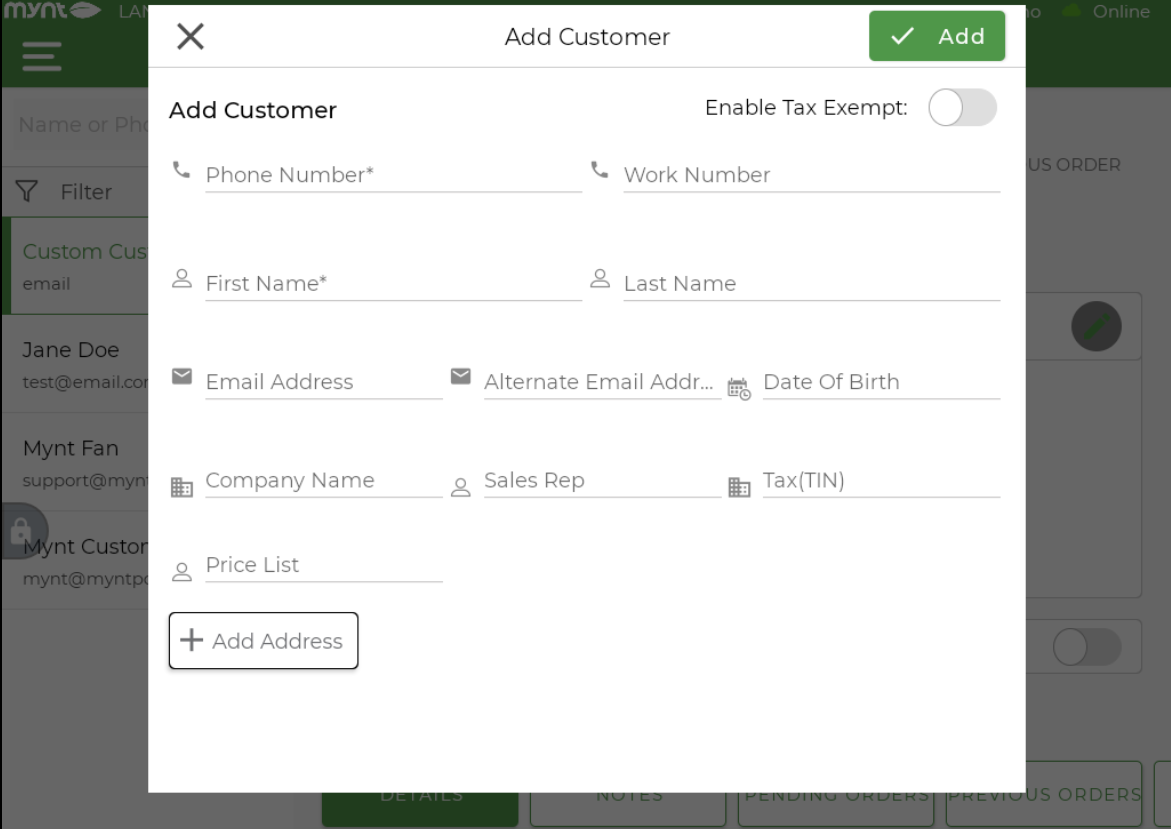
Enter the necessary customer information.
Phone number and First Name are required fields on the POS side.
Adding and Enabling Price Lists from the Portal
With VIP pricing, you can apply discounted prices to specific customers.
You can set specific products to have different prices for these designated customers.
To begin with, you need to log in to the Mynt Backend Portal using a web browser.
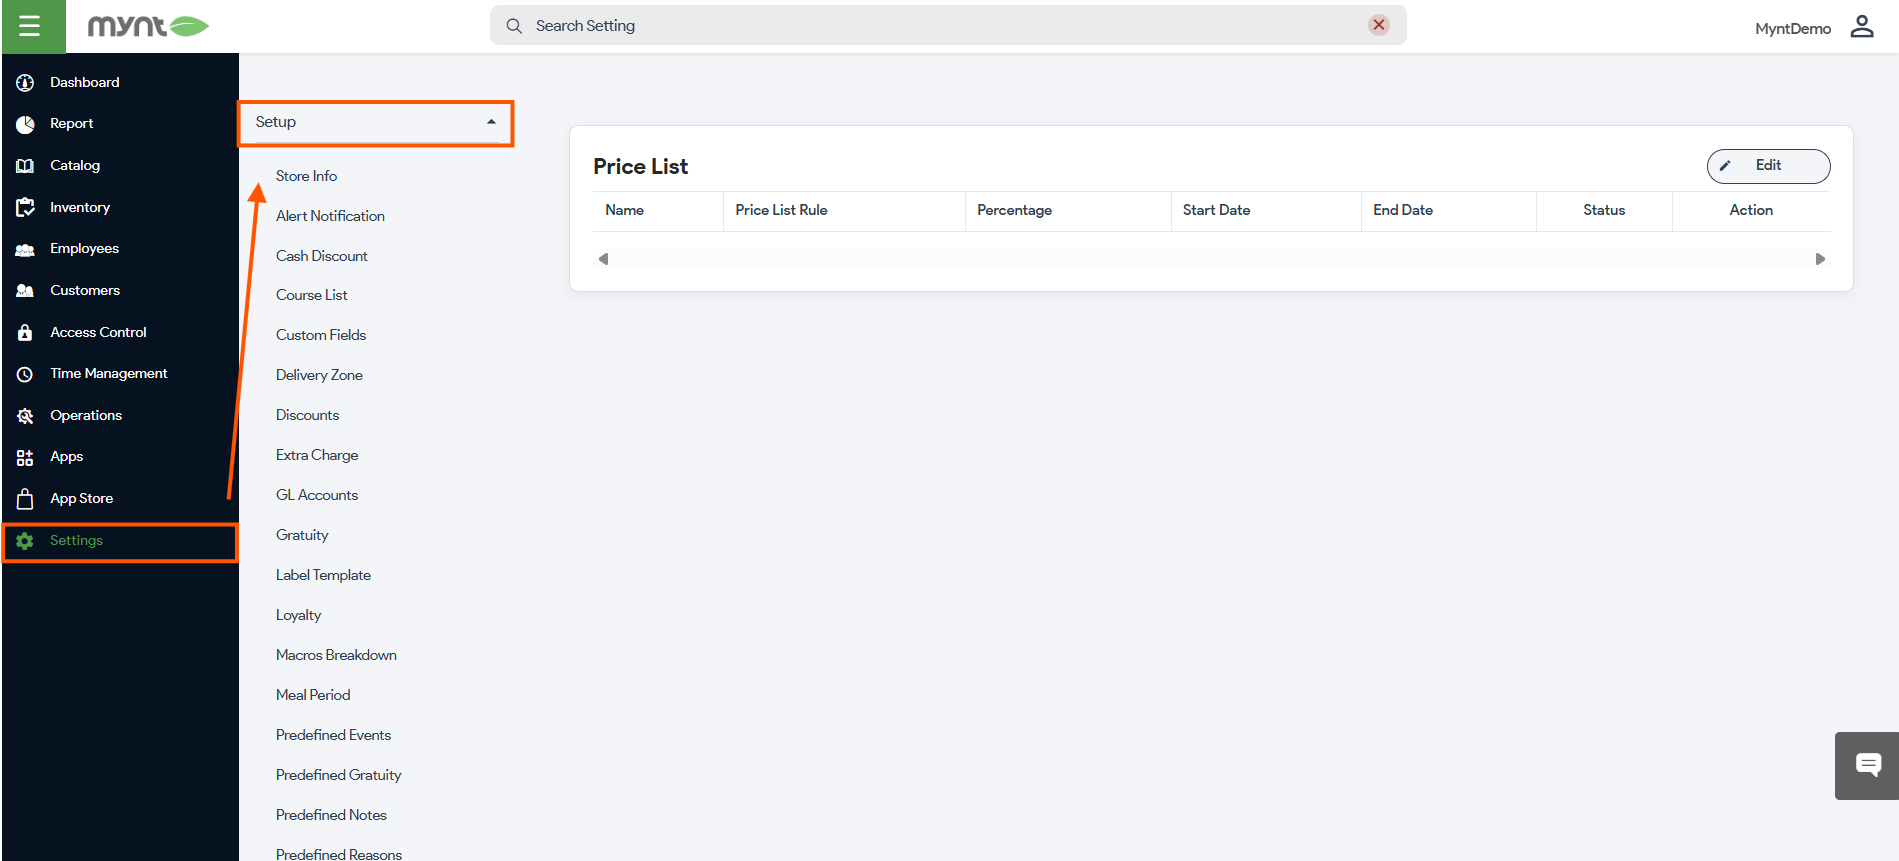
Navigate to “Settings” > Setup > Price List.
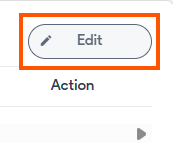
Click “Edit” and “Add New” to create a new Price List.
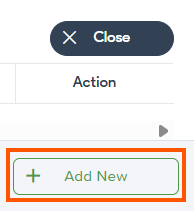
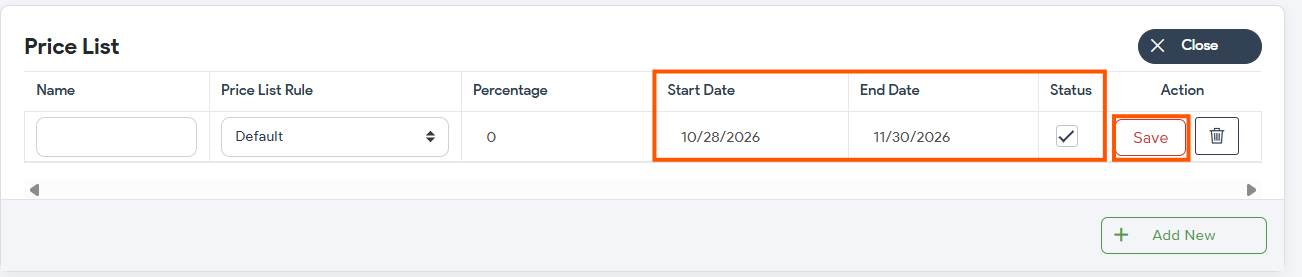
Fill out the name, the “Start Date” and “End Date”, make sure “Status” is checked, and then press “Save”.
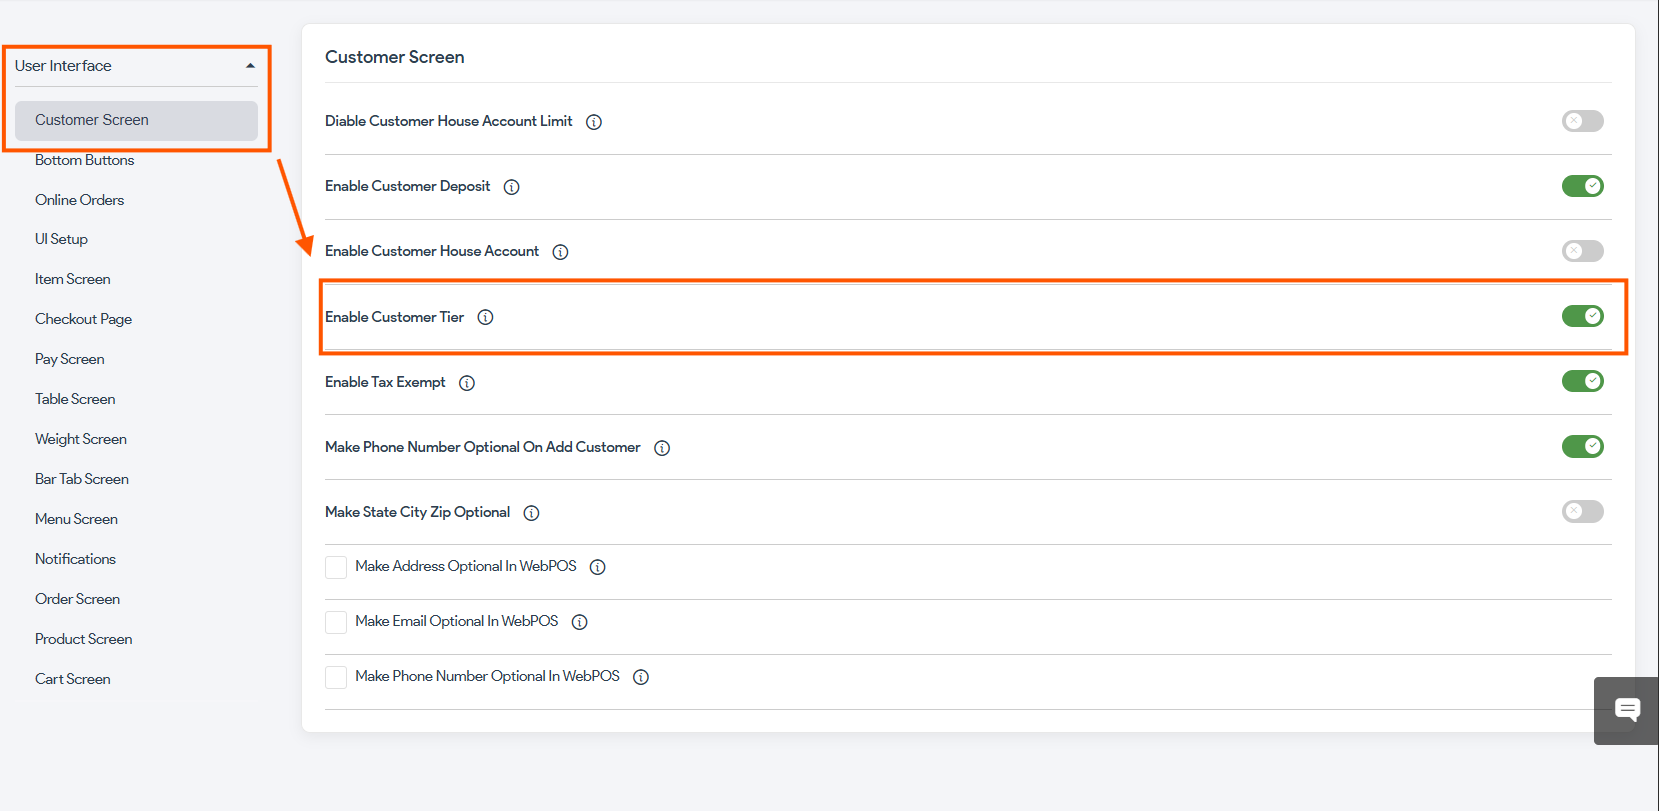
Navigate to the “User Interface” tab of settings and open “Customer Screen”. Ensure that “Enable Customer Tier” is checked.
Assigning a price list to the products from the portal
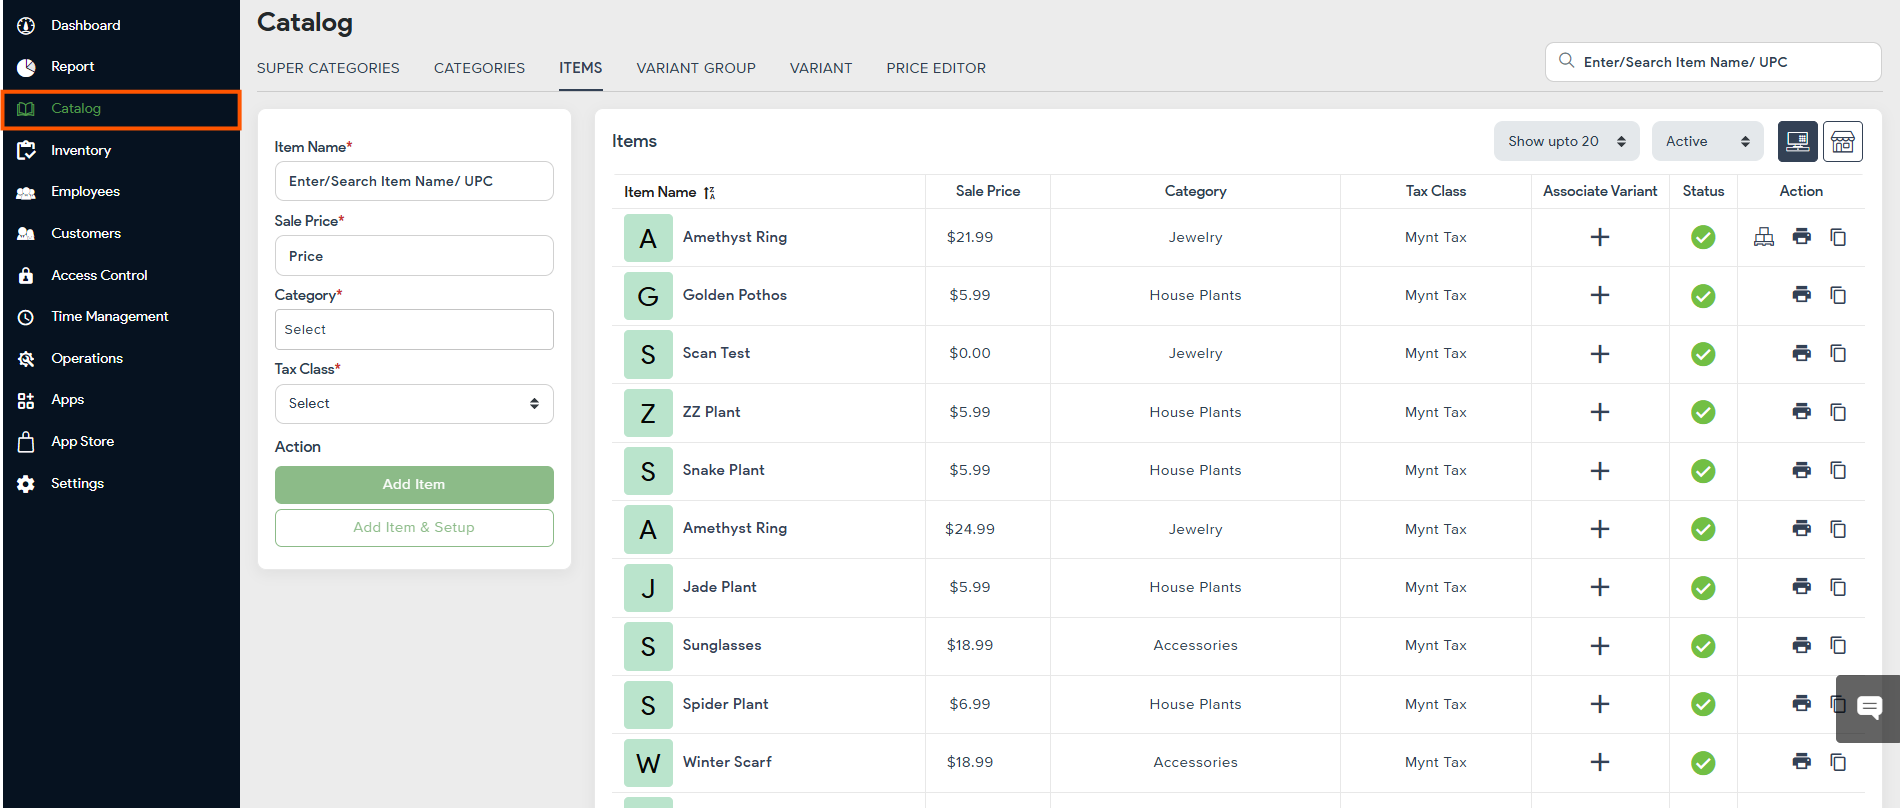
Navigate to “Catalog” and click on the item you want to enable VIP pricing on.
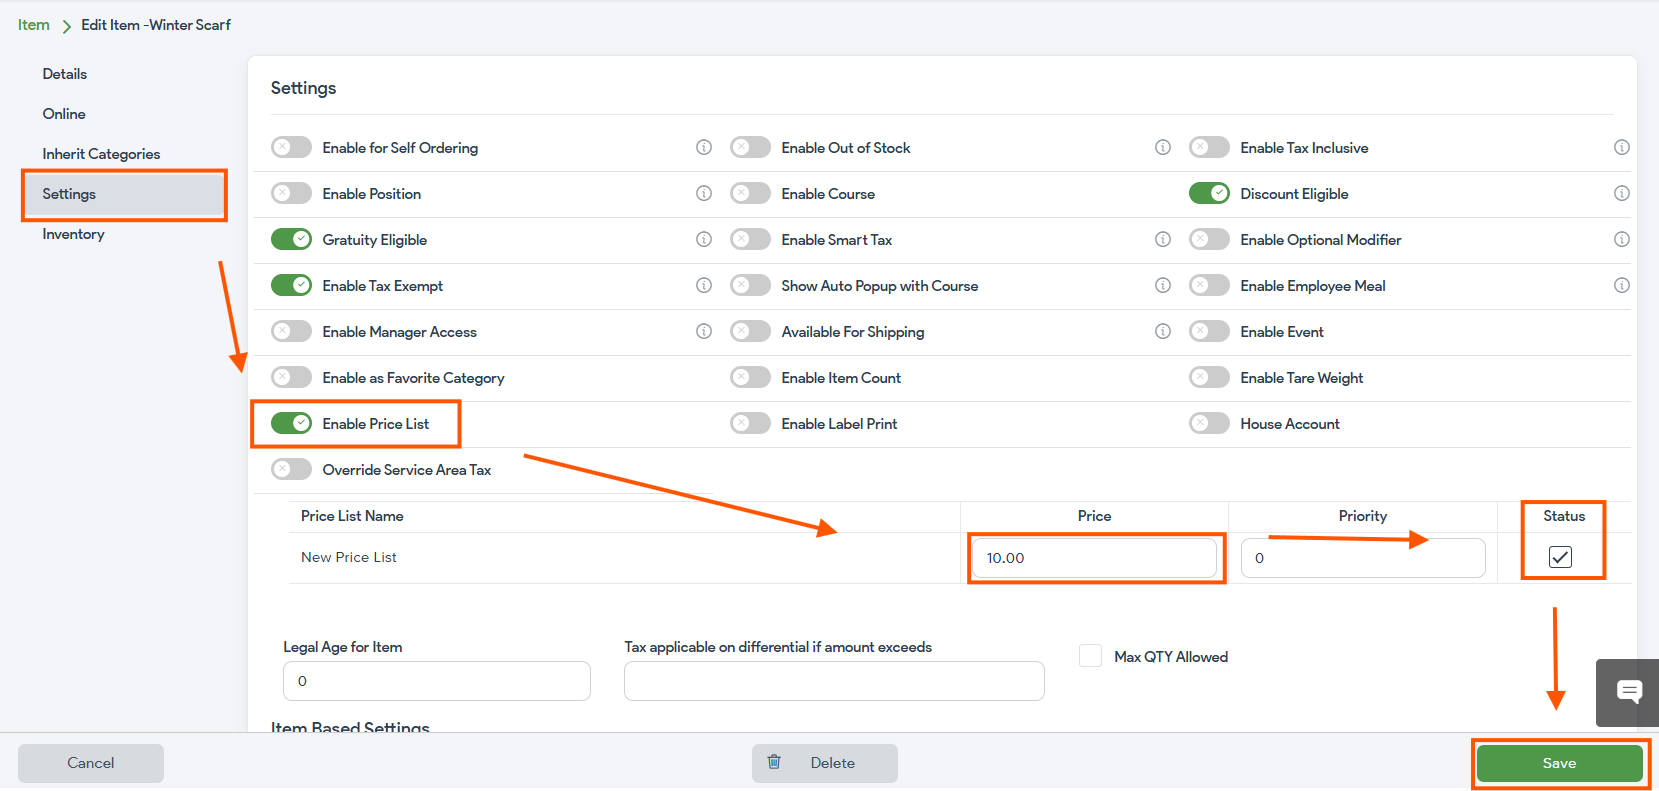
Open the “Settings” tab, and check off “Enable Price List”, add the price you would like to charge for these customers, check off “Status” and then hit “Save”.
Tagging a Customer as a Key/VIP Customer from the Portal
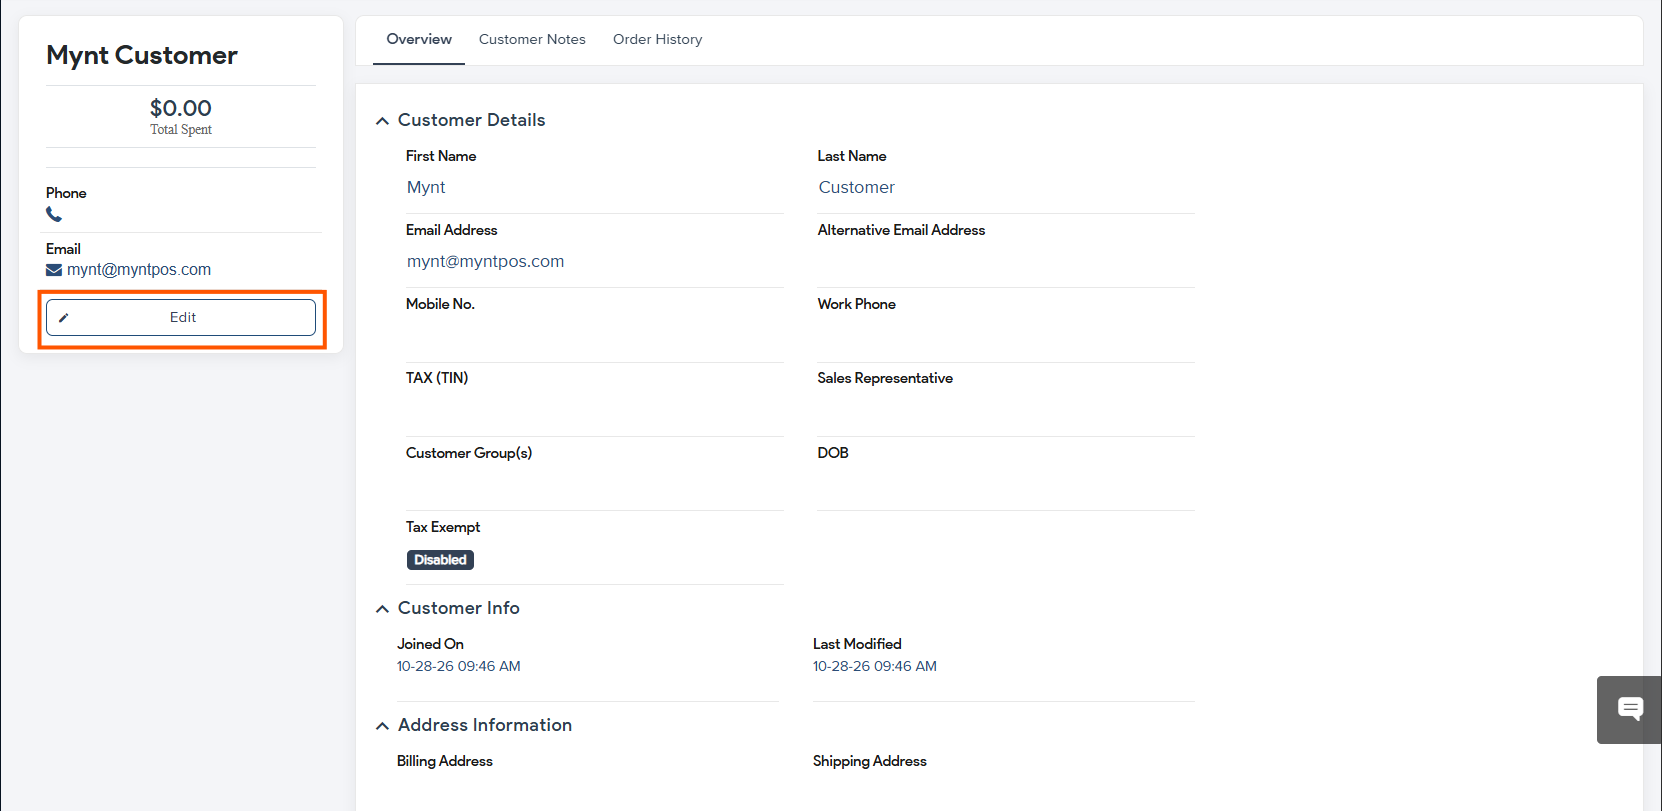
Navigate back to “Customers” and open the customer you would like to assign.
Press “Edit”
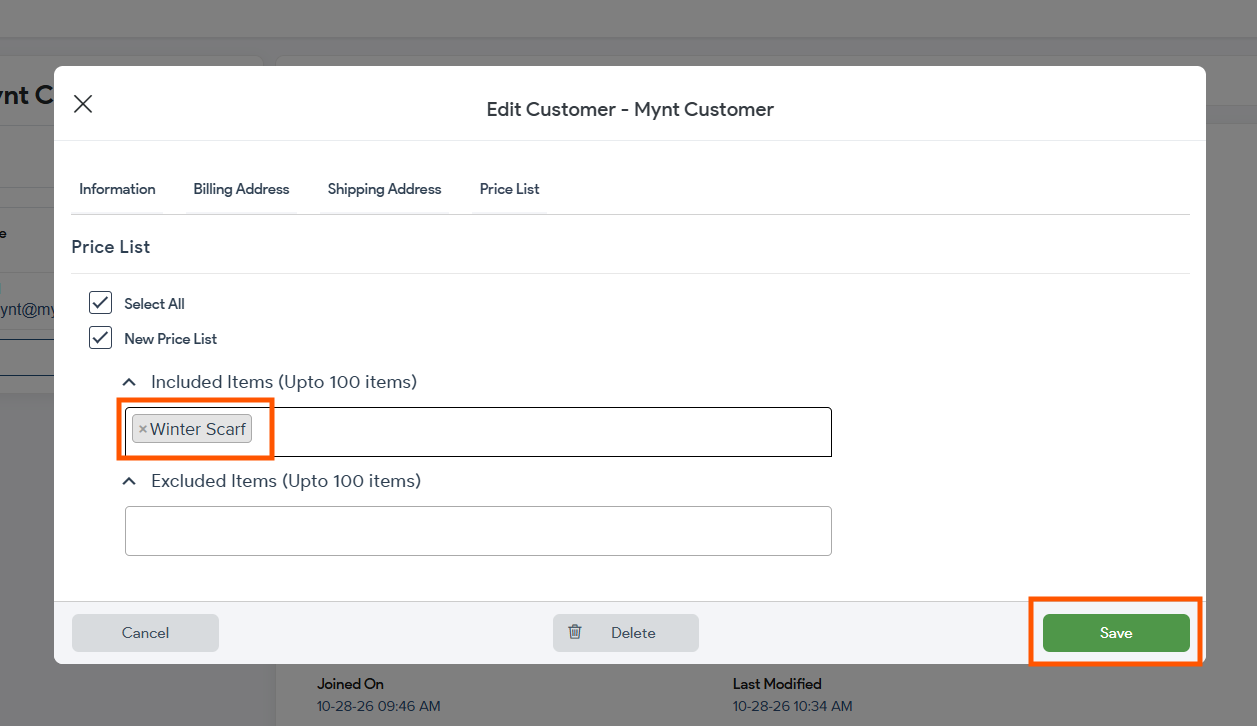
Go to the “Price List” tab, select the Price List to enable, and then type out all items you would like to include or exclude, and press enter on your keyboard (items need to be typed out exactly how they are spelled in the system). Press “Save”.
Once an order is started for a VIP/key customer, the prices of applicable products will adjust to reflect the VIP discount.
Congratulations!
You can now successfully manage customers!

