Quick Service Training Guide
After completing the basic setup steps for the Mynt software installation process, you are now ready to begin the introduction segment on how to use the Mynt system for your quick service location.
User Setup/Training Mode:
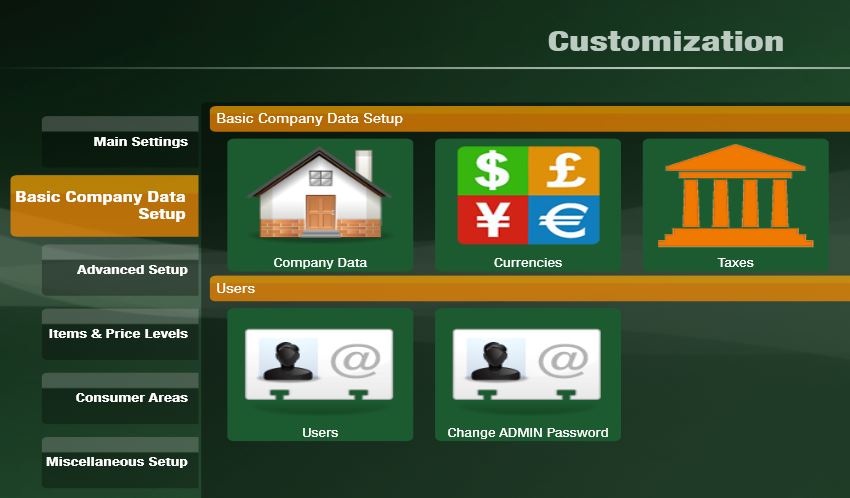
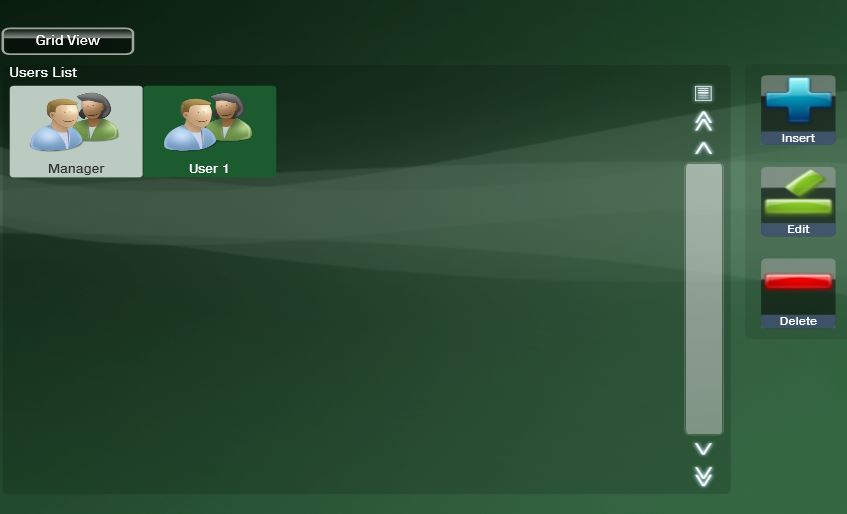
The user setup screen is where you can create and edit users, as well as assign permissions to control how your employees can use Mynt. To setup Users, from the main sales screen, click Setup in the top left corner, then click Basic Company Data Setup and then Users. This will open up the Users Setup Window.
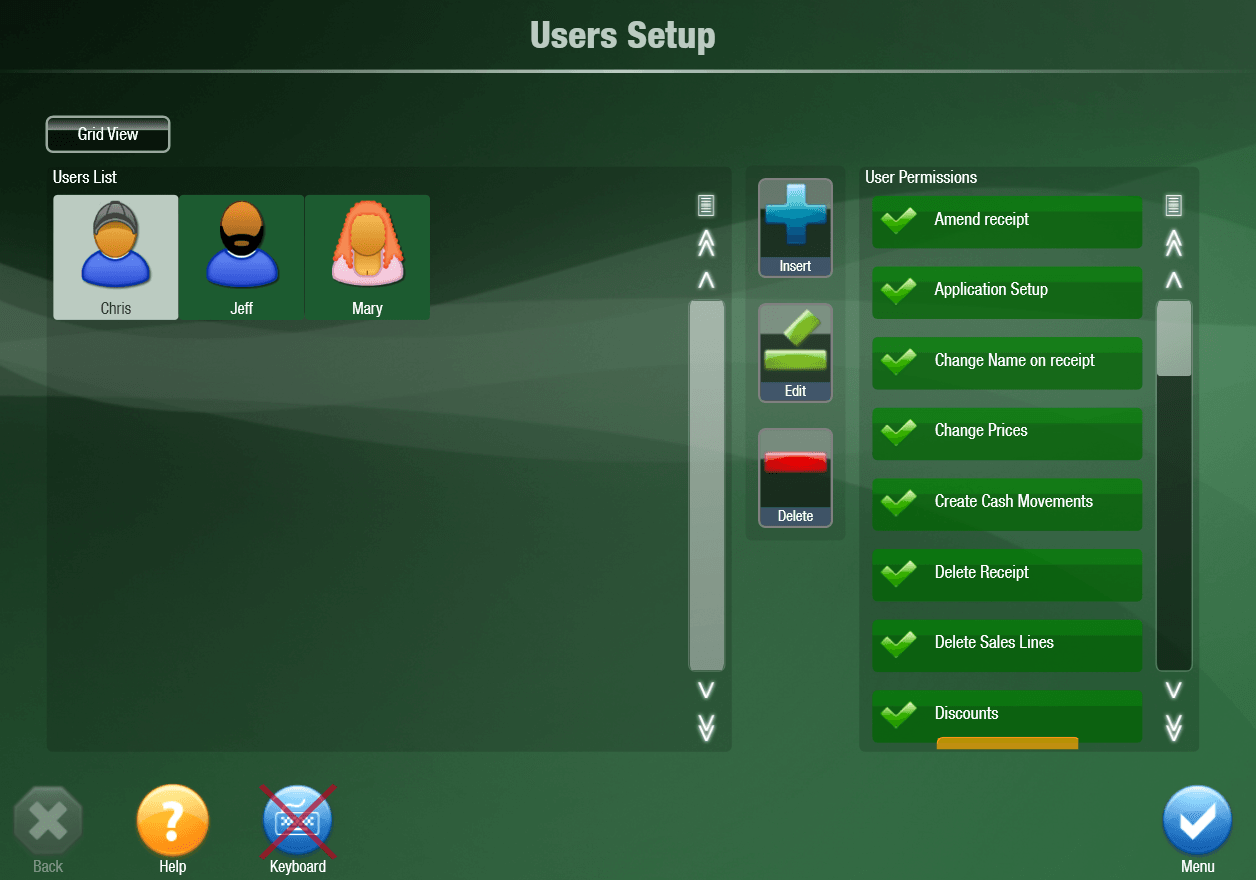
To create a new user, click the Insert button on the right side of the screen, that will open up the new user window.
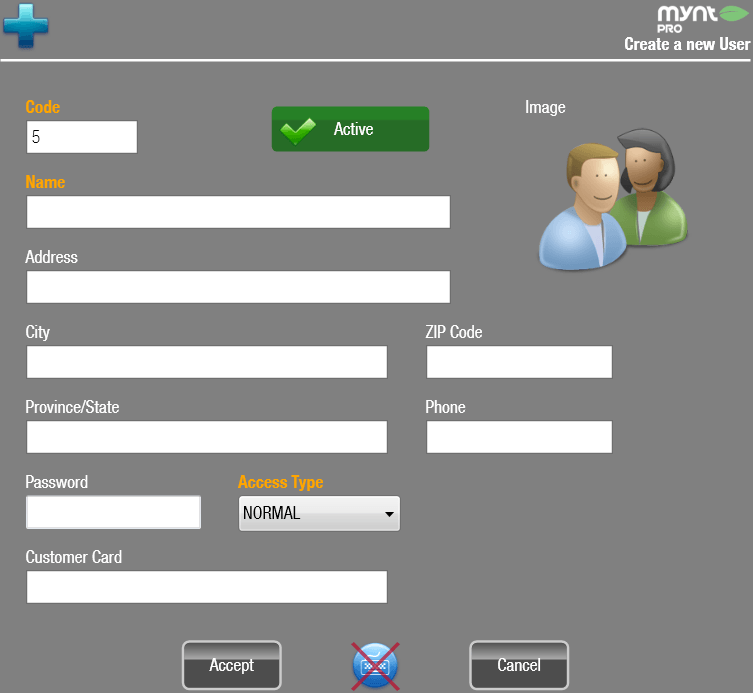
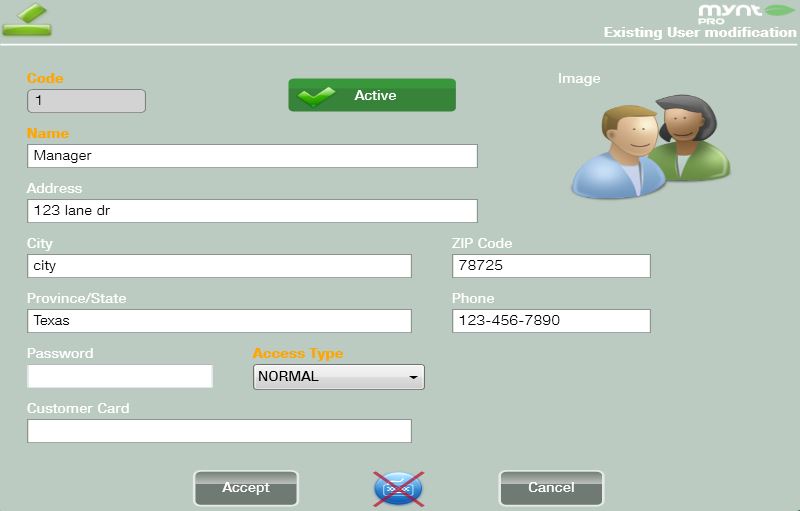
Three of the fields are required to be filled out, all of the others are optional. The 3 required fields are highlighted in orange.There are two options for Access Type, NORMAL and Training. Select Training Mode for the remainder of this training process. While a user is in Training mode, none of their sales, documents or closures will affect the normal database.
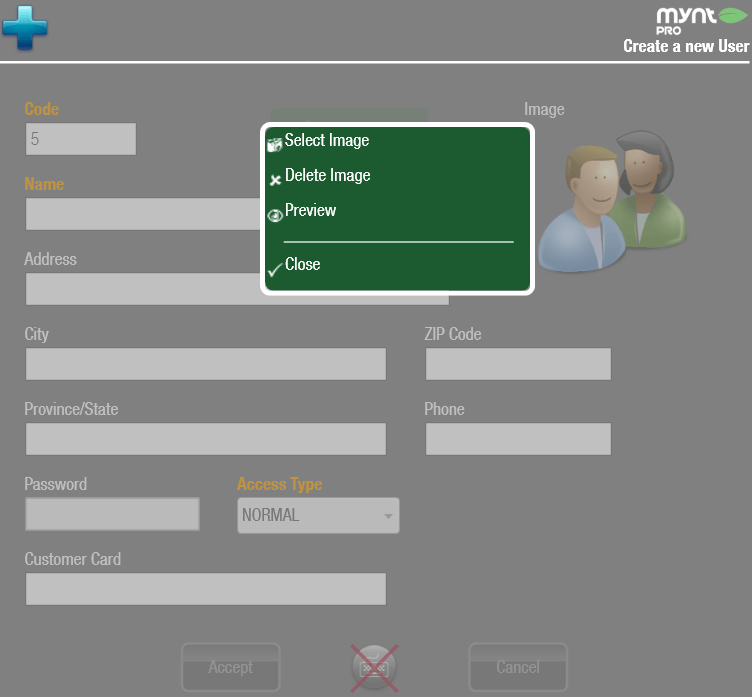
You can change the image for a user by clicking on the image in the upper right corner, and then clicking on Select Image.
Once you have entered in all of the data for the user, click on Accept to create the user.
Sales:
Completing a Sale
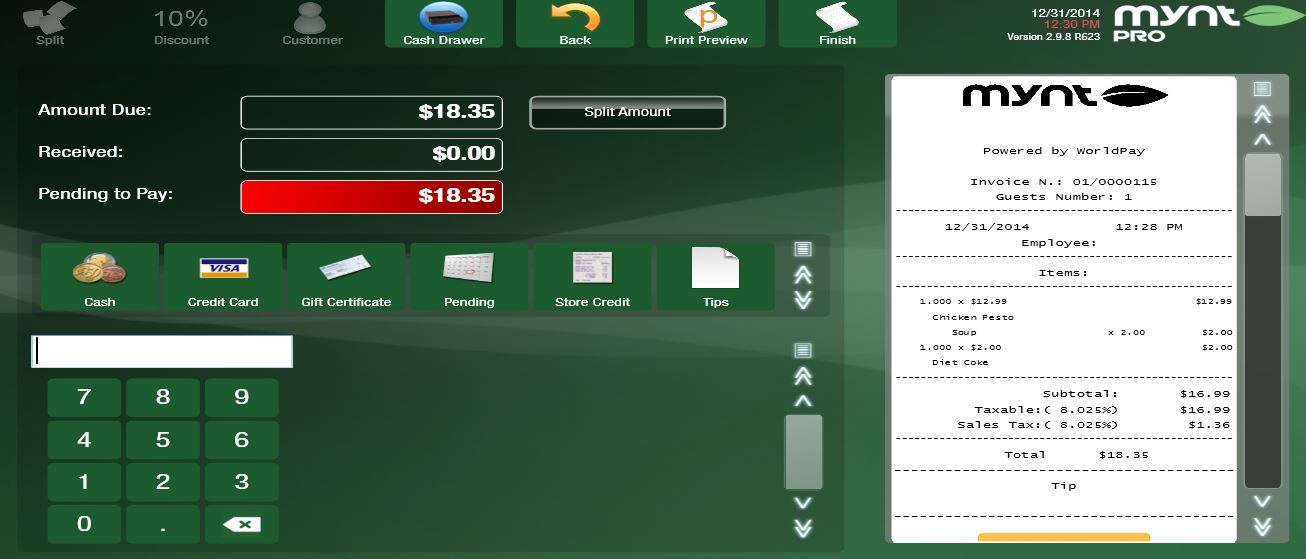
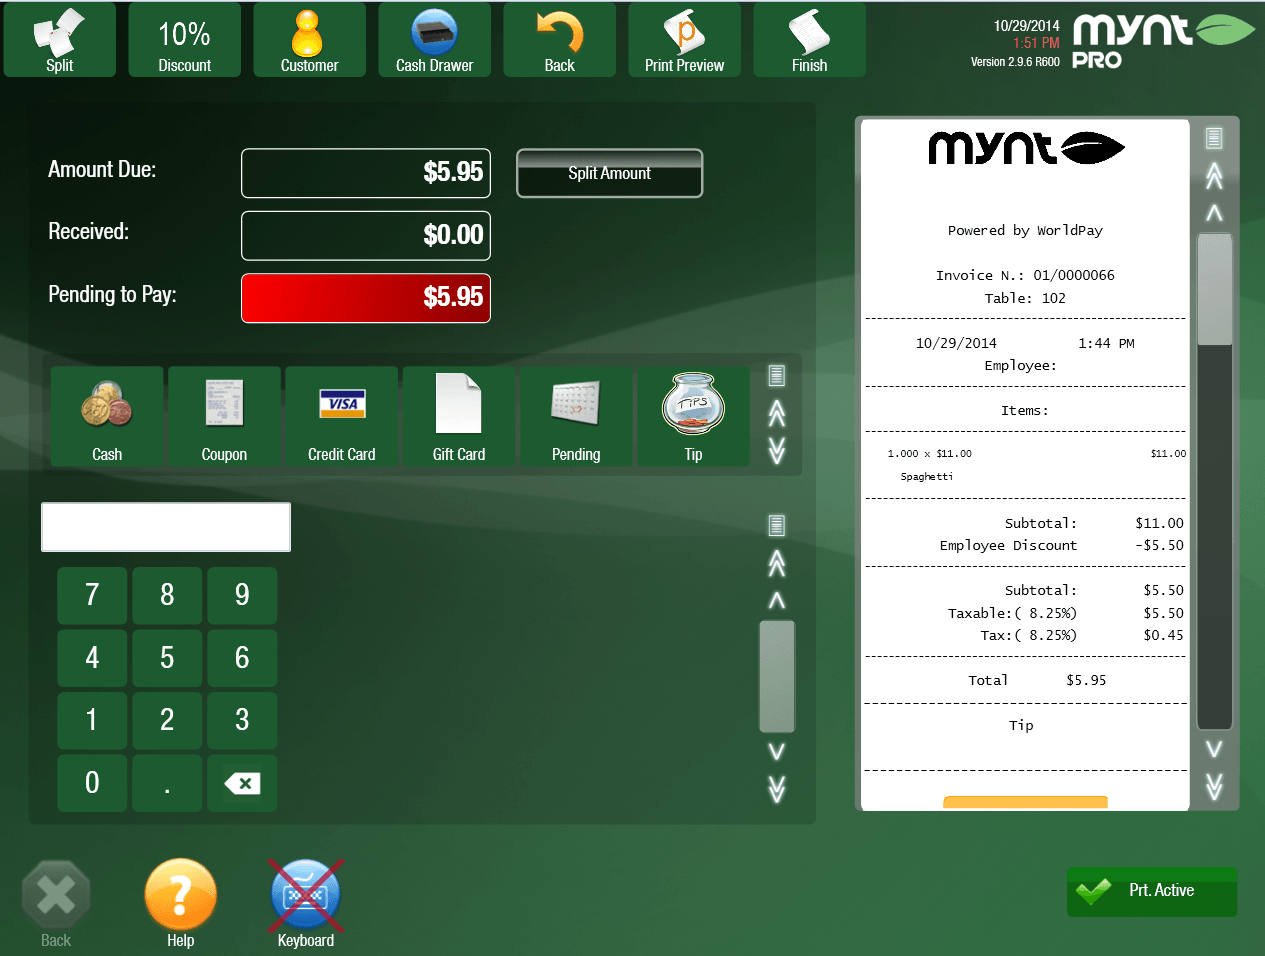
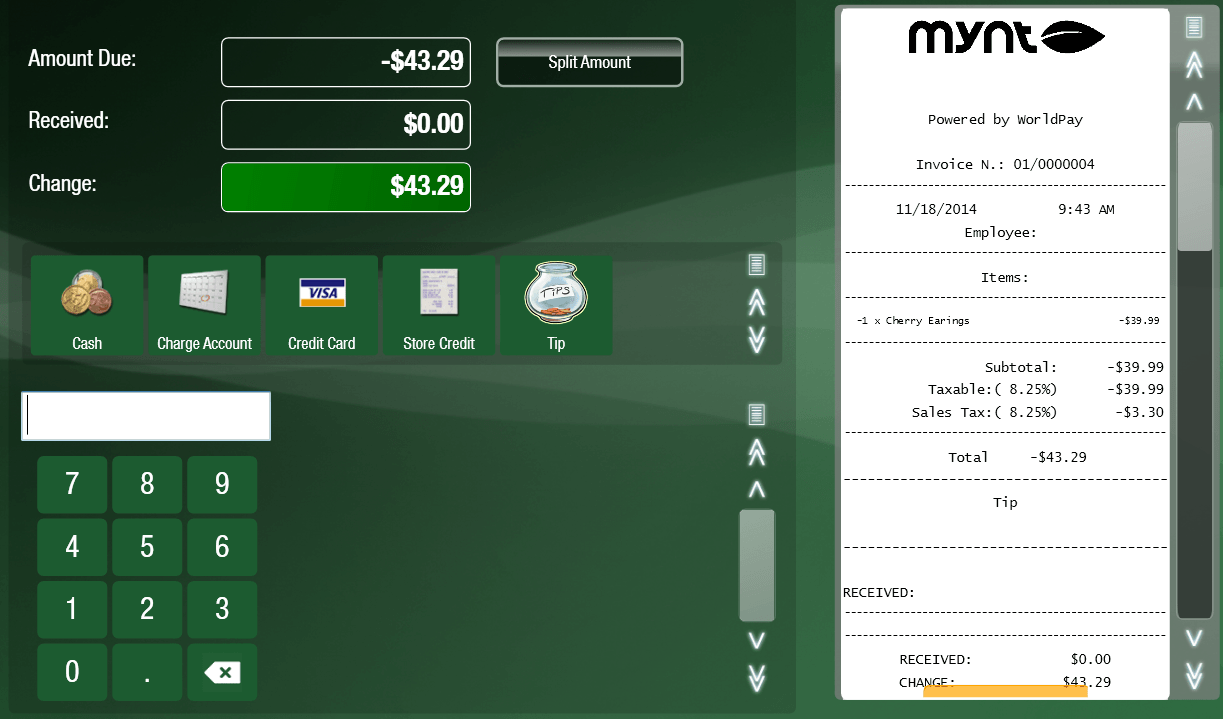
After you have entered all the customers items in the main sales screen you will need to close or complete the sale. To do this you will need to click the Tender Payment button at the bottom right side of the window.![]() You will be directed to a page that will give you a receipt print preview and your various payment options with the subtotal of the bill. Enter the payment amount and select either Cash, or Credit Card. After all the totals are entered click the Finish button at the top of the screen to complete the sale.
You will be directed to a page that will give you a receipt print preview and your various payment options with the subtotal of the bill. Enter the payment amount and select either Cash, or Credit Card. After all the totals are entered click the Finish button at the top of the screen to complete the sale.
Splitting a Check
To split the check you will then tap the Split button at the top of the screen from the payment options window above.
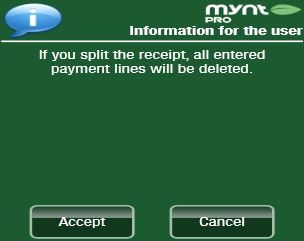
There will be a message asking if you want to accept or cancel splitting the check. Tap the Accept button to continue splitting the check.
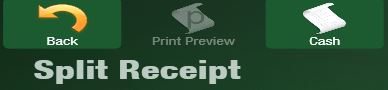
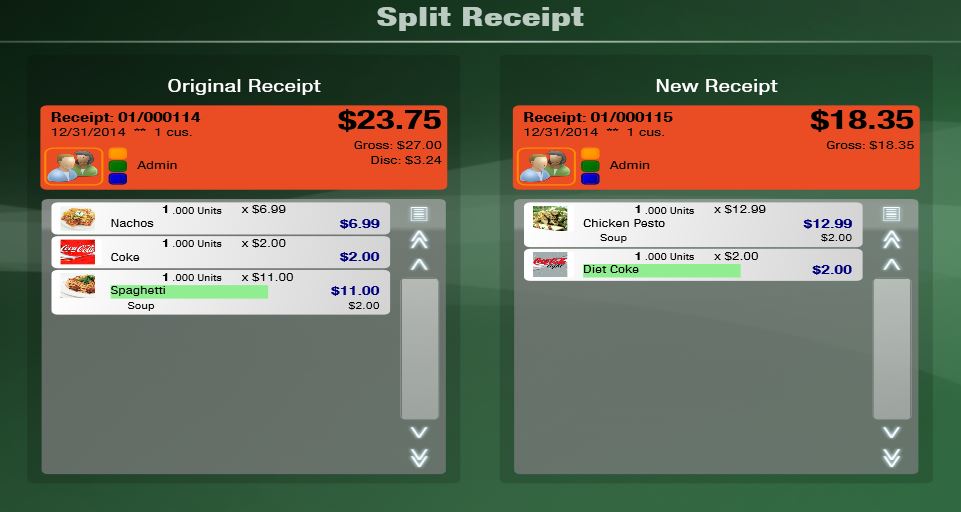
After accepting you will be directed to the Split Receipt page. On this page you are given the original receipt and a new blank receipt. To split the check tap on each individual item that needs to be separated. Once the checks are split accordingly you will then tap the Cash button at the top of the screen.
This will bring you back to the page with payment options. There are two methods to checking a customer out of the system. If the customer has cash or card ready to go with no receipt needed, you can then select the payment type for the first check and tap the Finish button at the top of the screen. After finishing that check you will be brought back to the same screen with the final check. Proceed with the payment type and selecting the Finish button for this check as well.
Tap the Print Preview button for the first and second checks. By pressing this button you will receive a printed copy of the split checks and the sale will close redirecting you back to the main sales screen.
Creating a Discount
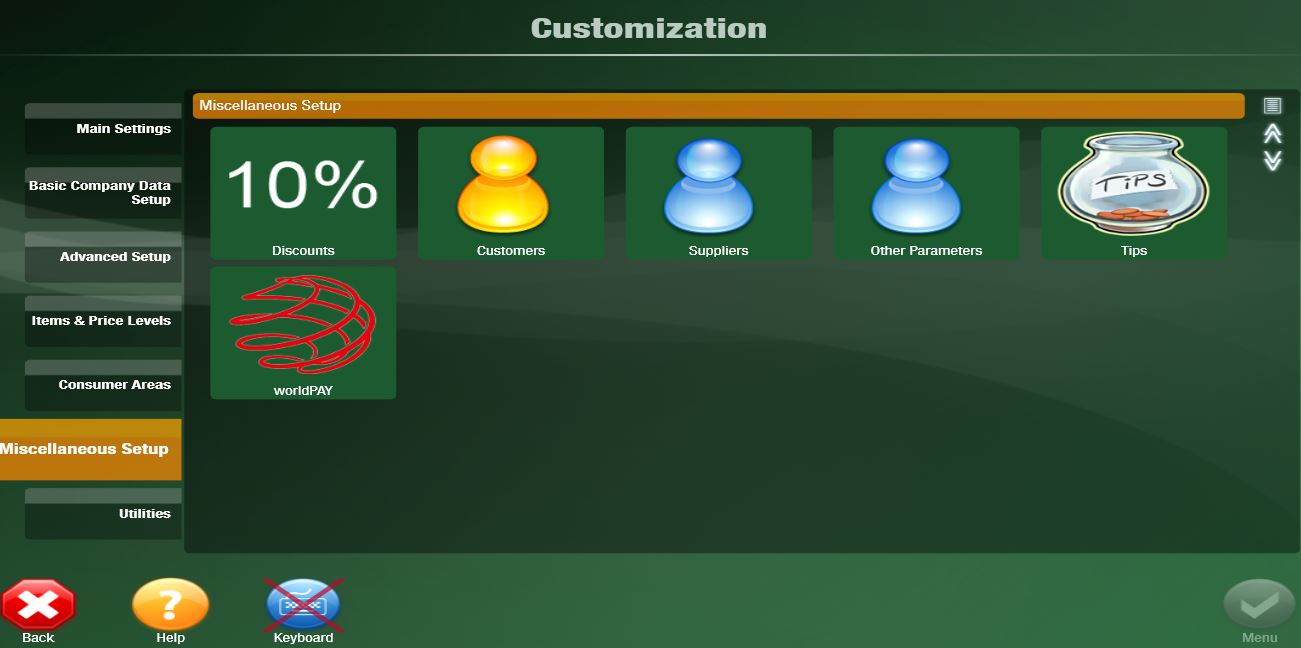
To setup discounts, from the Mynt sales screen click Setup in the top left corner, then from the list on the left select Miscellaneous Setup, and then select Discounts.
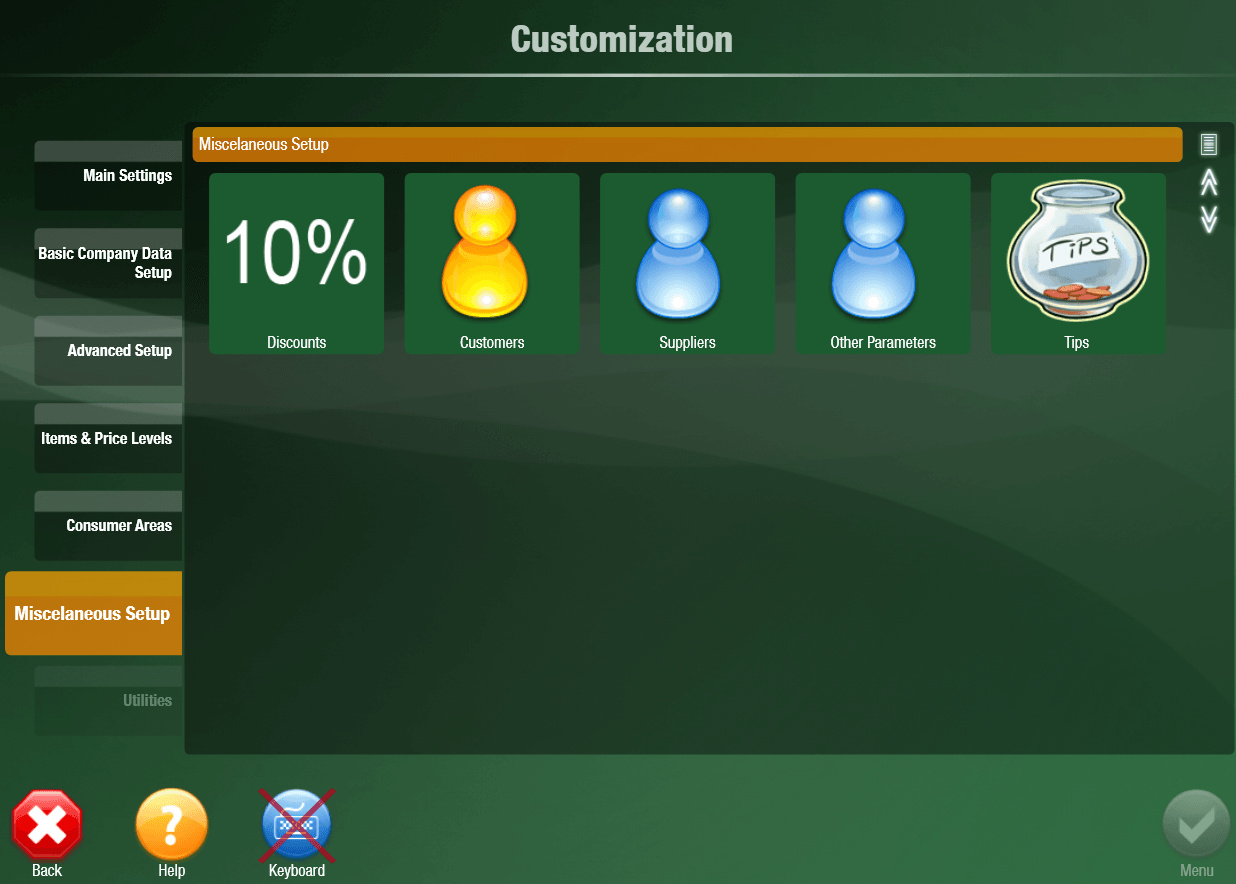
This will open up the Discounts Management screen.
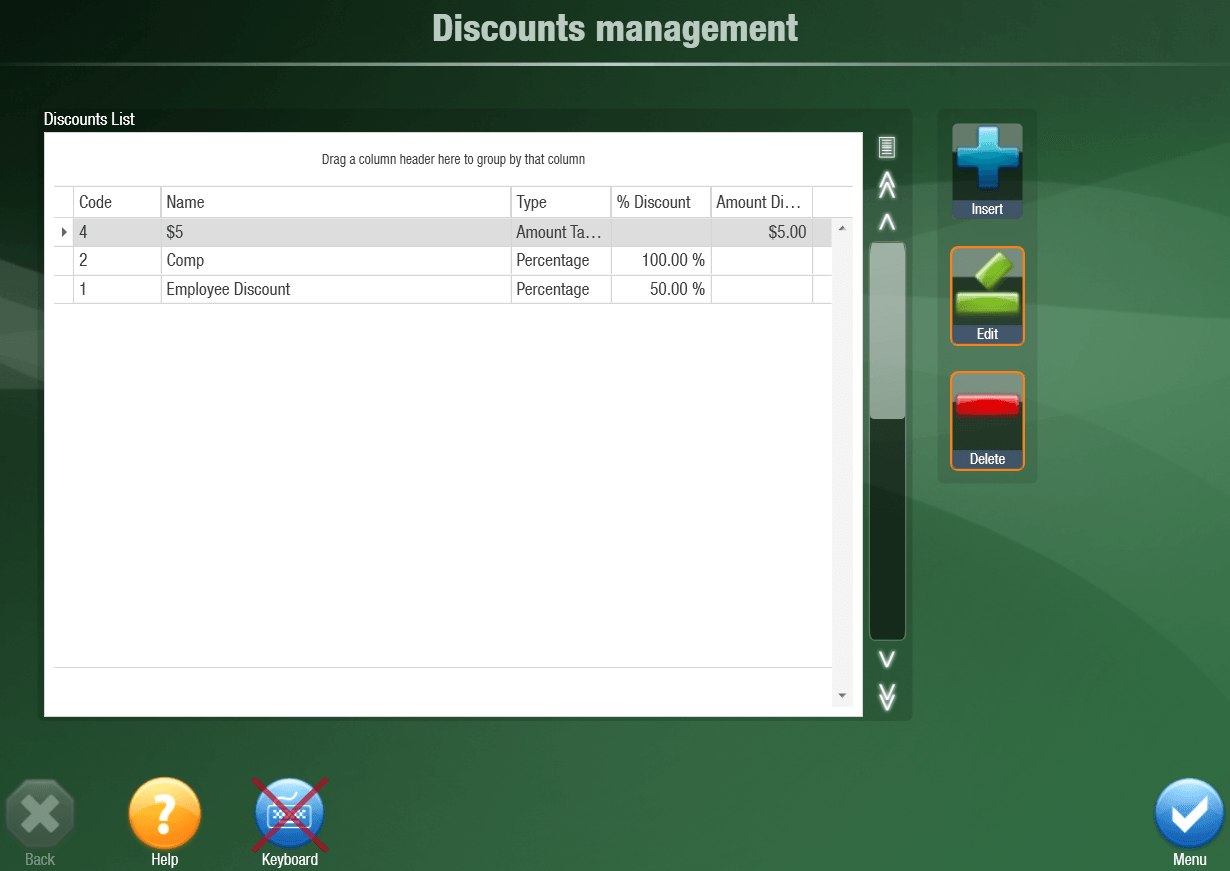
To create a new discount, click Insert on the right. This will open up the Insert Discount screen.
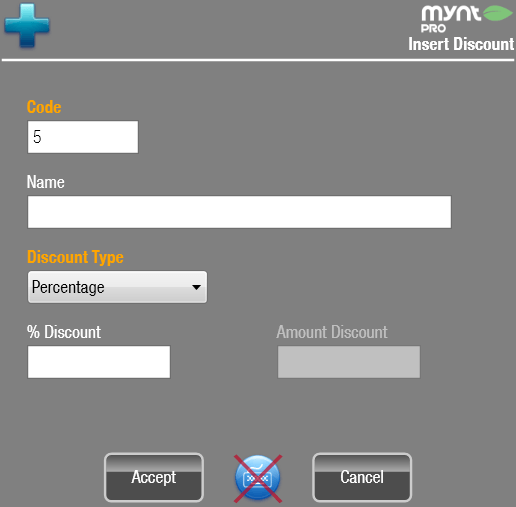
There are 3 required fields; Code, Name, and Discount Type.
Code is a unique number for the discount used within Mynt. When you create a new discount, Mynt will automatically assign a unique code to the discount.
Name is how you will recognize the discount throughout Mynt.
Discount Type is how the discount is calculated. There are 3 types of discounts in Mynt; Percentage, Amount Tax included, and Amount Tax excluded.
Percentage is a percent off a total, this will be taken off the entire ticket before tax. If you select this type of discount, you will need to enter a percent deduction in the % Discount field.

Amount Tax included will take off a set amount, including tax on the discounted amount. Another way to think of this type of discount, is that it will “pay” that amount of the bill, including the tax on the discount. If we apply a $5 Amount Tax included discount, it will take a portion off of the bill, and a part of the tax and these parts will equal $5.
Amount Tax excluded will take off a set amount, excluding the tax on the discount. This would be the same as just lowering the price of the item before tax is calculated. If we apply a $5 Amount tax excluded to a bill, it will lower the subtotal by $5, and then the tax will be calculated on the rest of the subtotal.
Once you have selected the type of discount, enter the amount for the discount being applied and then click Accept. Once you have completed creating all of your discounts, click the Menu button in the bottom right corner to return to the main menu.
Applying a Discount
From the payment screen, click on the Discount button near the top left corner.
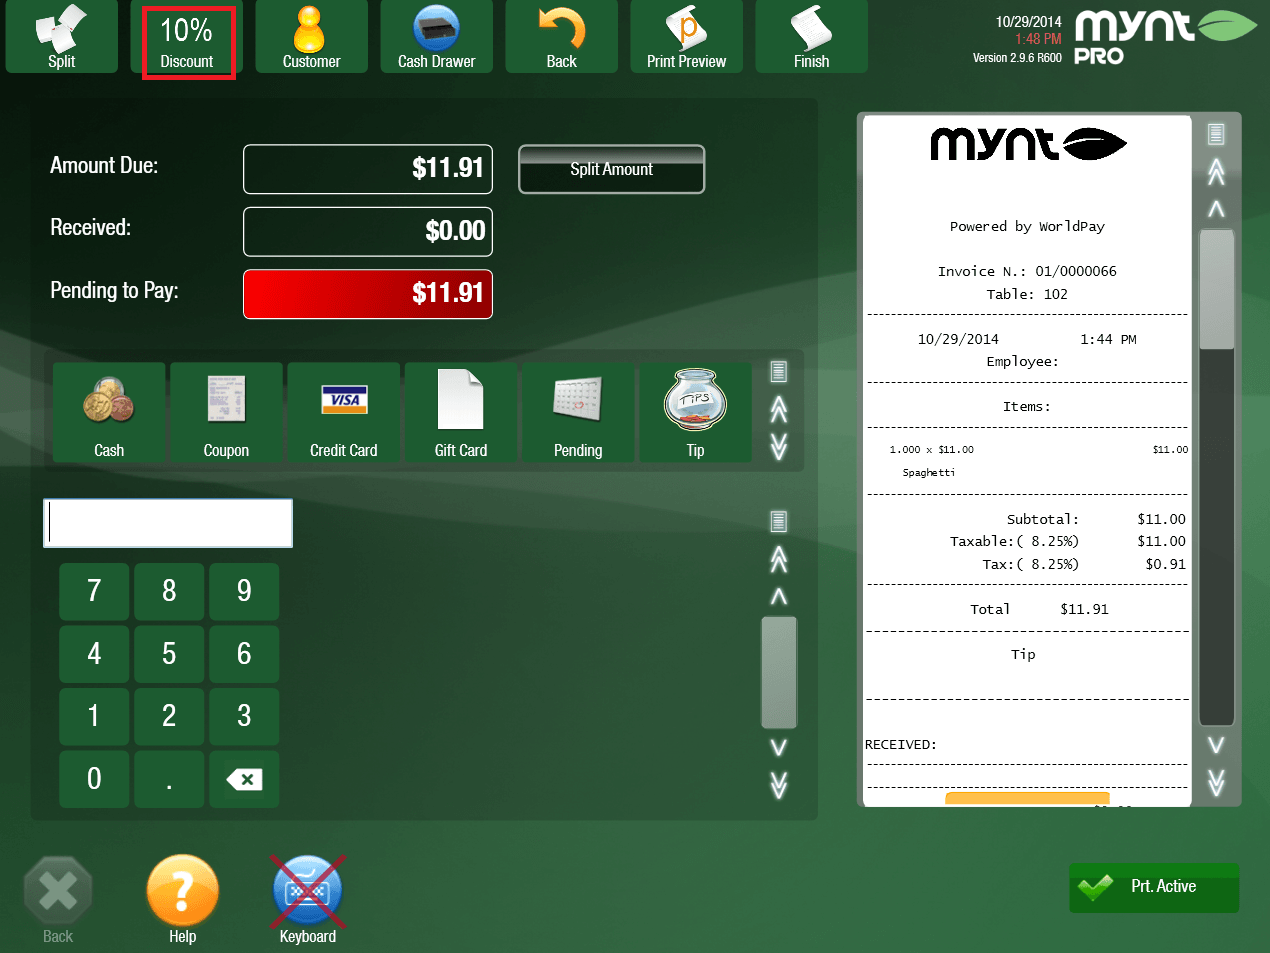
This will open up the Discounts List.
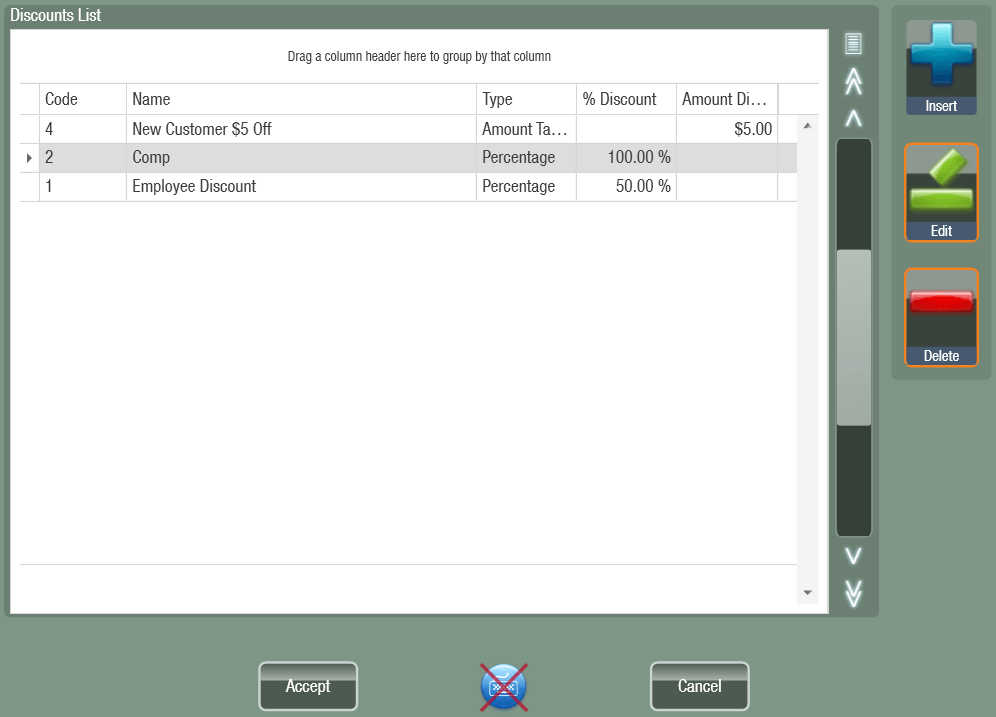
To use one of the discounts, click on the discount and then click Accept. This will bring you back to the payment screen with the discount applied.
To remove a discount from a check, click the Discount button at the top of the screen, and then click Cancel in the window that opens up.
Void Transaction
If you need to void any transactions click the Search button at the top of the main sales screen.
![]()
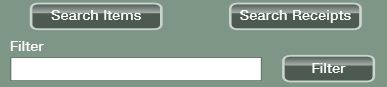
In the search window click the Search Receipts button.
![]()
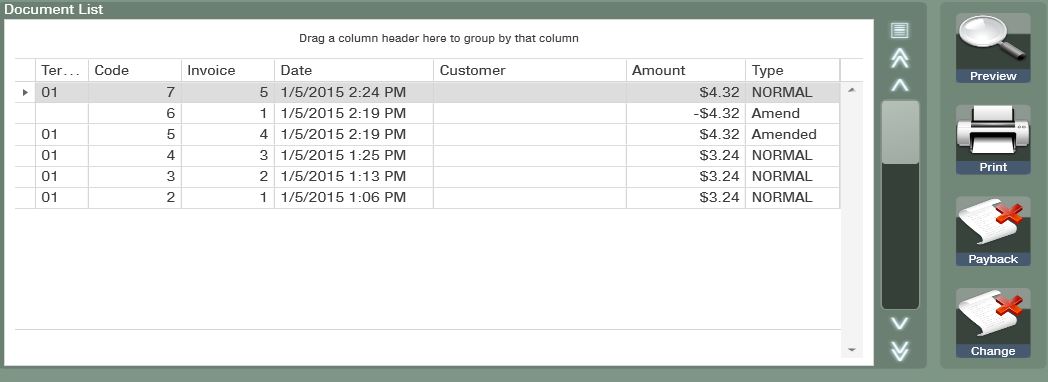
From the search receipts window locate the transaction that you are wanting to void. Once it is highlighted click the Payback button on the right of the screen.
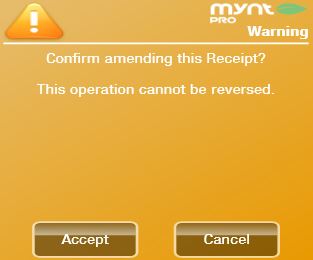
A window will appear asking if you want to confirm the void. Click Accept.
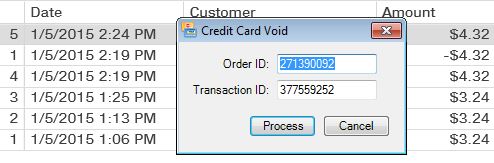
If you are voiding a credit card transaction a window will appear with the transaction ID and the order ID. Click Process. If you are voiding a cash payment this window will not appear and will prompt you to the next window.
Another window will open up letting you know if the void was successful or unsuccessful. Click Accept.
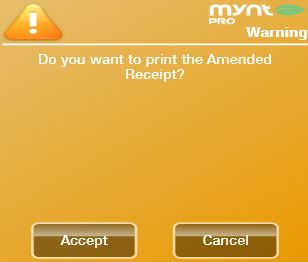
The last window that will open asks you to print the amended copy of the receipt. Click Accept to finalize voiding the transaction.
Processing a Refund
In order to process a refund in Mynt, you will have to sell a negative quantity of an item. To sell a negative quantity, add the item to a sales receipt. Now press and hold (or right click) on the item to edit it. Use the Minus (![]() ) button to change the quantity to a negative amount.
) button to change the quantity to a negative amount.
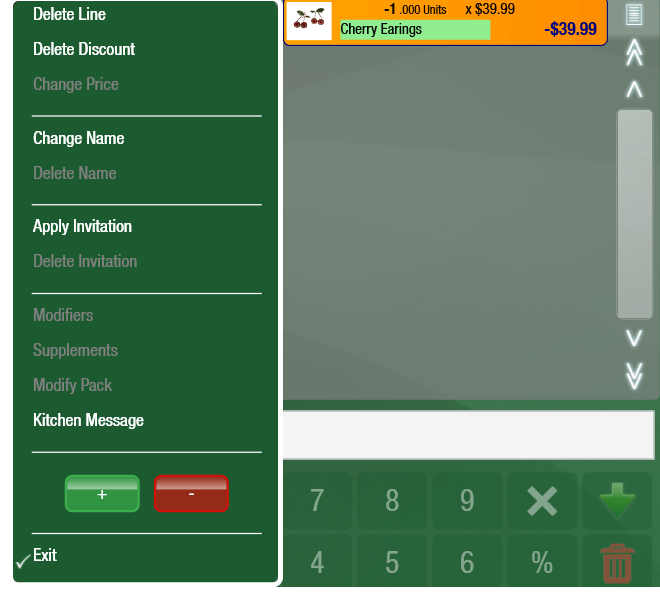
Once you have set the correct quantity, click the Exit button. Now click the Tender Payment (![]() ) button to go to the payment screen and complete the refund.
) button to go to the payment screen and complete the refund.
From here you can either issue a cash refund, credit refund, or store credit. To issue a cash refund, click the Cash button and then click Finish from the top of the screen.
To issue a refund on a credit card, click the Credit Card button, and then click Finish. Click okay on the window that opens up if the amount is correct, then swipe the card and enter your Override PIN.
To issue store credit, click the Store Credit button. A window will pop up asking if you would like to finalize the receipt and generate the store credit.
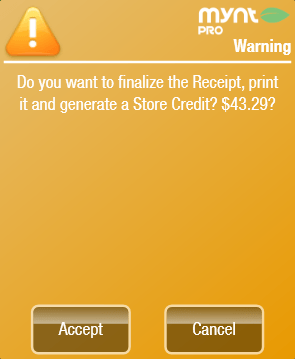
Click Accept and then Mynt will print two receipts, one with the sales information and a second one with a barcode for the store credit.
Reprint a Receipt
From the main sales screen you will click the Search button at the top of the page.

From the search page you will need to click the Search Receipts button at the top of that page.
This page will allow you to search any date for a certain receipt and will provide a list of all receipts from that date. When you locate the particular receipt that needs to be reprinted, click on the receipt and make sure it is highlighted.

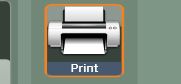
Once the receipt is highlighted click the Print button to the right of the page to complete the reprinting process.
Opening Cash Drawer
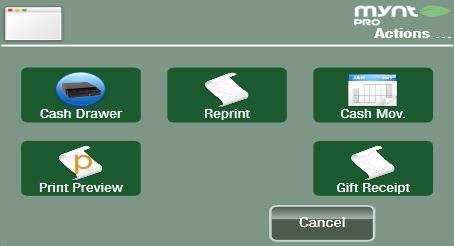
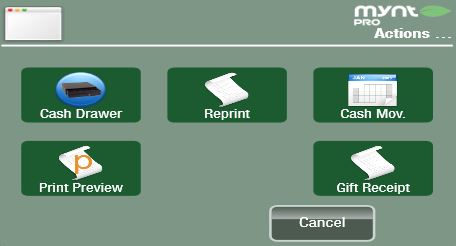
From the main sales screen click the Actions button at the bottom of the window.

A window will appear giving you various options, Click the Cash Drawer button to open.
Change the Quick Tender Button
The quick tender button is very convenient for situations when processing customer transactions at a faster rate becomes necessary. There are two options for the quick tender button, cash, or card. After entering all the items a customer has purchased from the main sales screen, you can click the quick tender button to finalize the transaction immediately. The Quick Tender button is located on the bottom right of the screen below the Red Trash Can button.

In this example we will switch the quick tender button from cash to card. From the main sales screen click the Setup button at the top of the screen.
![]()
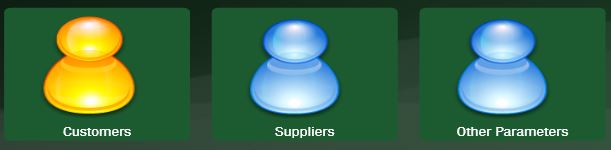
Select the Miscellaneous Setup tab and click the Other Parameters button.
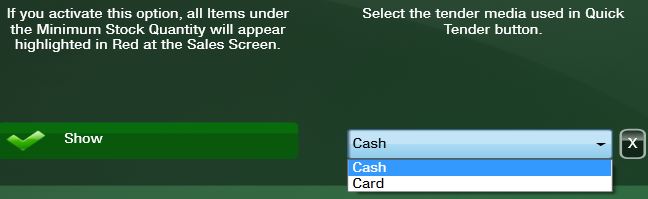
From this screen select the Quick Tender Button drop-down on the bottom right side of the page and choose the Card option.
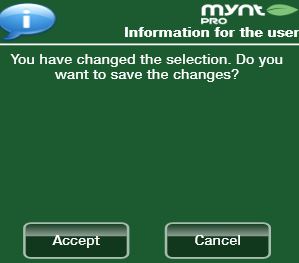
After selecting the card option a window will appear asking if you want to save the changes. Click Accept to finalize changing the quick tender button.
Item Management:
Creating and Editing Items
To edit or create items, open up Department & Items Management. You can open this up by clicking on Setup from the Mynt Sales screen, then Items & Price Levels and then Items.
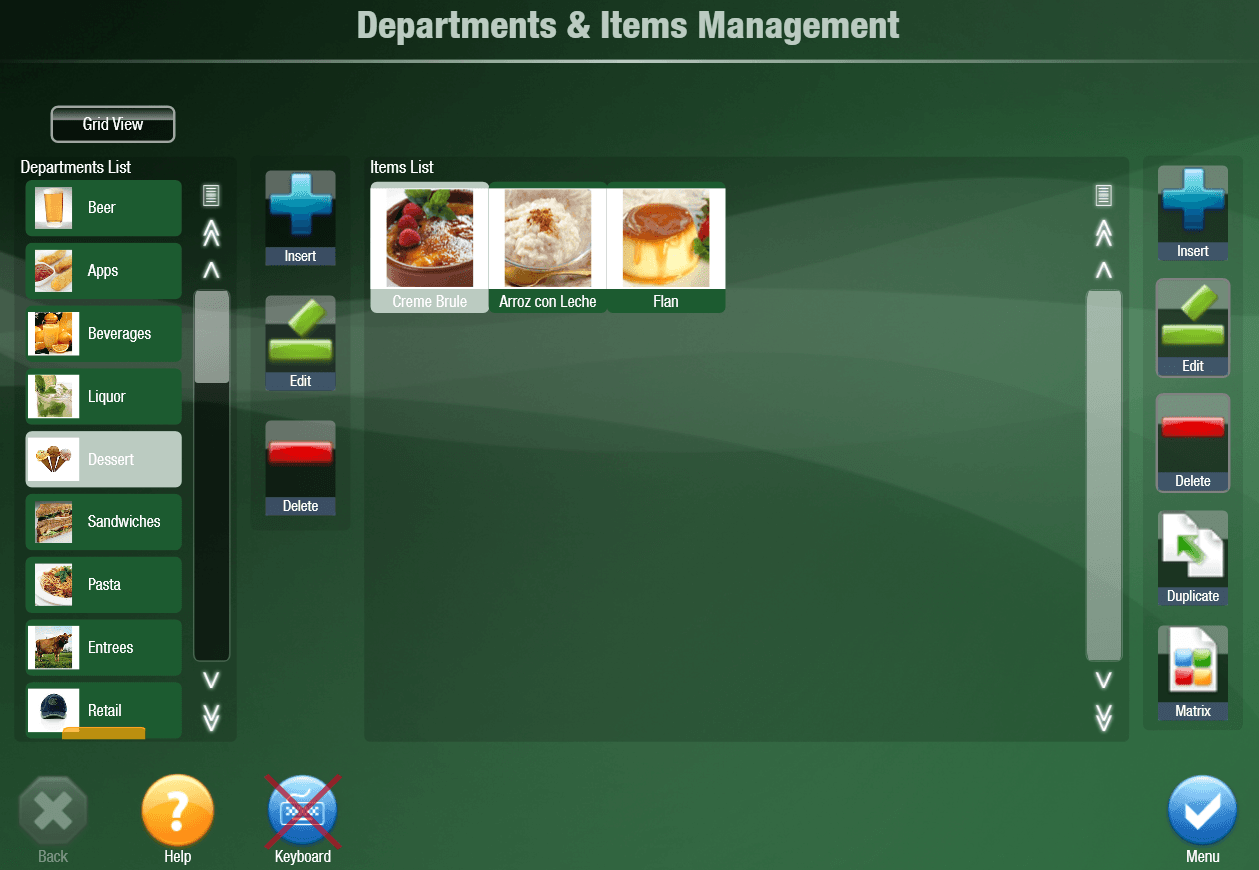
From this screen you can create and edit both items and departments. Items are individual menu items, departments are how you organize your items in Mynt. To create a new department, just click on the Insert button from the column of buttons on the left.
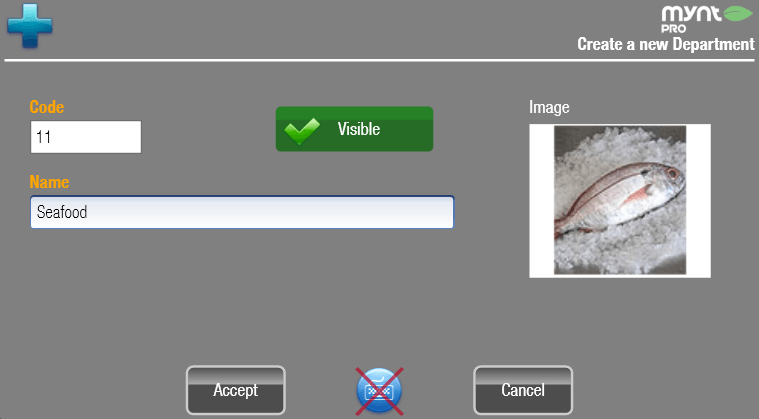
This opens the new department window, you will need to type in a name and then choose if the department will be visible in the sales screen or not. You can also add a photo if you would like. To add a photo, simply click on the space below the word Image, and then click select image. You can choose between the images included with Mynt, solid colors, or to navigate your computer to find your own images. Once you have selected an image, click on Accept.
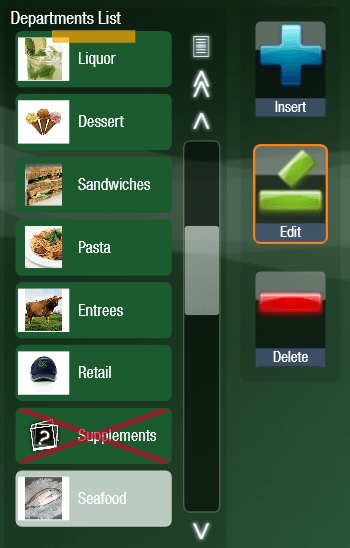
Once you have selected an image and a name, click Accept to create the new department. You can re-order the departments by pressing and holding on them and then dragging it to a new order.
You will now see the new department in the list on the left, click on the department to make it the active department.
Now that the new department is created and selected, you can start adding items to it by clicking Insert from the buttons on the right. This will open the new item window.
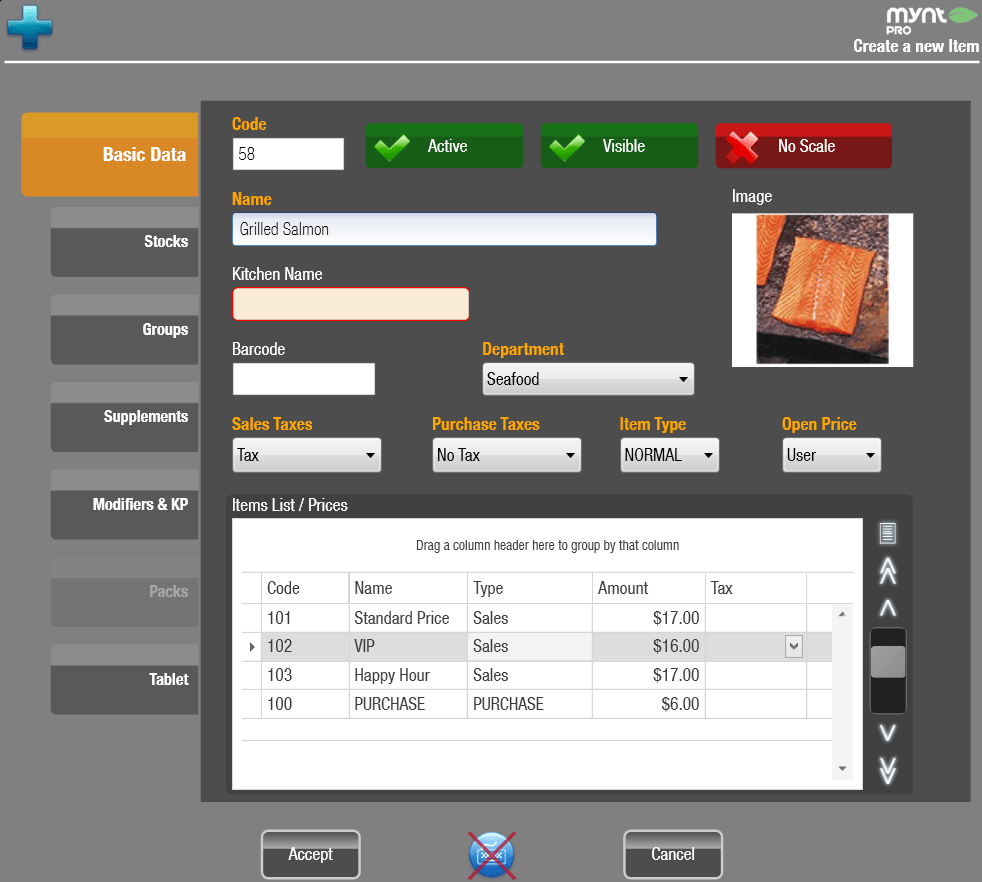
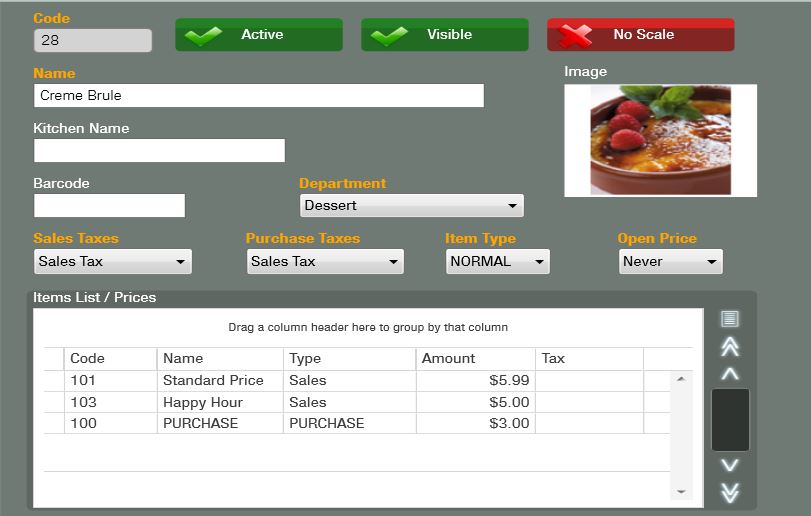
All of the fields in orange are required to be filled out. The Name field is how the item will show up on your menu, Kitchen Name is how the item will show up on tickets sent to your preparation area printers. Barcode is where you will record the UPC code for items that will be scanned into the system. To record the barcode into Mynt, make sure that you use the scanner to record it instead of just typing it in.
Sales Tax is the tax that will be applied to the item when it is sold, Purchase Tax is the tax that will be applied to purchase orders for this item.
There are three options for Open Price. The User option allows only users with the Change Prices permission to change the price. Always will prompt you to enter the price whenever that item is sold, and Never will not allow anyone to change the price while selling the item.
The Items List / Prices is where you will set the price for the item for each of your price levels. In the example above there are four price levels. When setting up your items, you will need to set a price for each price level that you have created.
At the top of this window there are 3 buttons, Active, Visible, and Scale. The Active button sets if the item is active in the menu and can be sold. Visible will control if the item is visible in the sales screen, if an item is not visible it can still be sold it just won’t appear in the menu. If Scale is turned on, then the item will require that it is weighed when being sold.
Adding Items to Favorites
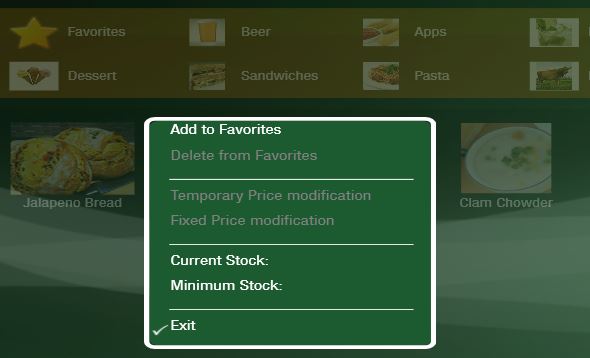
From the main sales screen locate the item you would like to add to your favorites. Once you have the item located tap and hold over the item(or right-click) until another window appears with various options. Click Add to Favorites to finalize the process. Now from the main sales screen you can click the favorites tab to view all the items you have chosen.
Changing the Price of an Item
To change the price of any item you will need to click the Setup button at the top of the main sales screen.
![]()
From the customization page select the Items & Price Levels tab and click the Items button.
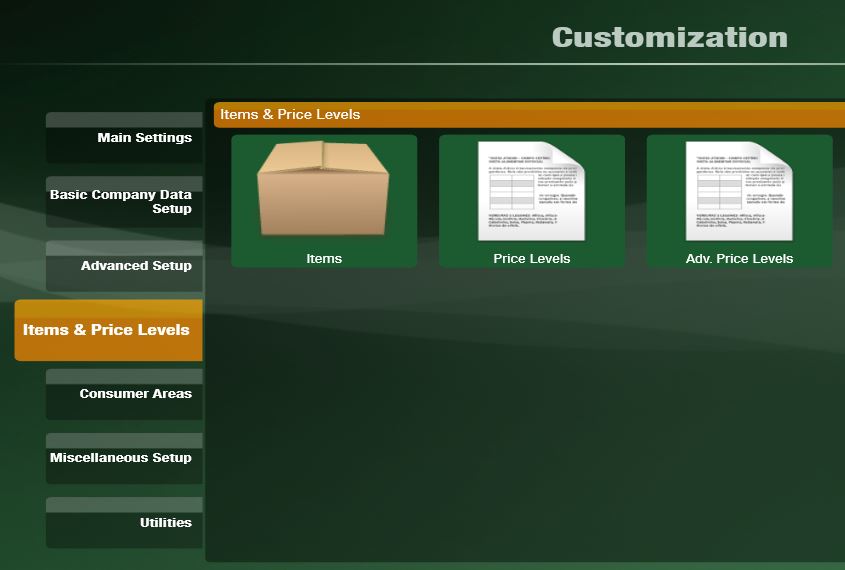
This will direct you to the Departments & Items Management page. Select the item that you would like to change the price on and click the Edit button on the right of the page.
The Modify Existing Item window will appear allowing you to click on the price under the Amount column to edit the item’s price. Once you have the desired price for the item click Accept to finish.
Creating Price Levels
In Mynt, Price Levels can be used to easily change the price of multiple items at one time. Mynt requires that one price level is setup, additional price levels can be setup if needed. If you have a happy hour or a part of your establishment that has items discounted, then you would want to setup a second price level.
To create a new price level, open up the Price Level Management window (Setup > Items & Price Levels > Price Levels).
To create a new price level, click the Insert button. This will open the New Price Level window.
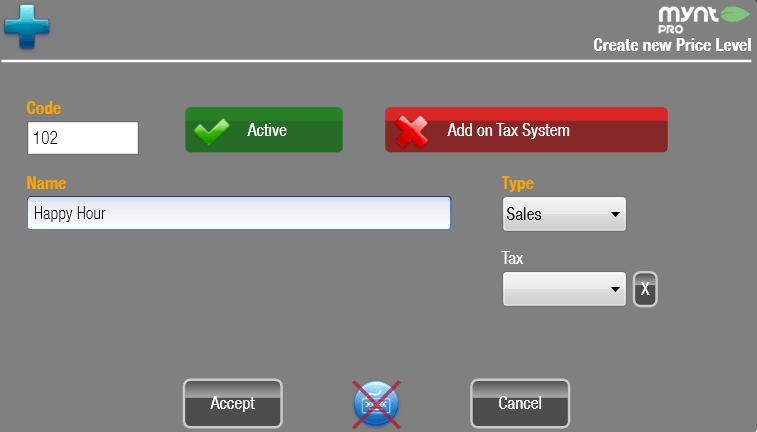
Type in a name for the price level, then choose if this will be a sales price level or a purchase price level. You can use the Active button to choose if the price level can be used or not. The tax system button will change whether taxes are included in the prices or added on. The tax drop down lets you select a tax to be applied to all of the items in this price level. If a tax is selected here, then it will over rule any tax set on an individual item. Once you have filled out everything in this window, click Accept to save the new price level.
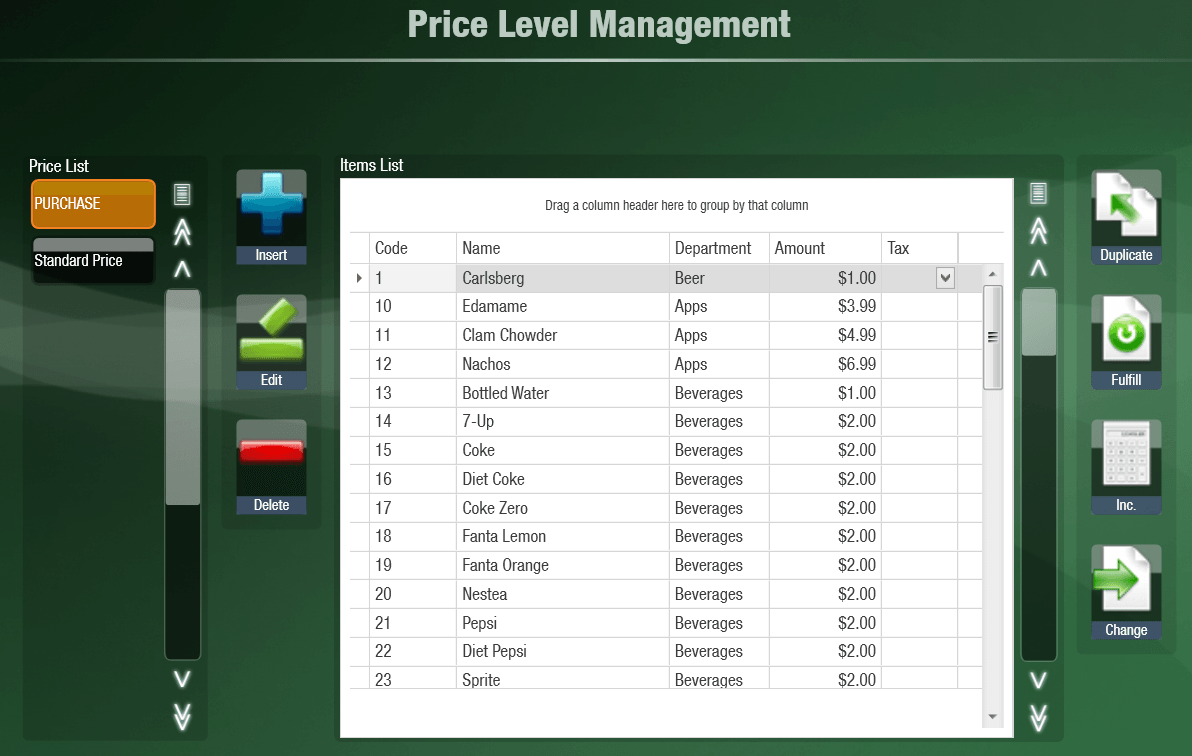
Now that the new price level is created, there are a few different ways to set prices. From Price Level Management you can use the Duplicate button to copy over prices from another price level. You can also go into Advanced Price Levels (Setup > Items & Price Levels > Adv. Price Levels) and see a list of all items along with their prices.
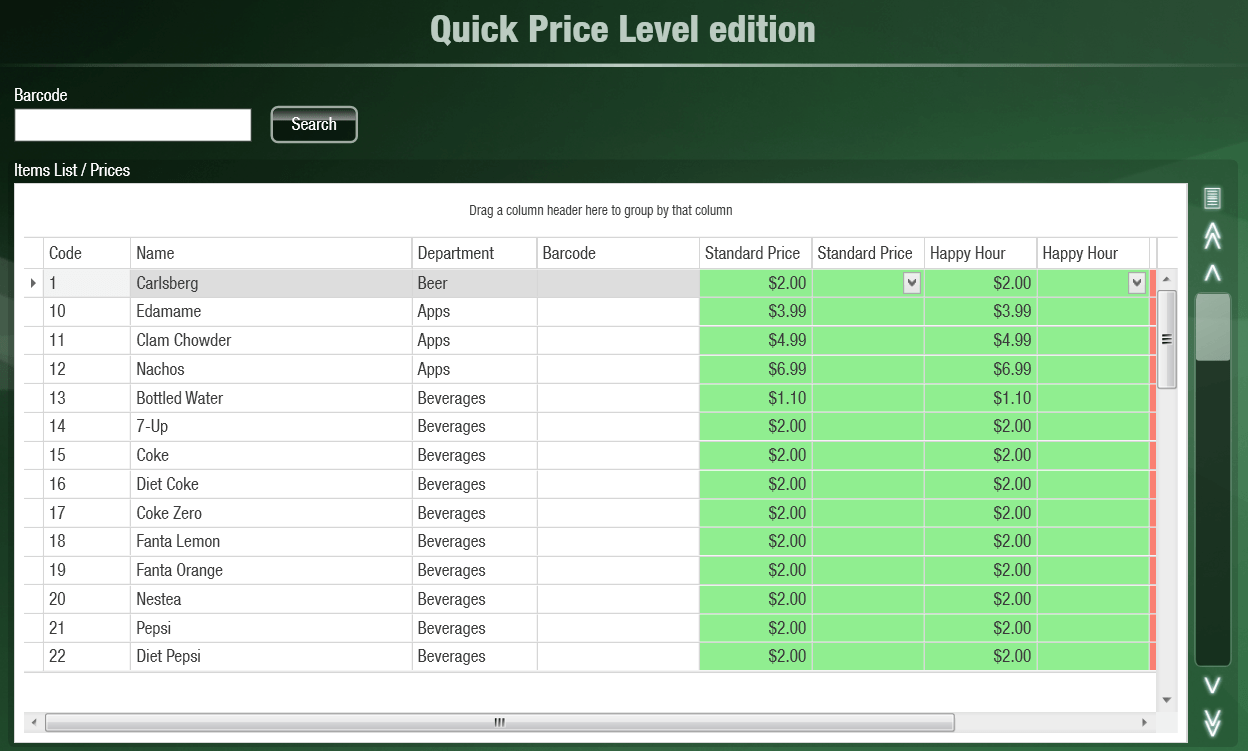
From this list you can edit prices for any level and choose what tax should apply to the item. Another option for setting prices is to set the price when the item is being created. For this example we have copied over all of the prices from the Standard Price level to the new Happy Hour price level. Now to set the Happy Hour prices, we will use the surcharge tool adjust the prices of liquor, beer and appetizers.
From Price Level Management, select the the price level and then click on the Inc. button on the right.

In the window that opens up, you can select any of the listed departments, and then adjust all of the prices in that department by the percentage in the surcharge field. You can use either a positive or negative percent to raise or lower the price of items in the selected departments.
Once you have completed setting up all of your price levels, see this page for how to utilize price levels.
Customers & Suppliers:
Creating Customers
In Mynt you can use the Customers feature to track your customers and create charge accounts for recurring customers. To create a customer, click the Customer button from the top of the sales screen. This will open the list of customers.
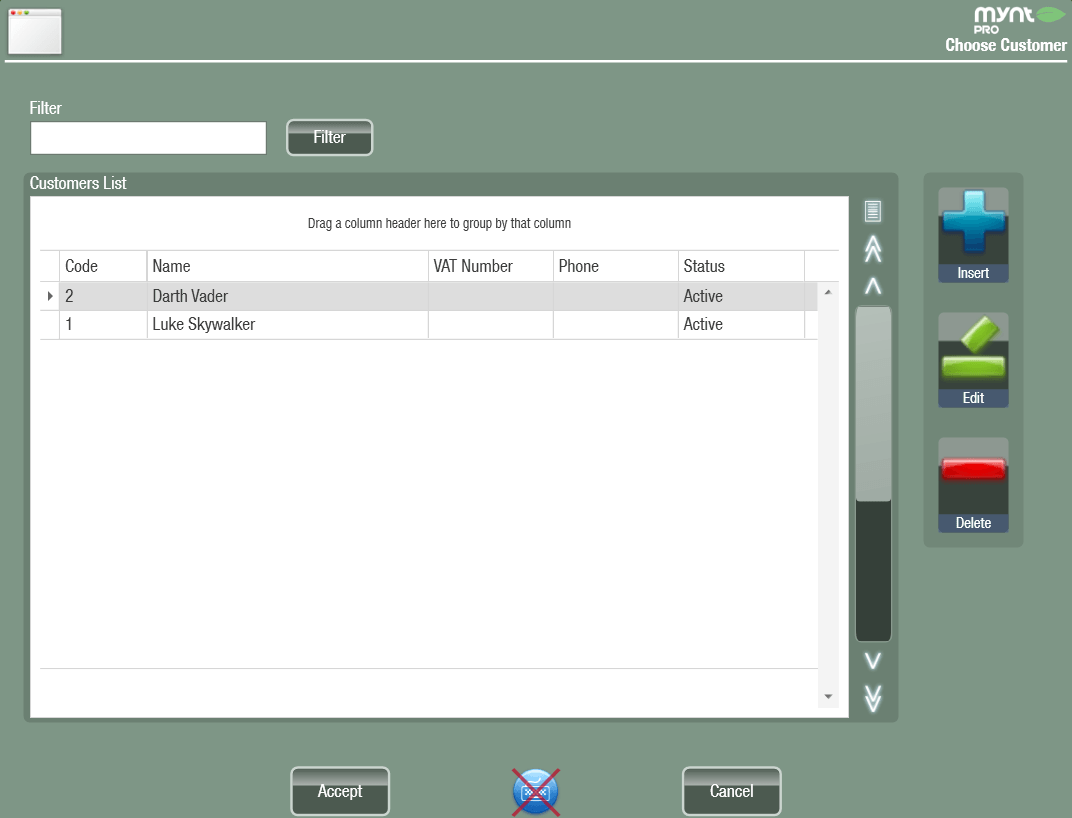
Click on the Insert button to create a new customer.
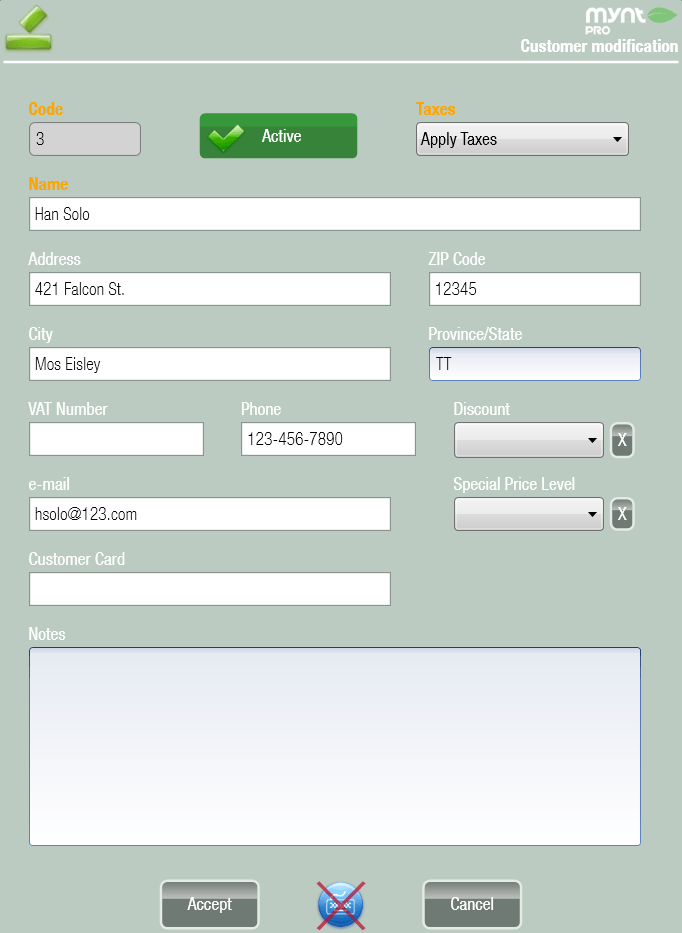
The new customer window will open up, the fields highlighted in orange are required. The Active button at the top of the page can be used to deactivate the customer without deleting them. From this window you can also set a price level and discount for the customer. If either of these are set, they will apply to the price every time this customer is chosen. You can also choose whether or not to apply taxes to this customer using the taxes drop down on the top right. Once you have filled out all of the required information click the Accept button to create the new customer.
Creating Suppliers
To create a new supplier you will need to click the Setup button at the top of the screen.
![]()
From the Customization window select the Miscellaneous Setup tap and click the Suppliers button.
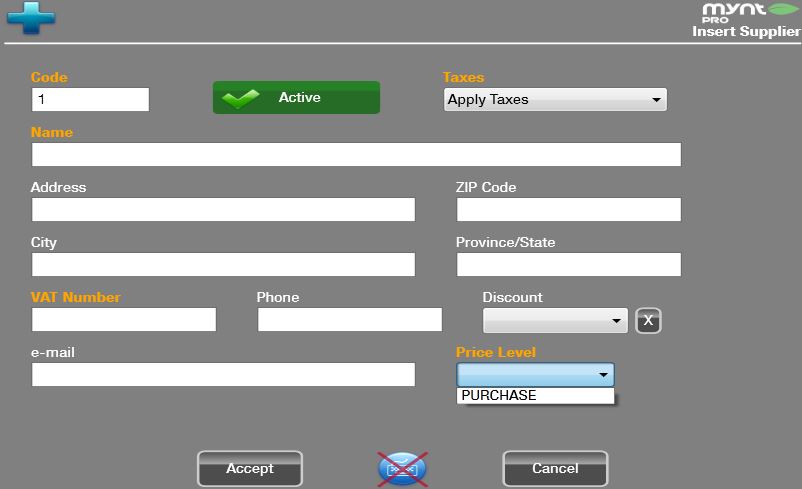
From the Supplier’s Management window click the Insert button to add a new supplier.

When inserting a new supplier you will need to enter in all the mandatory orange highlighted fields. The Code will automatically be generated for you in the Mynt system. Enter the Name of the supplier. Under the Taxes enter if the purchases will be exempt from taxes or if they will have taxes applied. The VAT Number is not mandatory, if your supplier requires one it will be given to you by them. Lastly the Price Level drop down needs to be set to Purchase. Then click Accept.
End of Day/Manager Duties:
Cash Movements
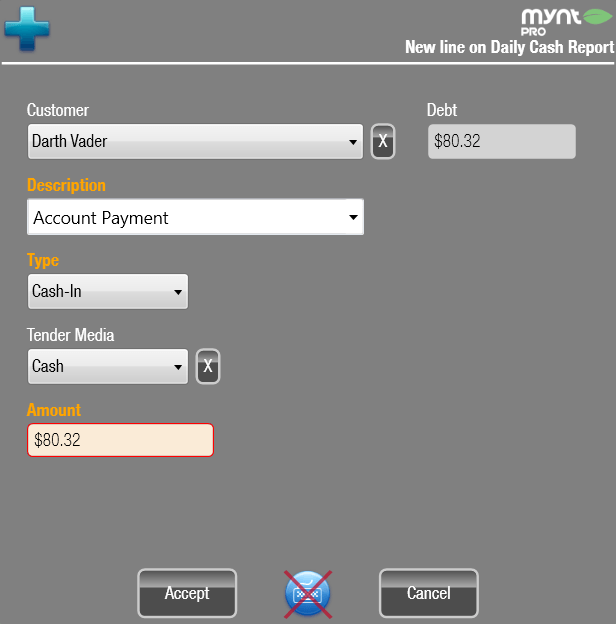
To receive a payment on an account, you will need to create a cash movement tied to that account. To create a new cash movement, click the Actions button from the main sales screen and then select Cash Mov.
This will open up a list of that days cash movements. Click the Insert button to create a new cash movement.
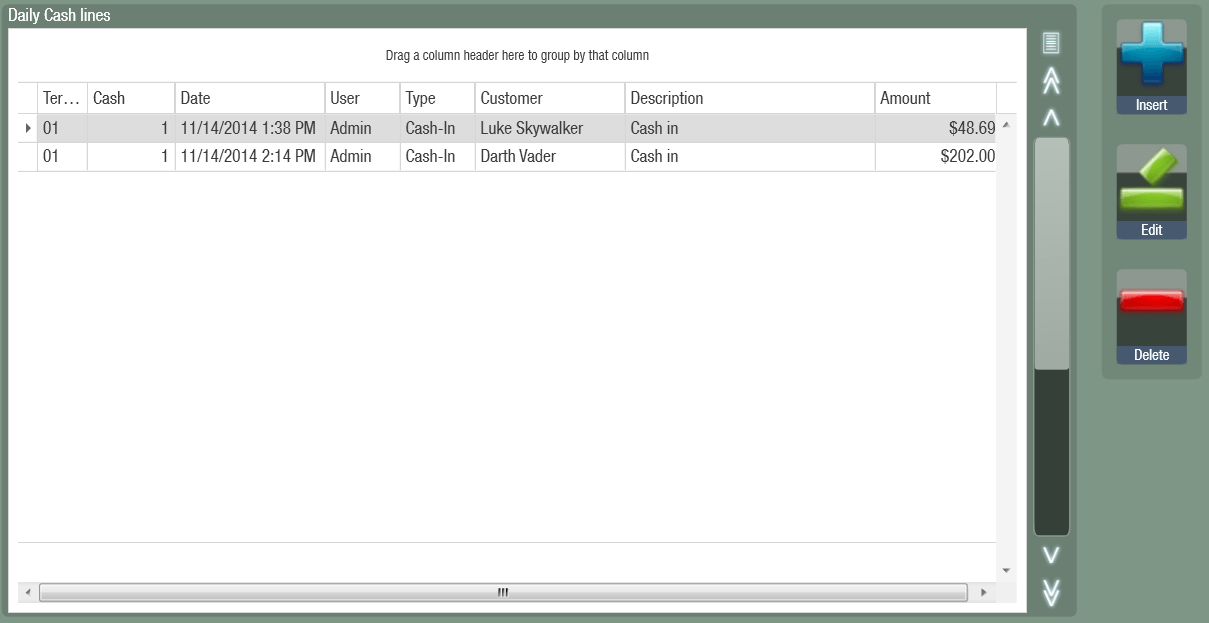
Change the Type to Cash-In, then select the customer from the drop down list, and the debt amount will show the amount owed by that account. You can enter a description for the payment, or choose from a list of the previously used descriptions. Choose the Tender Media and enter the amount the payment is for, and then click Accept. Mynt will ask you if you would like to print a receipt, click Accept to print the receipt and Cancel to process the payment without printing a receipt.
Closing out Tips
After you have taken all your credit card transactions for the day you will need to close out those sales and some may have tips added on to them. To close out your sales and add tips you will need to click on the Search button at the top of the main sales screen.
![]()
While in the search window click the Tips Pending button at the top of the screen. This will pull up a list of all the card transactions that still need to be closed or have a tip added to them.
![]()
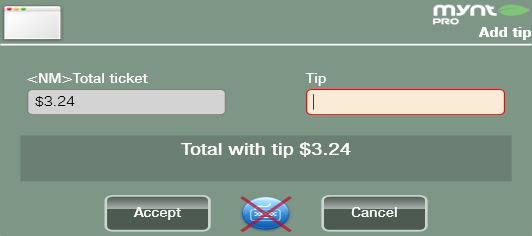
Locate the particular card transaction that needs a tip added and click to highlight. Once the transaction is highlighted click the Add Tip button to the right side of the screen.

A window will appear prompting you to enter the total amount of the tip. Enter the amount and click Accept.
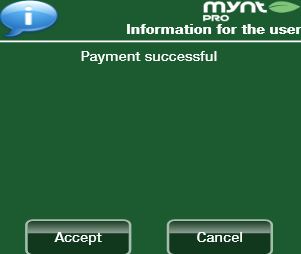
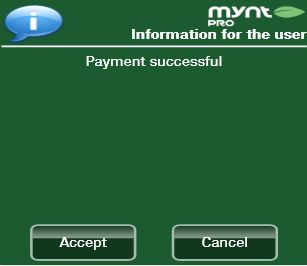
Another window will pop up informing you if the payment is successful or unsuccessful. Click Accept to finish adding the tip.
Closing out End of Day Sales
In order to close your sales at the end of the day you will first need to click the Terminal button at the top of the main sales screen.
![]()
This will direct you to the Daily Cash Reports window. On this page you will be able to see the opening date for all the sales completed and there will be a sales receipt print preview showing the daily sales total along with cash, credit, and gift certificate sales totals.
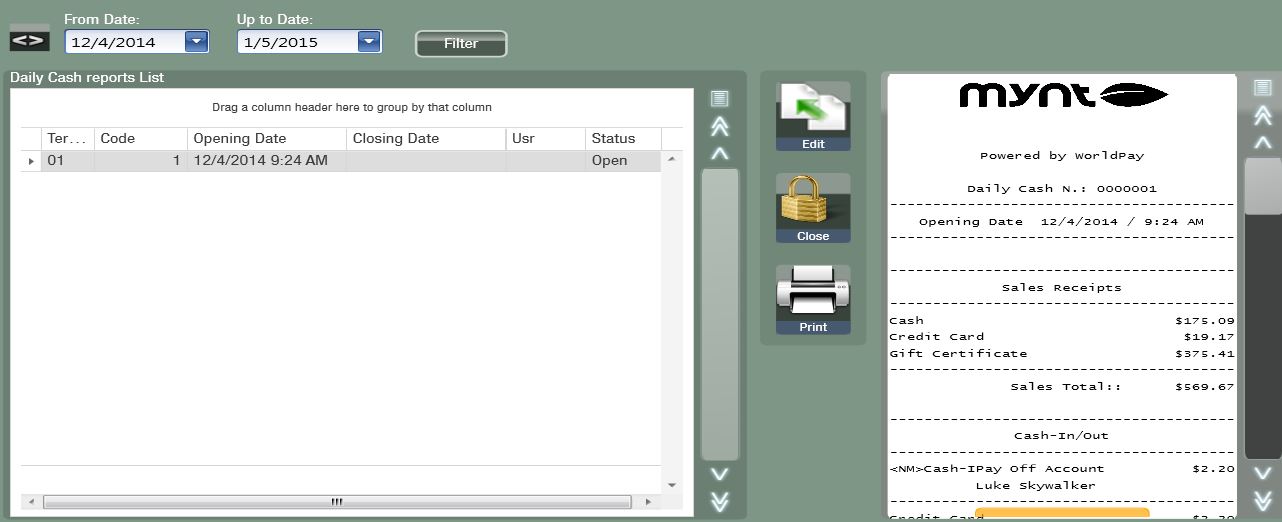
From this page, make sure the certain report list you want to close out is selected, then click the Close button.
![]()
You will then be directed to a window that will ask you to enter all of the cash, credit, and gift certificate receipt totals. These amounts combined should be equivalent to the daily sales total.
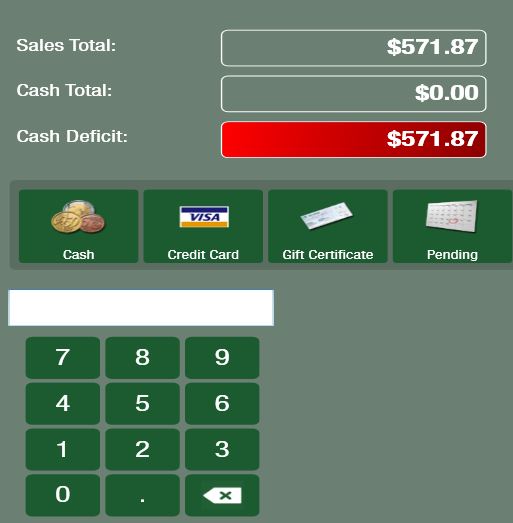
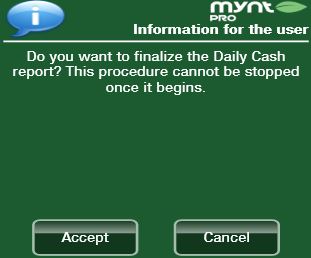
After entering all the totals from your receipts click the Accept button at the bottom of the page. A window will appear asking if you want to finalize the daily cash report, click Accept.
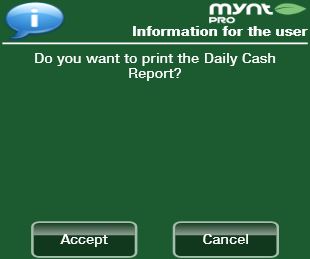
Another window will appear asking if you want to print your daily cash report. Clicking Accept is recommended for filing purposes, but not mandatory. All the information will be located in your reports tab from the main sales screen.
Lastly click the Accept button at the bottom of the page to finalize closing your end of day sales.
![]()
Reporting
There are many options for running reports in Mynt. All of Mynt’s reports are accessed from the main sales screen by clicking on the Reports button at the top of the screen.
There are 4 different categories of reports in Mynt. You can look through the different categories to find the report that you would like to view. In this example we will use the Item Sales report, but all reports use the same basic controls.
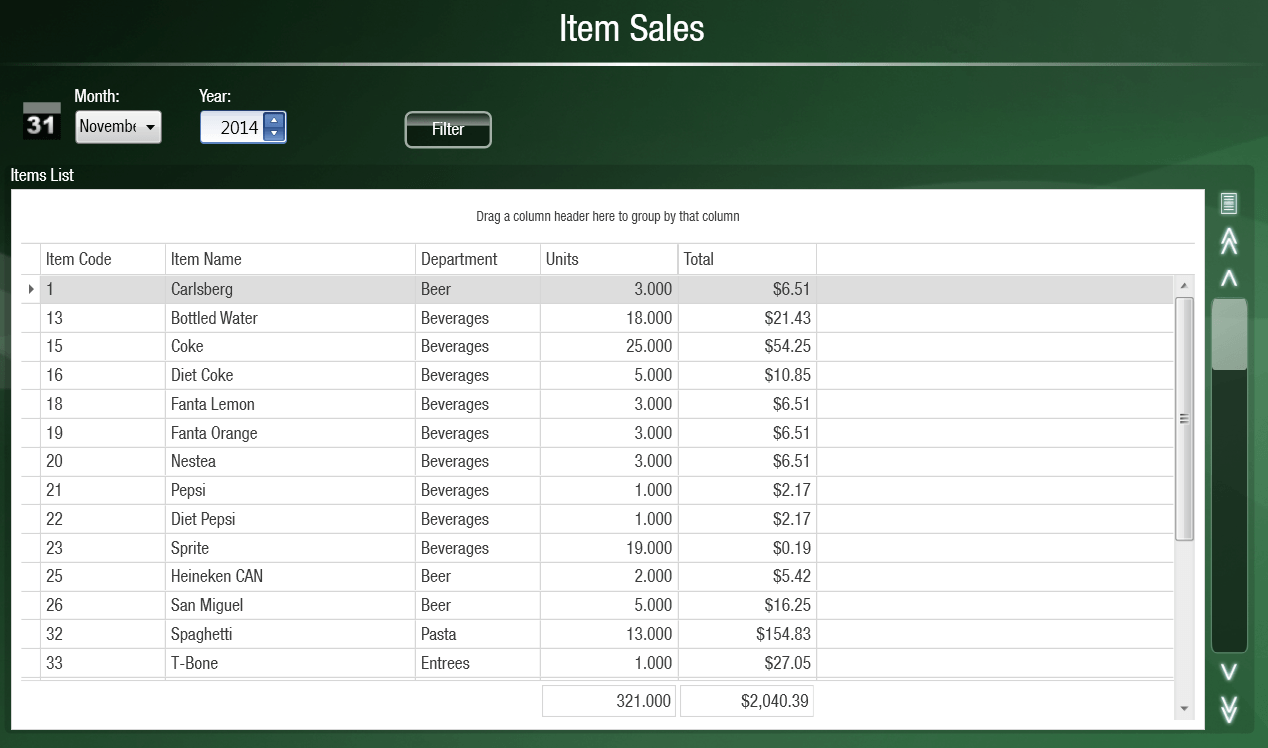
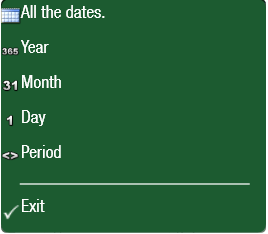
At the top of the report, you can filter by date. By default it will be filtering by Month, if you click on the number next to the Month, you can change the filter to All Time, Year, Month, Day, or a specific Period.
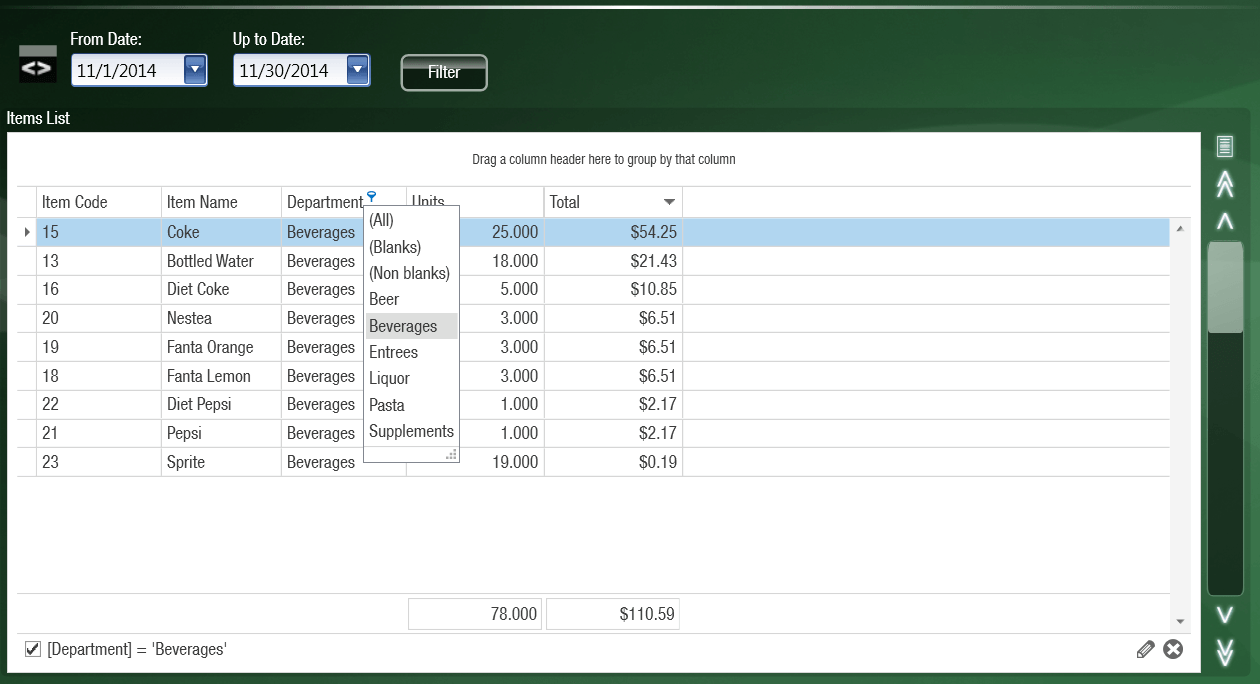
Once you have selected a different date filter, you can change the date with the drop down menu. After you change the date make sure you click the Filter button to update the report. From the report you can click on any of the columns to sort by that column. With a column selected, you can filter by the values of a column by clicking on the pin icon that appears next to the header of that column.
To save a report, click on the Print button at the top of the page.
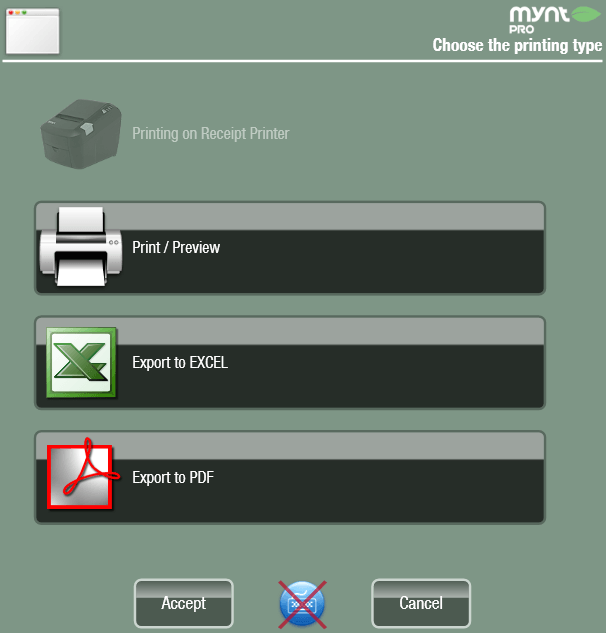
From this window you can select to either save the report to a file or print the report. If you print the report it will print to the default receipt printer.
Some reports will show the data from the report displayed as a graph to the right of the report.

You can click the buttons at the top of the graph to change how the data is displayed. Clicking on the magnify glass will make the graph go into a full screen window.
End of Day Report
When you are ready to run you end of day report you will need to click the Reports button at the top of the main sales screen.
![]()
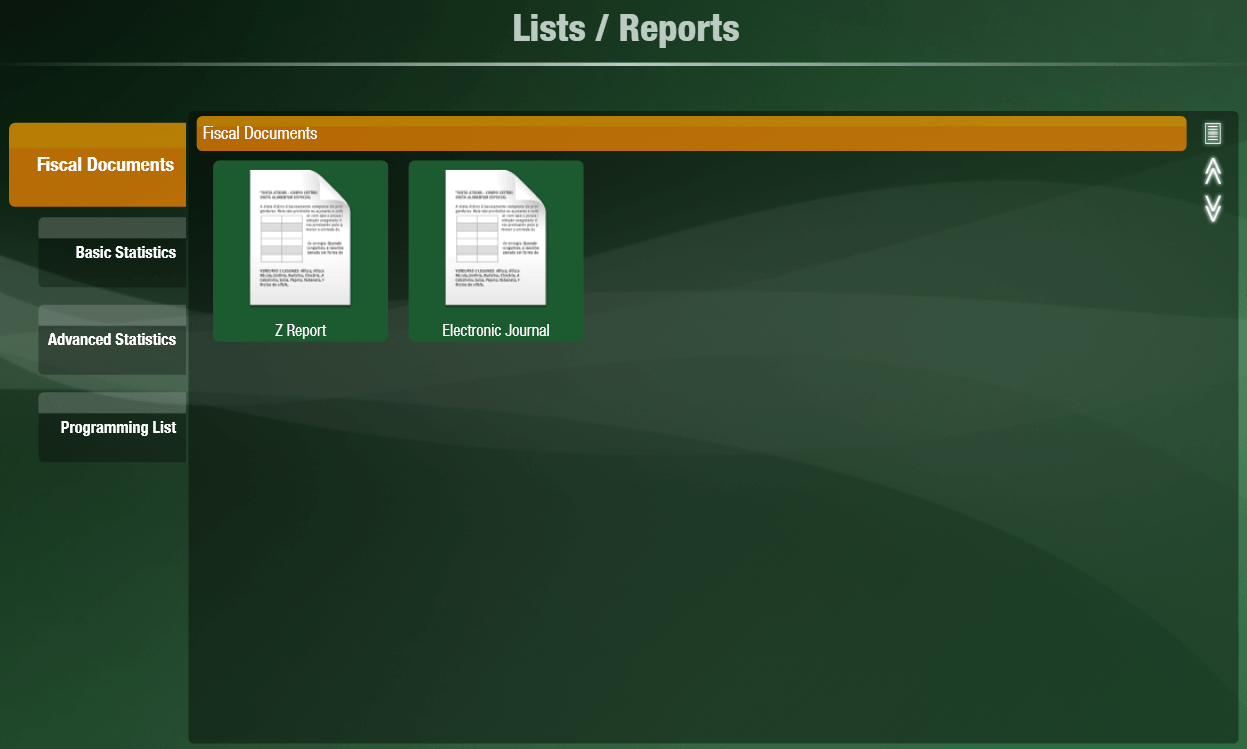
This will bring you to the Lists/Reports window. From here click the Z Report button.
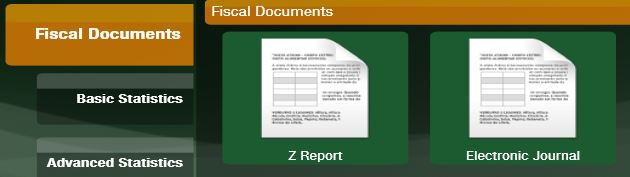
The Z report window will allow you to search any day that transactions have been made and give you a full report of the totals from each day. Select the certain day that you need reporting from and click the Print button at the top of the screen to finalize the end of day report.
Program Tools:
Creating and Restoring Backups
Before you restore or backup the Mynt database make sure that you are logged in as the Admin user or a user with the Utilities permission.
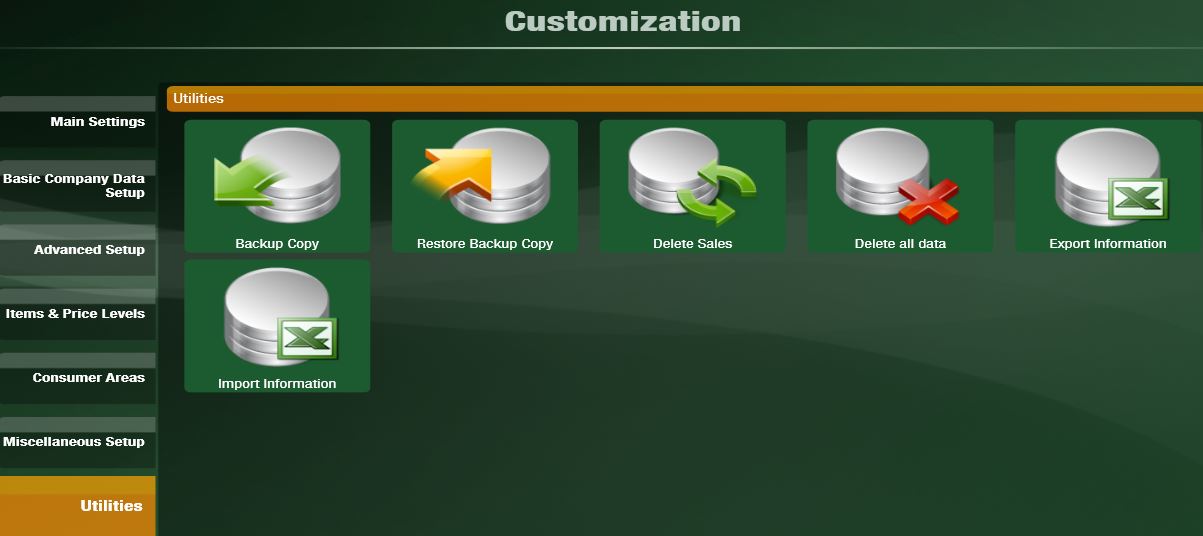
To perform a backup of the Mynt database, open up the Mynt setup screen, and then click on Utilities.
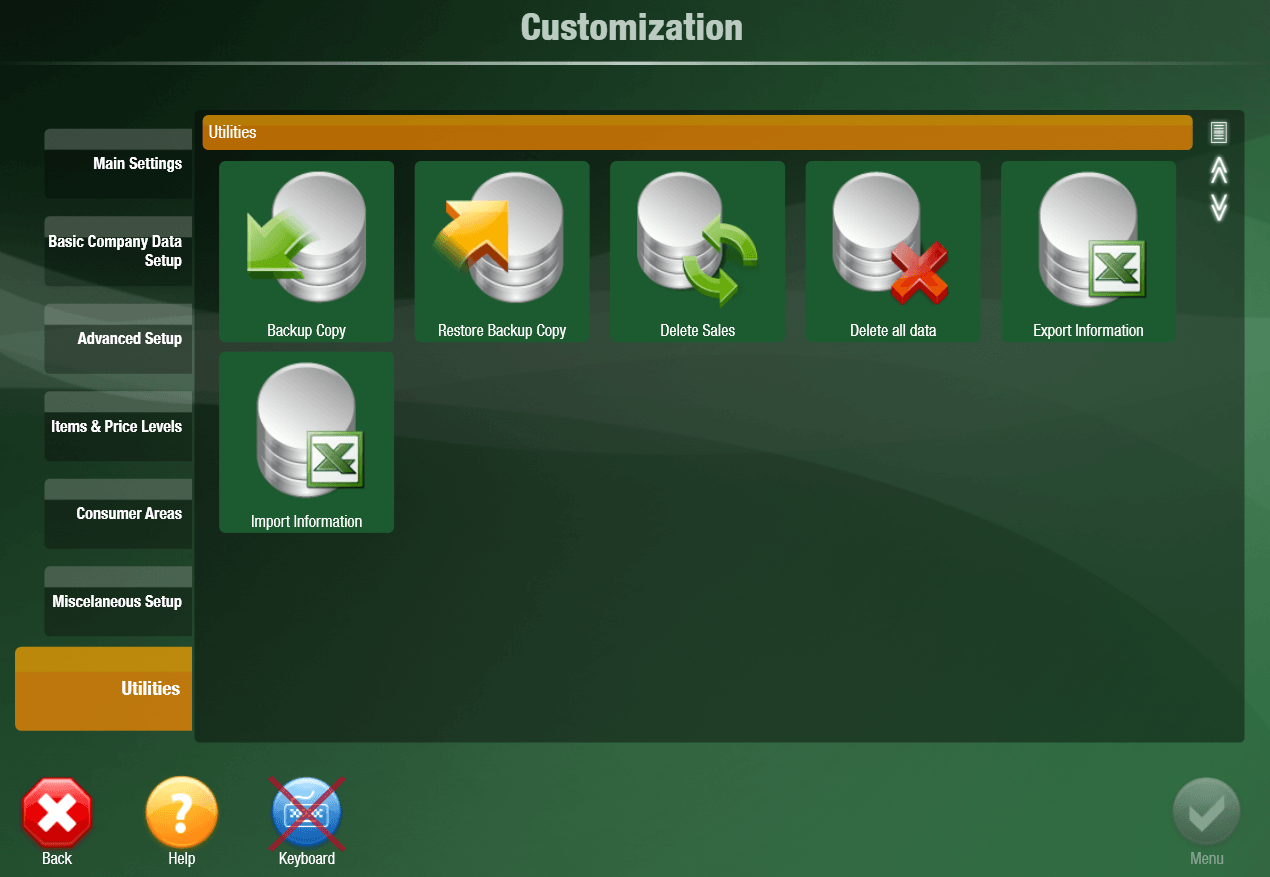
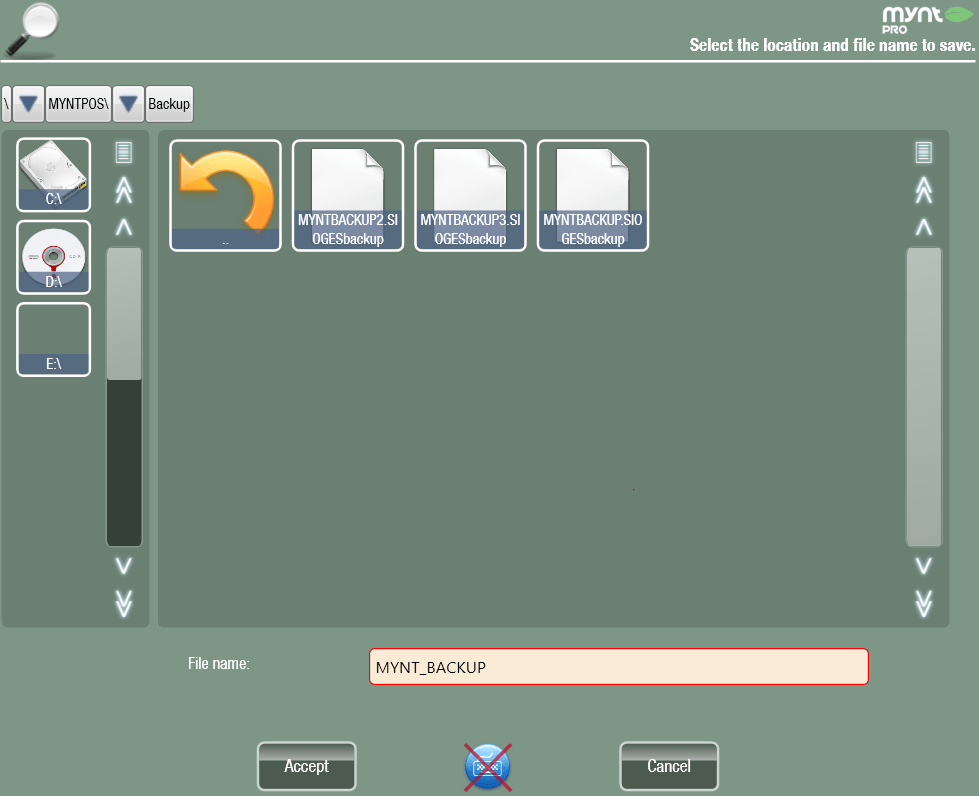
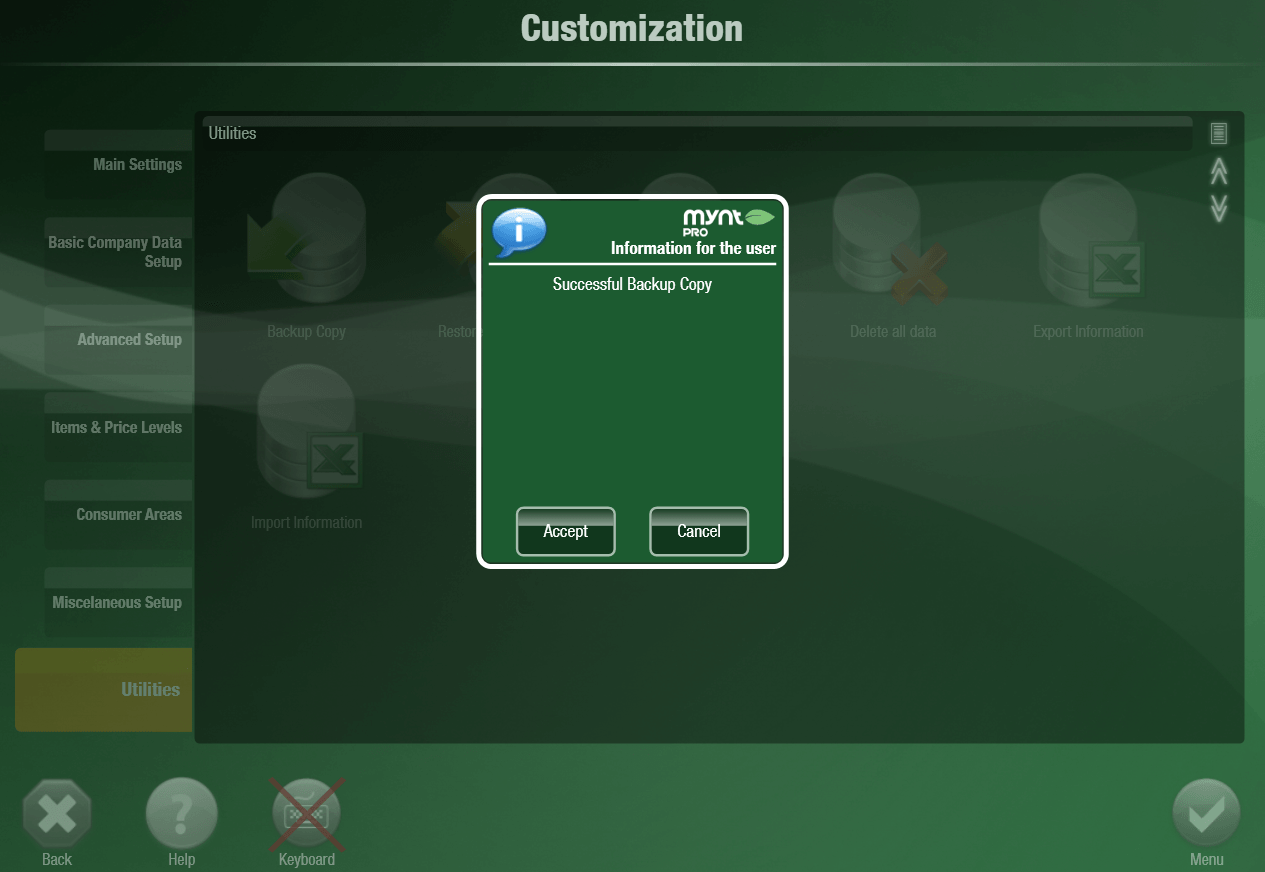
Select the button labeled Backup Copy. This will open up the Mynt file browser, navigate to the location that you would like to save the database to and click Accept. The default save location is C:\MYNTPOS\Backup
Once the backup is complete, click Accept in the window that opens up.
To restore a backup of the Mynt database, open up the Mynt setup screen, and then click on Utilities.
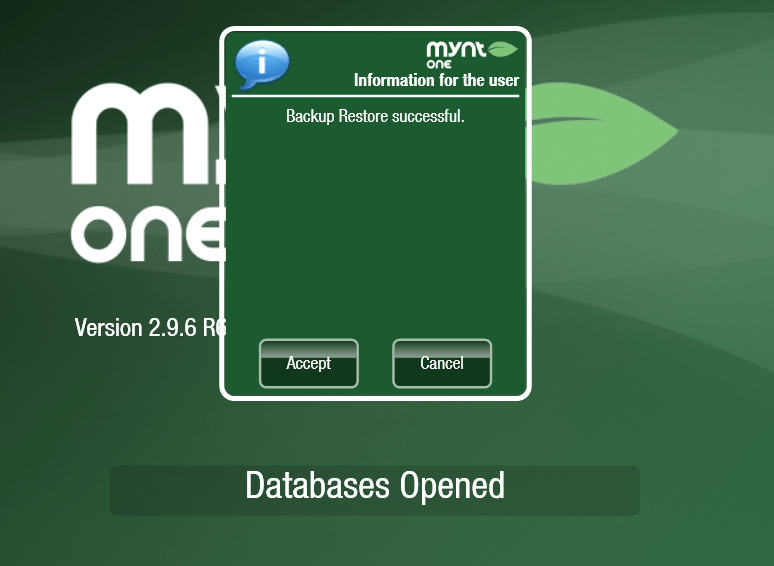
From the utilities screen click on Restore Backup Copy. This will open up the Mynt file browser, from there navigate to the location of the Mynt backup, select the database file and click Accept.

Click Accept in the Window that pops open to confirm restoring the database. Once you click accept Mynt will close out and restore from the backup.
Click Accept in the Window that pops open to confirm restoring the database. Once you click accept Mynt will close out and restore from the backup.
Task-bar the Program
To taskbar the Mynt program at any time from any page you are viewing, click the Mynt logo in the top right corner of the page.
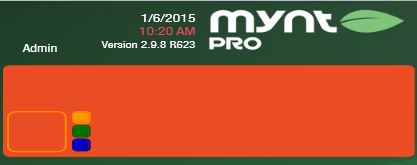
To return to the Mynt program simply click the Mynt logo on the task-bar at the bottom of the page.
Exiting the Mynt Program
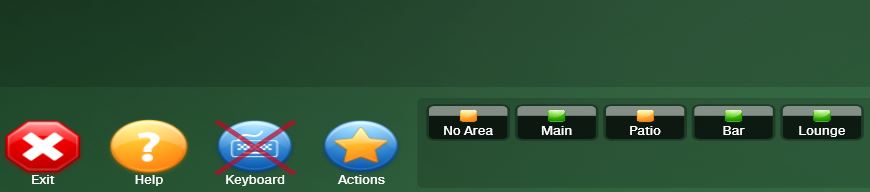
To exit the Mynt program click the Exit button at the bottom of the main sales screen.
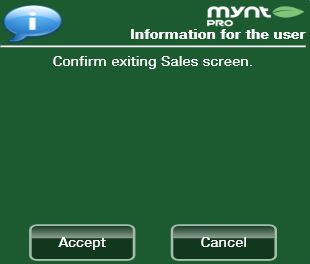
Click Accept to confirm exiting the sales screen.
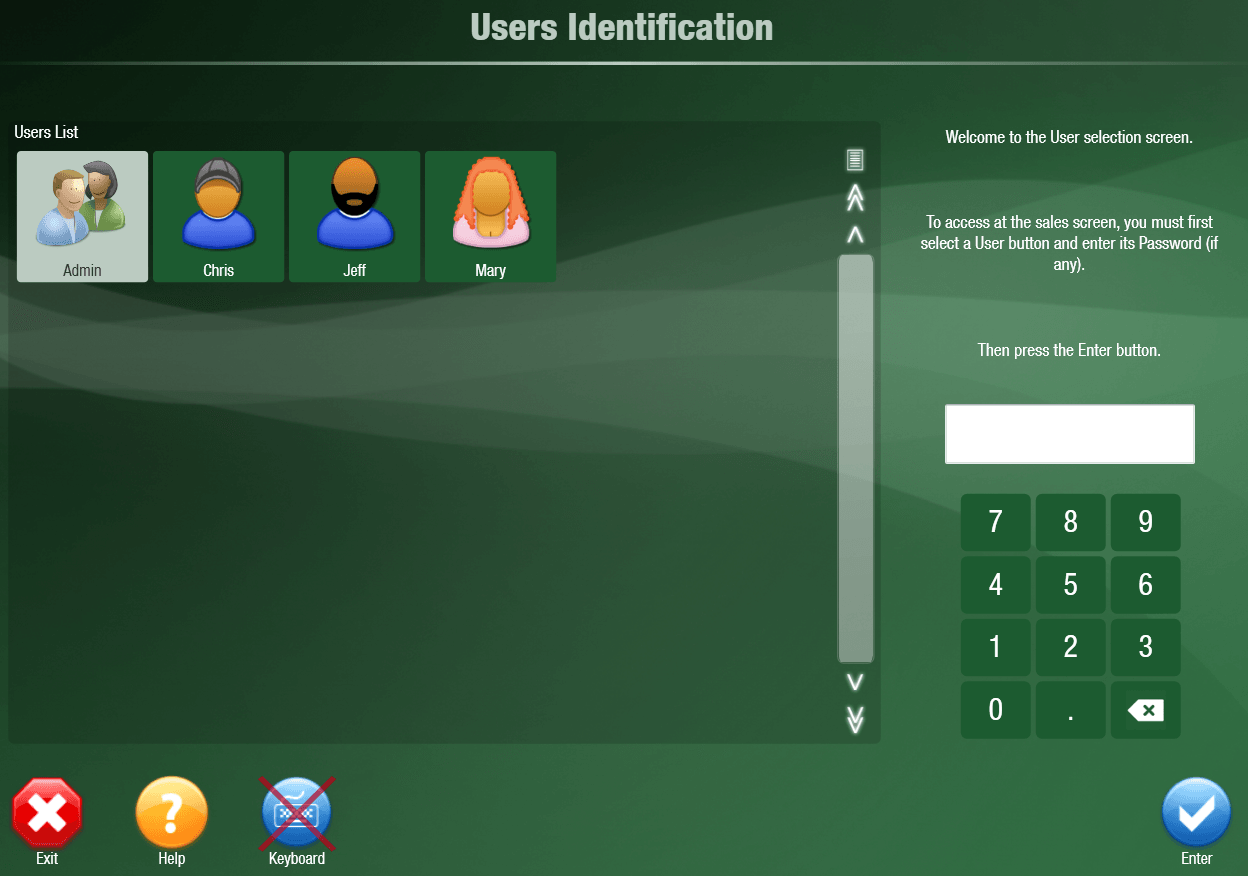
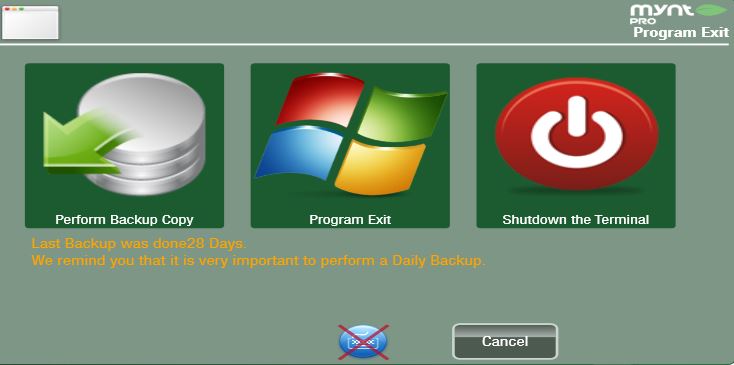
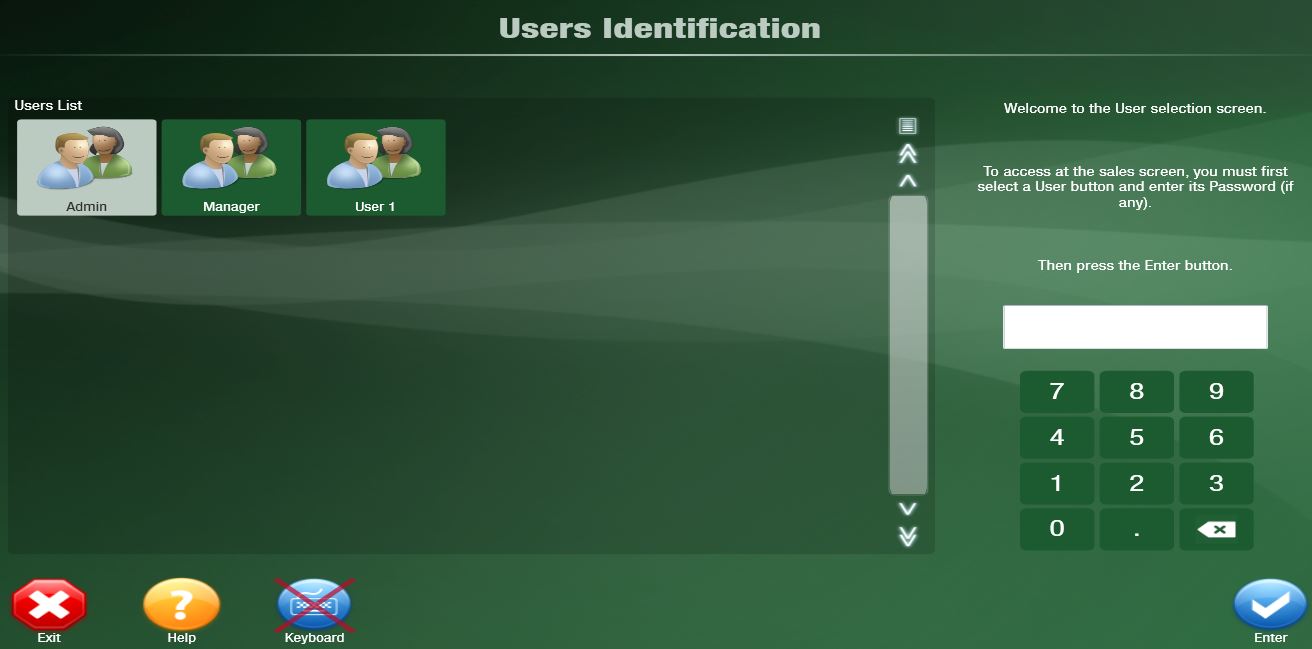
From the Users Identification page click the Exit button at the bottom of the page. You can either choose to Perform a Backup Copy, Exit the program, or Shutdown the Terminal. Choose whichever option you would like to complete the exit process.
Clearing Sales Data/Exiting Training Mode:
Clearing Sales Data
From the main sales screen click the Setup button at the top of the screen.
![]()
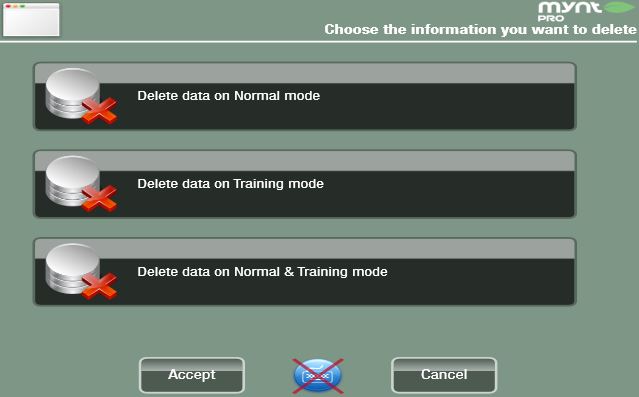
Select the Utilities tab near the bottom of the screen and click the Delete Sales button.
A window will appear giving you three options for deleting the sales data. You may delete the data from normal mode, training mode, or both. Here we will delete the data from both training and normal modes.
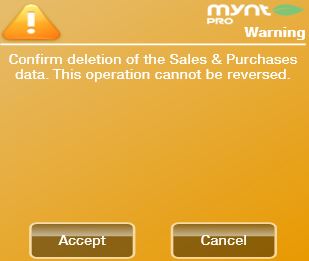
After you make your selection a window will appear asking you to confirm the deletion of the sales data. Click Accept.
The Mynt system will then reboot, updating the changes you have just made and will bring you back to the Users Identification page. Log in and proceed using Mynt system from the main sales screen.
Exiting Training Mode
Now that the training is complete you will need to switch you user out of training mode to normal mode. Log back into Mynt to the main sales screen and click Setup.
![]()
From the Customization page select the Basic Company Data Setup tab and click Users.
Then select the user you need to change and click Edit on the right.
Change the Access Type from training to Normal and click Accept to finalize the process.