Splitting Checks
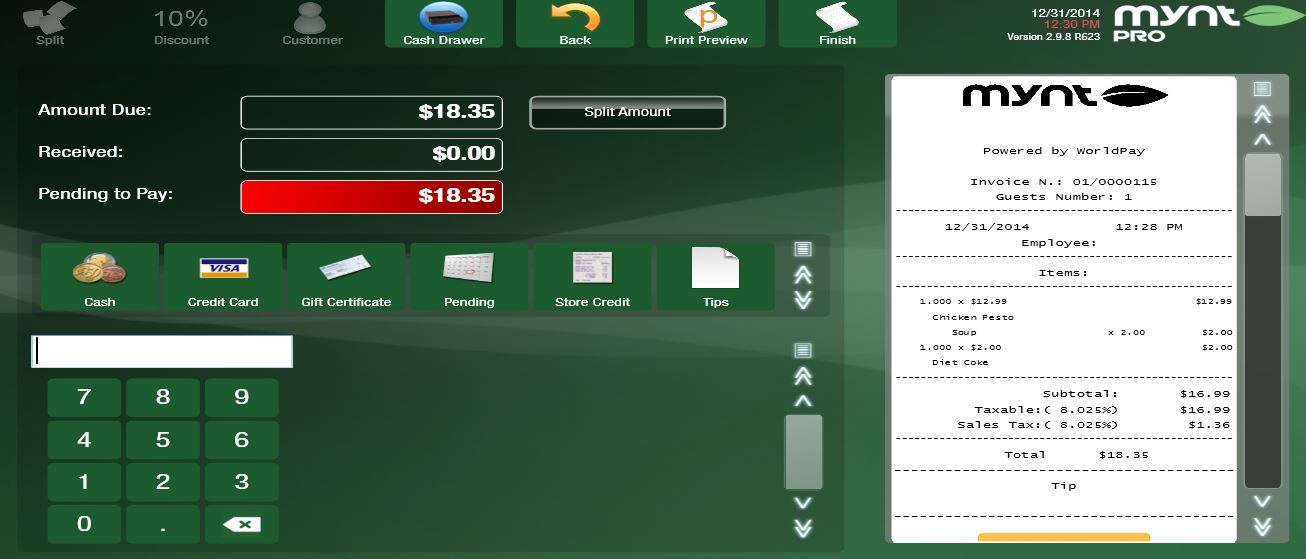
Mynt will allow you to have the option to split checks between customers. Once all the items have been rung up on the main sales screen you will then tap the Payment button, which is located next to the enter button on the bottom right-hand side of the screen.
This will bring you to a page that will give you payment options and allow you to see what has been rung up on the customers order. To split the check you will then tap the Split button at the top of the screen.
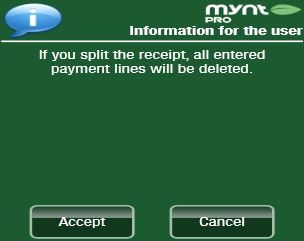
There will be a message asking if you want to accept or cancel splitting the check. Tap the Accept button to continue splitting the check.
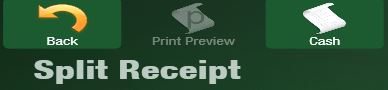
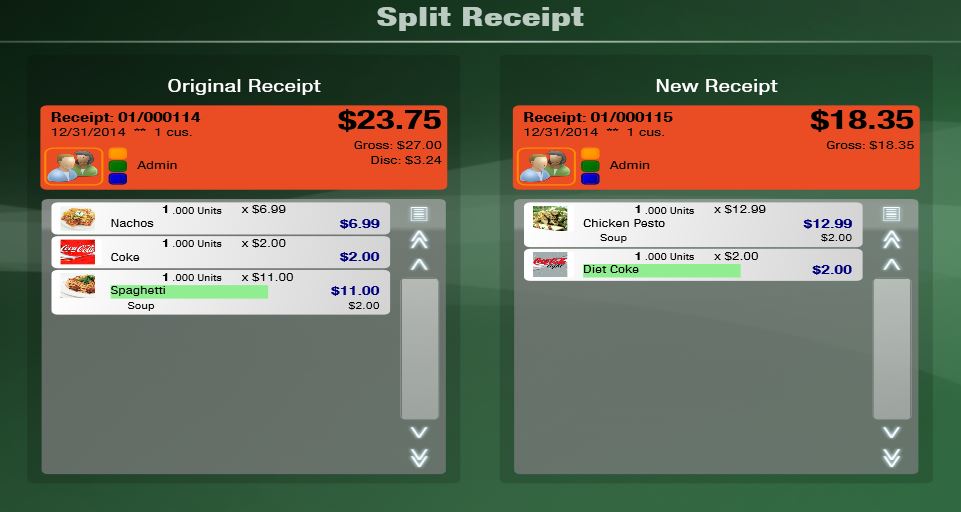
After accepting you will be directed to the Split Receipt page. On this page you are given the original receipt and a new blank receipt. To split the check tap on each individual item that needs to be separated. Once the checks are split accordingly you will then tap the Cash button at the top of the screen.
This will bring you back to the page with payment options. There are two methods to checking a customer out of the system. If the customer has cash or card ready to go with no receipt needed, you can then select the payment type for the first check and tap the Finish button at the top of the screen. After finishing that check you will be brought back to the same screen with the final check. Proceed with the payment type and selecting the Finish button for this check as well.
If the customer does not have cash or card ready to go and needs a receipt brought to their table, you will tap the Print Preview button for the first and second checks. By pressing this button you will receive a printed copy of the split checks and will be redirected back to the main sales screen.

With the split checks one will remain associated to the area of the customer’s table and the other will be moved to the Park area. The areas with open checks will be orange and can be found at the bottom of the main sales screen.

Select the park area, the customer’s check, and Accept. After accepting you will tap the payment button and follow the regular payment procedure.
To finish the other check associated to the table you will need to select the area of the table. When you locate the customer’s table tap on it and select the Load option. This will bring you back to the main sales screen with the items rung up. Proceed with the payment button and follow the regular payment procedure to finish splitting the checks.


