Mynt Core & Enterprise – Creating and Applying Discounts
This guide provides step-by-step instructions for creating and applying discounts in Mynt. Discounts are created in the Management portal and applied during the sales process on the Order and Closing screens.
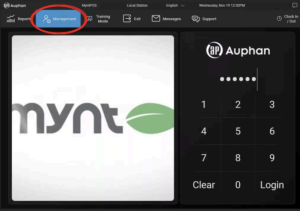
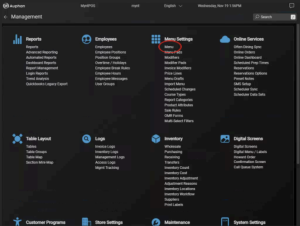
- To create a discount, select “Management” on the top.
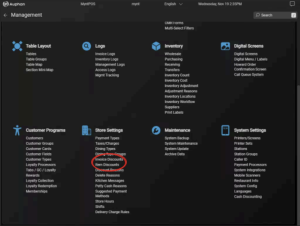
- Under “Store Settings”, there are two types of discounts. Invoice discounts: which are discounts that apply to the entire invoice, and item discounts: which can be used to apply to a single item.
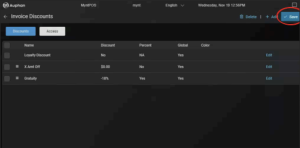
- For this example, we will create one of each. We can start in the “Invoice Discount” screen. On this screen, we will see any discounts we have created. By default, there is the “X Amount Off” discount, which allows you to put in a custom value as a discount. Let us say we want to create a new “First Responder” discount. We will press “Add” in the top left.
- From here, we can create a new discount with a custom name, values, color, and even set access to this discount. As mentioned, we will do a “First Responder” discount for 15%.
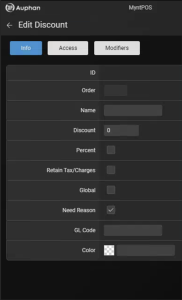
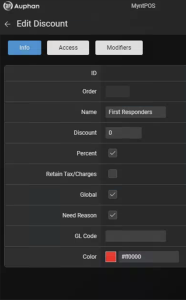
In this case, we want to give the name “First Responders” to identify the discount and call it what we want. Since I want to do a 15% discount, I will put 15 in the discount box, then check off the “Percent” box below that, otherwise it would be $15. The other thing to check off is “Global”. This will globally apply the discount to all items. You can also require the discount to have a reason and give it a unique color.
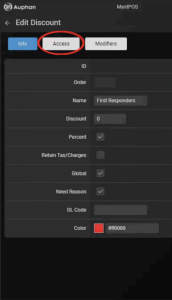
- After we have that set up, select the “Access” tab to give specific access to user groups. This is useful to not allow employees access to give a discount. In this case, I will allow everyone to have permission for the discount, just by pressing the check boxes under access. Limits on amounts can also be set using the far-right column.
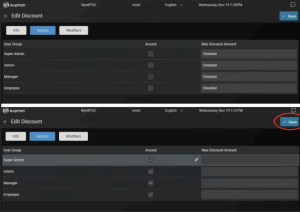
Once you are happy with the setup, you can press save in the top right corner.
- We will now see the created discount.
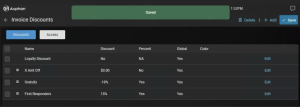
- The item discount is just about the same concept, as we can see below in the “Item Discount” screen.
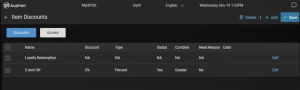
- For the item discount, we will create a 100% comp for an item.
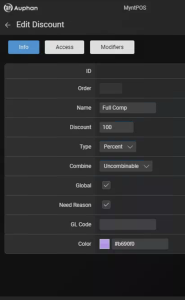
In this case, we will limit Discount access to managers. You can use that same access tab to set up permissions, then press save.
- We will now see that item discount created in our item discount list.
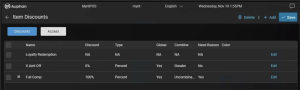
- Using the “Global” check box will allow every item to be eligible for the discounts. If there are specific items or categories you do not want to be included for these discounts, navigate to “Menu”.
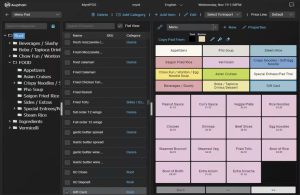
- From there, you can select the category or item(s) you want to be excluded (Gift Card is used in this example). Double click the item to open the interface.
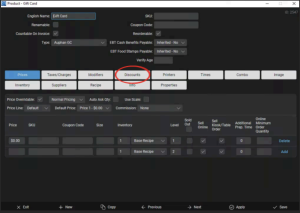
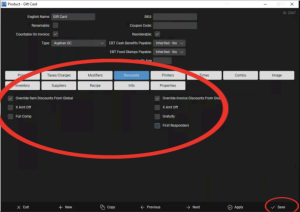
- Under the item or category, open the “Discounts” tab.
- Any eligible item or invoice discounts are viewed on this screen. If you do not want the discount to be applied to this item or category, check off the top box that says, “Override Item / Invoice Discount from Global”.
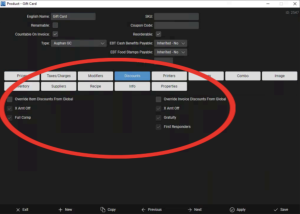
- For this gift card item, we will uncheck all discounts, then press save.
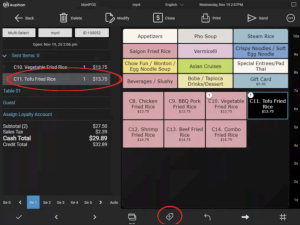
- Now that we have the discounts set up, we can test them. To do so, we can login normally, add items to our sale, then apply our discounts. In this example, we will do an item discount for Tofu Fried Rice. Let’s say one of the servers was walking the rice to the table and dropped it, leaving us to make another one and the customer is upset and wants to be fairly compensated for it. We will do an item discount on just the Fried Rice by selecting it on the left side from the invoice (making sure it is highlighted), then pressing the discount tag at the bottom.
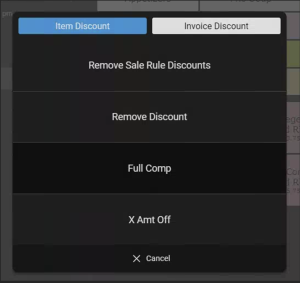
- All Discounts will be available to select once opening this menu.
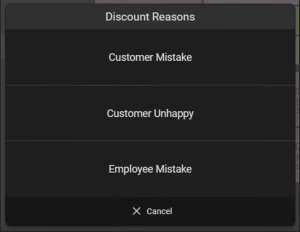
- After selecting the desired Discount, it may prompt a reason. Select the most appropriate reason from this list. These can be configured in the management screen under “Discount Reasons”. They can also be disabled per discount in the Item Discounts or Invoice Discounts screen in Management by unchecking “Need Reason”.
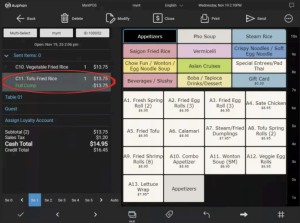
- Now we can see our “Full Comp” item discount being applied to only the Fried Rice as we intended.
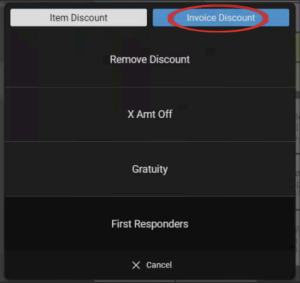
- To apply a full invoice discount, select the item tag and change the tab to invoice discount.
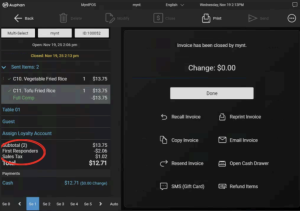
- The discount reflects off the total at the closing screen as shown below.