Generating Inventory
You can use Inventory lists to generate stock without using purchase orders. This method can come in handy if you are not going to use a purchase order but need to make adjustments to stock levels. Before you can create inventory for an item, you will need to turn on stock control for that item. See this page for directions for enabling stock control.
To create a new inventory document, click the Documents button from the top of the sales screen. In the screen that opens, click on Stock Documents, and then Inventory. This will open up the list of all inventory documents. From here you can create, edit, or delete inventory documents. If you delete an inventory document, all of the stock on that document will be removed from your current inventory.
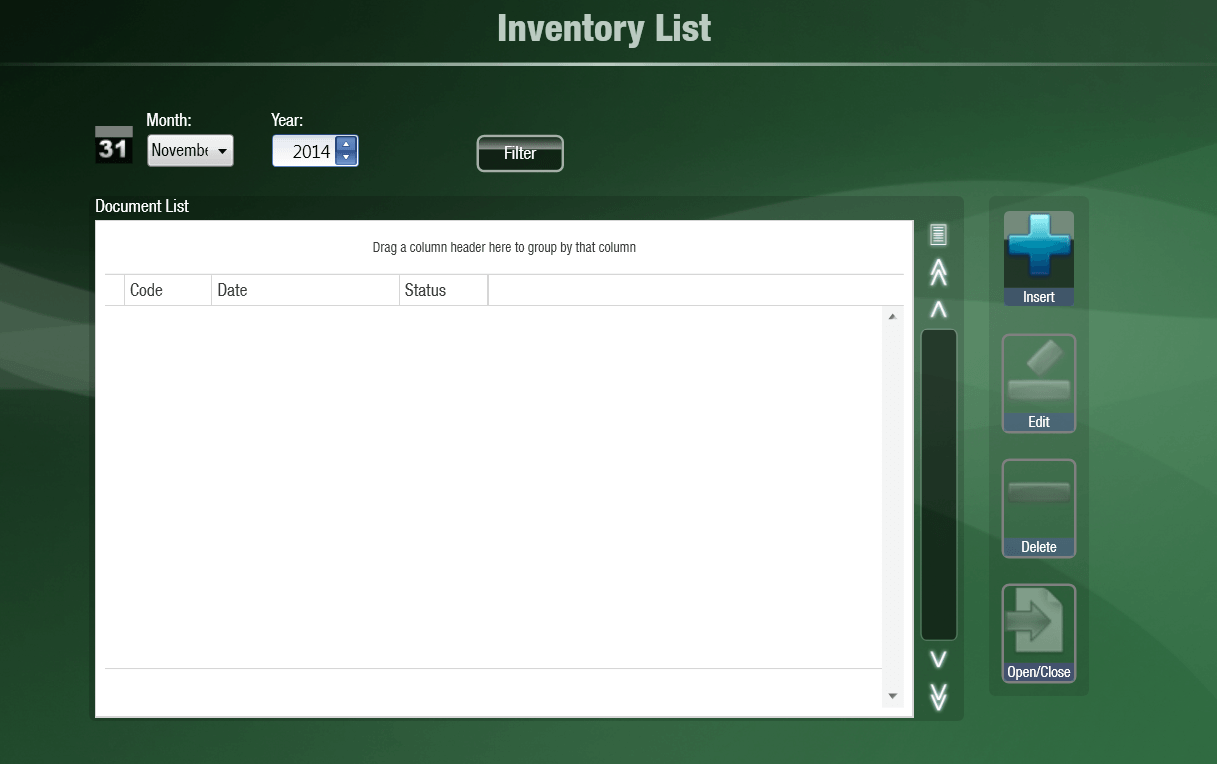
To create a new inventory list, click the Insert button on the right. This will open up the Edit Inventory screen. From here you can add items to the inventory list which will then add them to the current stock level.
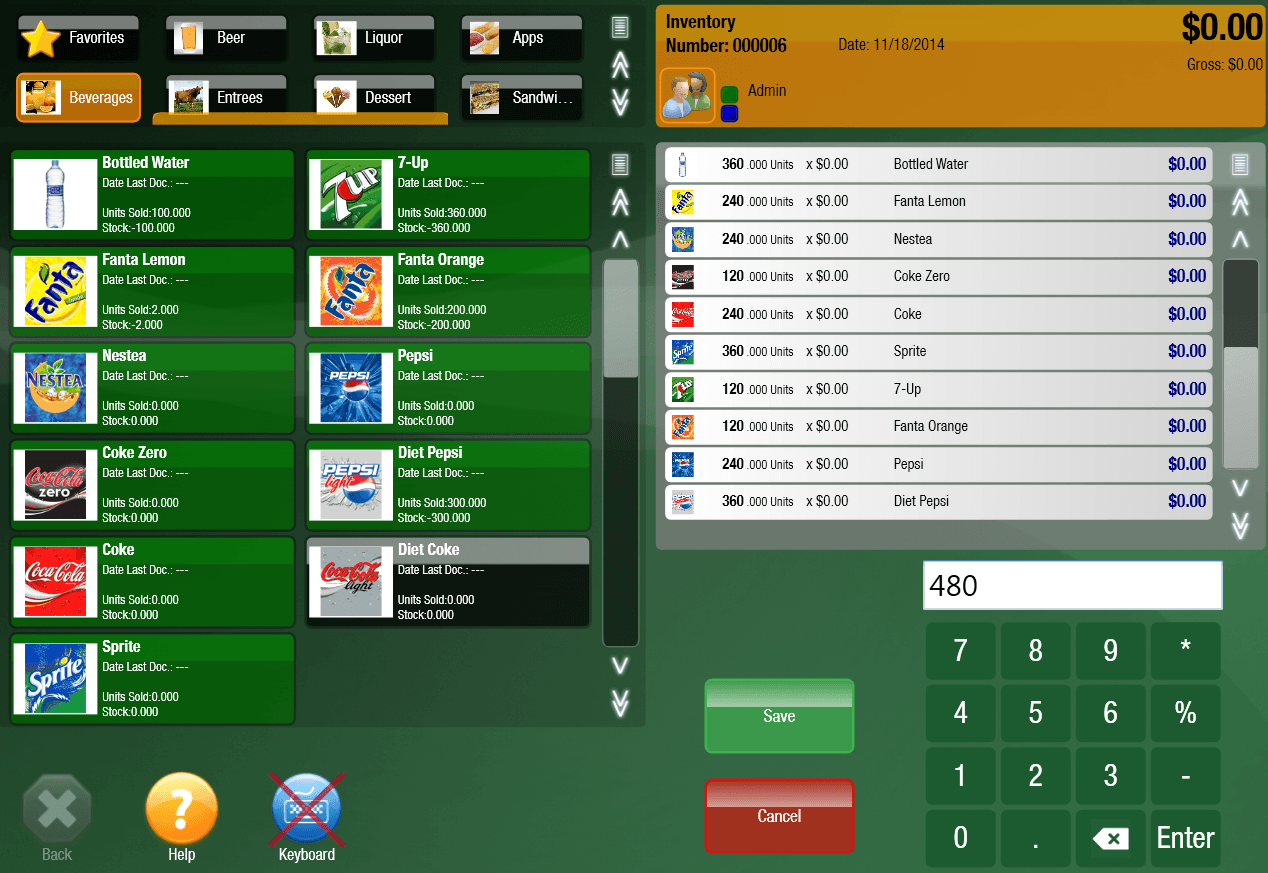
There are a few ways to add items from this screen. The first is to just tap on an item to add it to the list. Once the item is on the list you can tap on it to adjust the quantity. If you need to quickly add large quantities, you can type in the quantity you would like to add, and then tap on the item to add that quantity. If your items have barcodes, you can scan the barcode to add the item to the list as well. To add more then one quantity of a scanned item, type in the quantity followed by an * and then scan the item to add that quantity.
Once you have filled out the inventory with all of your items, click the Save button. When you return to your sales screen the newly added items will reflect the updated inventory level.
NOTE: If you use this method to add your stock levels, anytime you want to add additional units to your stock level you will edit your current inventory list, or create a purchase order. If you create a new inventory list, it will overwrite your current stock levels.

